If your grilled meat isn’t as tender or flavorful as you’d like, chances are you’re making a few common mistakes. The secret to great grilling lies in choosing the right cuts, proper preparation, and precise cooking techniques. Here’s what you need to know:
- Meat Selection: Choose tender cuts like ribeye or New York strip for high-heat grilling. Tougher cuts like brisket or pork shoulder need low-and-slow cooking.
- Preparation: Let meat come to room temperature, trim excess fat, and pat it dry before seasoning. Use simple seasonings to enhance flavor without overpowering.
- Grill Setup: Preheat your grill properly, maintain consistent heat, and avoid overcrowding to ensure even cooking.
- Cooking Techniques: Flip meat only once for a proper sear, use a meat thermometer for accurate doneness, and let it rest to lock in juices.
- Finishing Touches: Slice against the grain for tenderness and serve with simple sides or garnishes to let the meat shine.
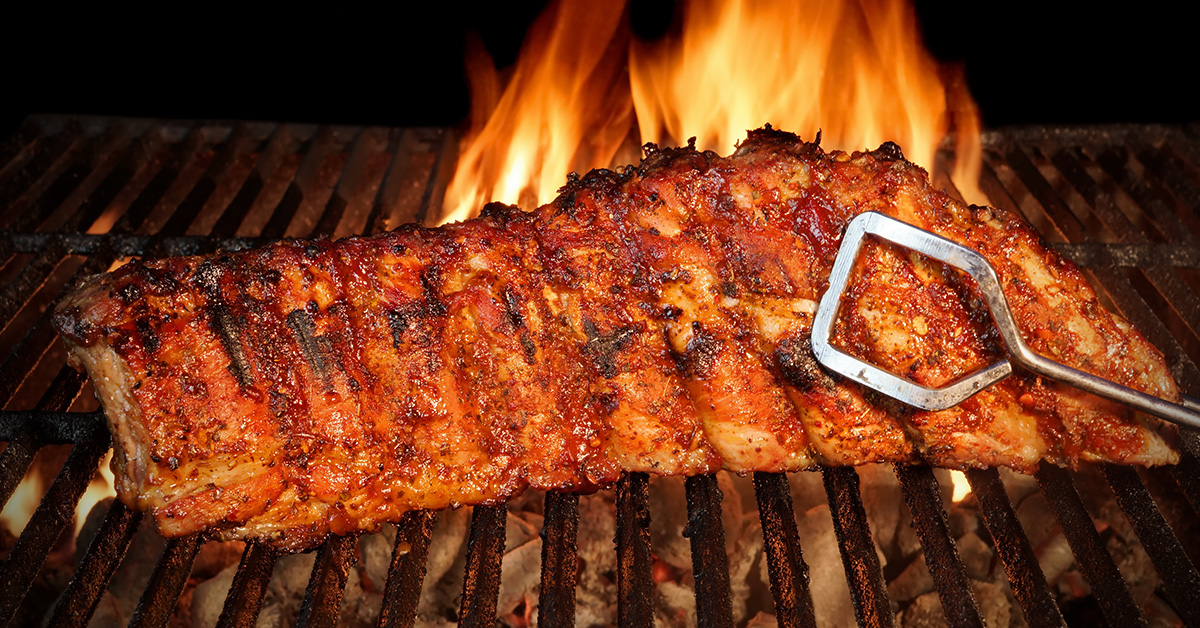
Grilling Tips and Tricks From A 4th-Generation Butcher
Picking the Right Meat Cuts for Grilling
When it comes to grilling, the secret to success isn’t just in your grill or your technique – it’s in the meat you choose. With so many options at the grocery store, it’s easy to feel overwhelmed. But picking the right cut can make all the difference, setting you up for a cookout that everyone will remember. Here’s how to choose and prepare the best cuts for the grill.
Cut Types and Their Best Uses
Tender cuts like ribeye, New York strip, and filet mignon are ideal for grilling over high heat. These cuts are naturally lean and cook fast – usually about 3–5 minutes per side for a perfect medium-rare. Ribeye, with its marbling, is forgiving and flavorful, while the strip steak offers a great balance of tenderness and bold taste.
For cuts like flank, skirt, and tri-tip, a little extra care is needed. Flank steak should be sliced thinly against the grain to maximize tenderness. Tri-tip benefits from indirect heat cooking, and using a meat thermometer to hit 130°F ensures a juicy, flavorful result.
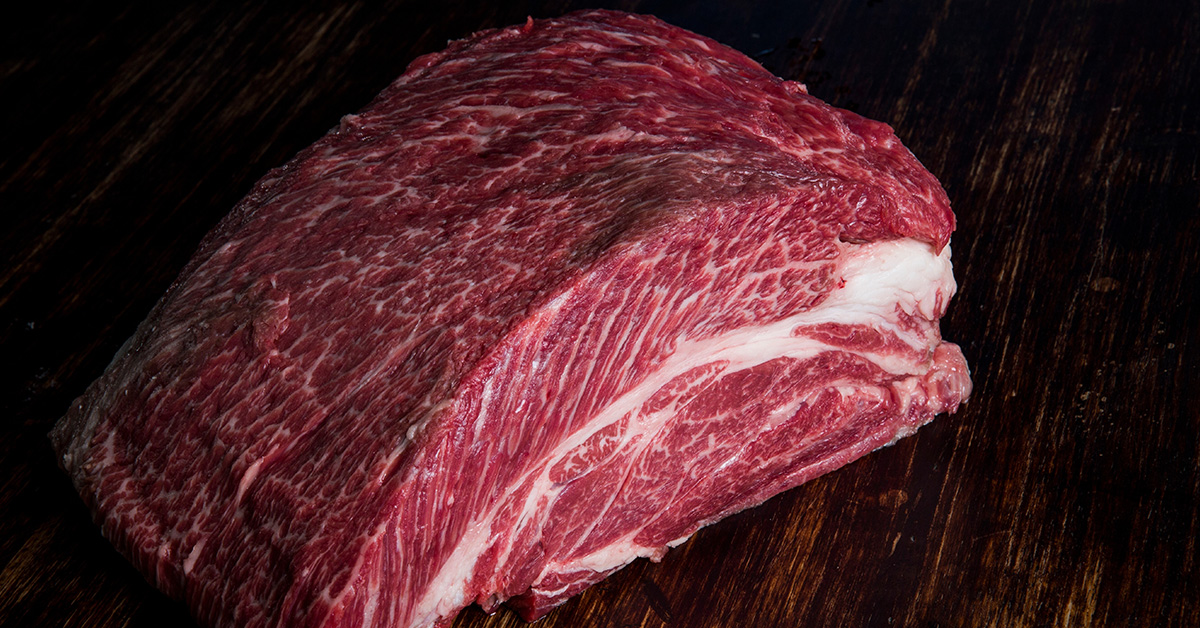
On the other hand, tougher cuts such as brisket, chuck roast, and pork shoulder shine when cooked low and slow. This method breaks down their collagen, transforming them into tender, melt-in-your-mouth bites.
If you’re grilling poultry, chicken thighs are the clear winner over breasts. Their higher fat content keeps them moist, and bone-in, skin-on thighs are especially great for grilling. The bone helps distribute heat evenly, while the skin crisps up beautifully for added texture and flavor.
How to Judge Quality: Marbling, Color, and Fat
When choosing steaks, marbling is key. Those thin white lines of fat running through the meat aren’t just for show – they’re what make your steak juicy and flavorful. Look for cuts with evenly distributed marbling rather than large clumps of fat.
Color is another important indicator of quality. Fresh beef should be a vibrant cherry red, while pork should have a pale pink hue with white fat. Steer clear of meat with brown or gray tones, or any green or rainbow-like sheens, as these are signs of spoilage.
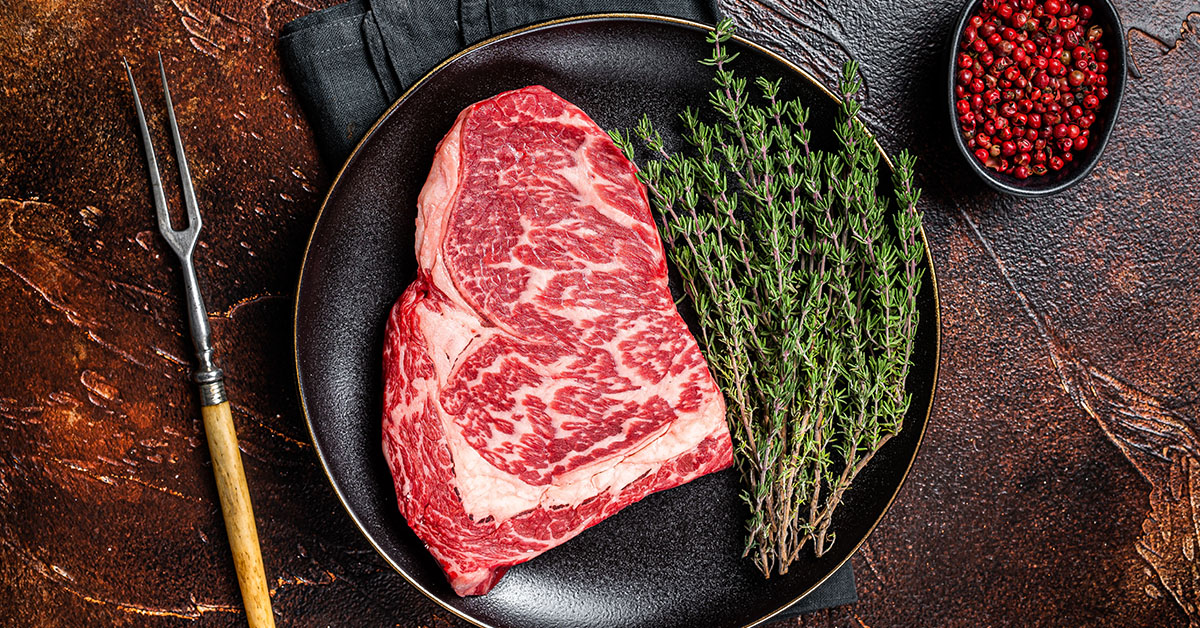
As for fat, it should be white or cream-colored and firm to the touch, never slimy. On steaks, a fat cap around ¼ to ½ inch thick is perfect – it adds flavor without overwhelming the meat.
Preparing Meat Before Grilling
Before you even fire up the grill, let your meat come to room temperature for 30–45 minutes. This step helps it cook more evenly. Also, pat the meat dry before seasoning to ensure you get that beautiful sear when it hits the grill. Cold, damp meat can lead to uneven cooking and a less-than-ideal crust.
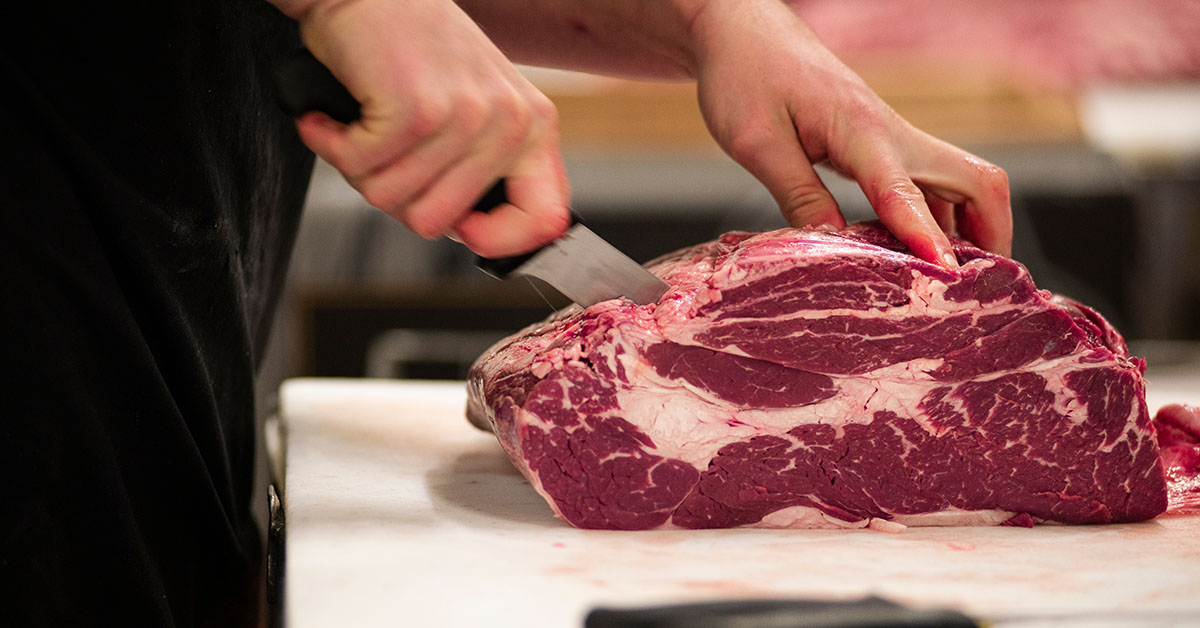
Trim excess fat to avoid flare-ups that can char your meat. Leave about ¼ inch of fat on steaks and roasts for flavor and moisture. Too much fat can cause dangerous flames, while too little can leave your meat dry and bland.
For thicker cuts over 1½ inches, consider scoring the fat cap. Use a sharp knife to make shallow cuts in a crosshatch pattern, about ¼ inch deep and 1 inch apart. This simple step prevents the meat from curling and helps the fat render evenly, giving you a better overall cook.
Seasoning and Marinating: Adding Flavor Without Overdoing It
Too much seasoning or marinating for too long can overshadow the natural taste of meat and even mess with its texture. The goal is to enhance, not overpower.
Keep It Simple with Seasonings
A little goes a long way. A light sprinkle of salt and pepper can bring out the meat’s natural flavor without stealing the spotlight.
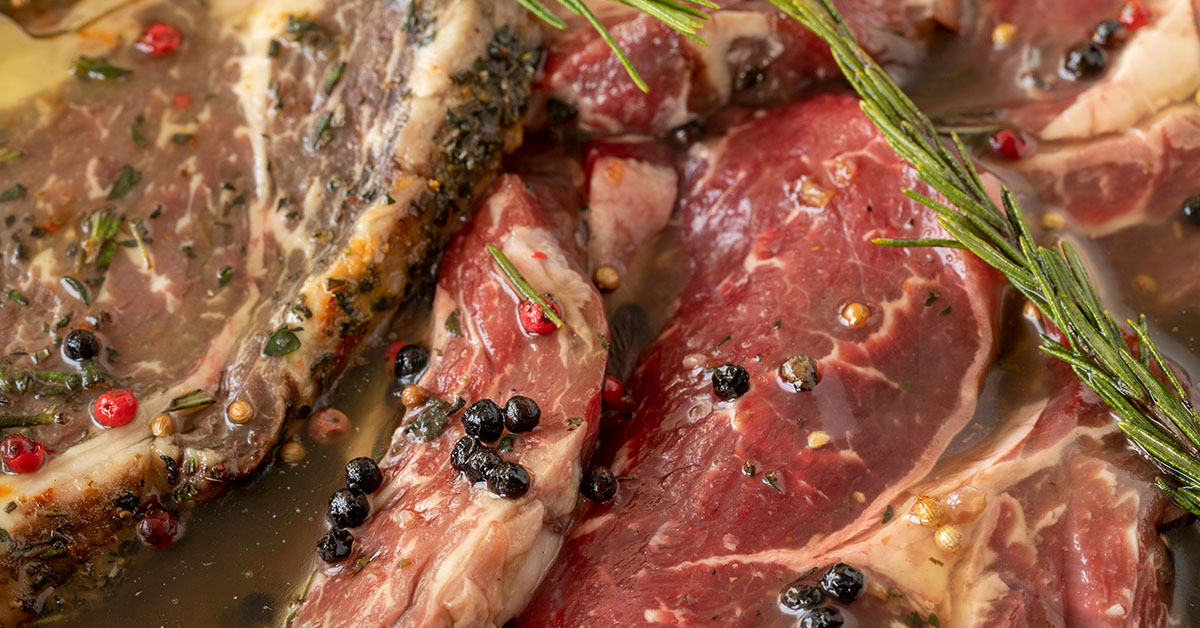
Marinating: Timing Is Everything
Tender cuts only need a short marinating time, while tougher cuts benefit from longer soaks. This helps soften their structure without going overboard.
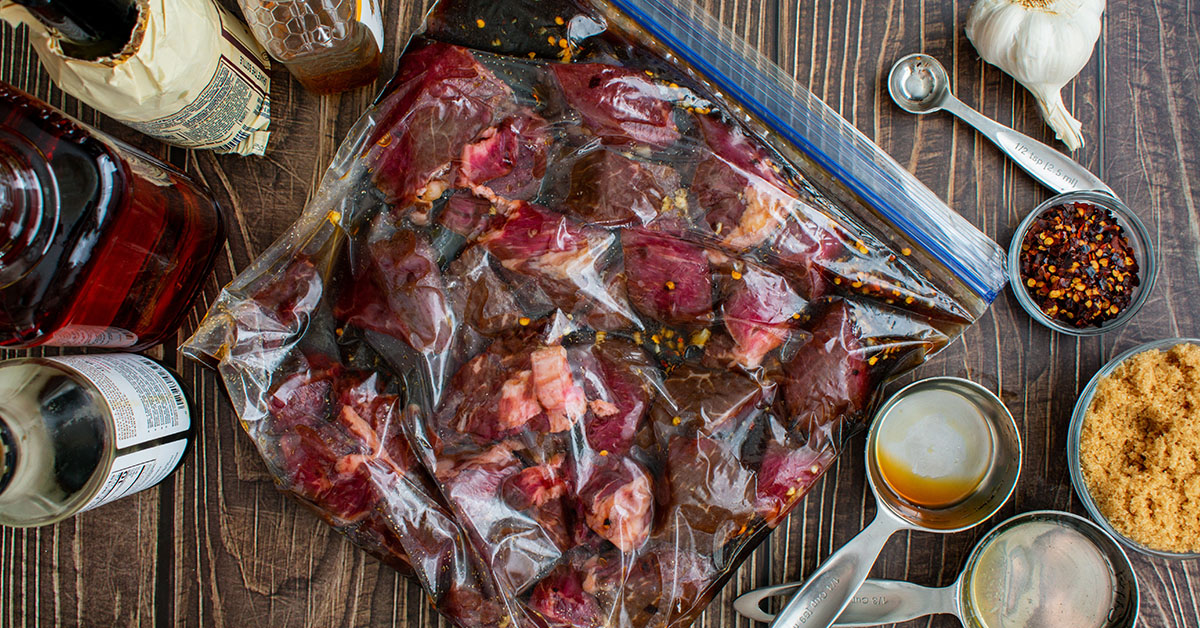
Avoiding Over-Seasoning
Choose one approach – either a simple dry rub or a short marinade. This keeps the flavors clean and balanced, allowing the meat to shine.
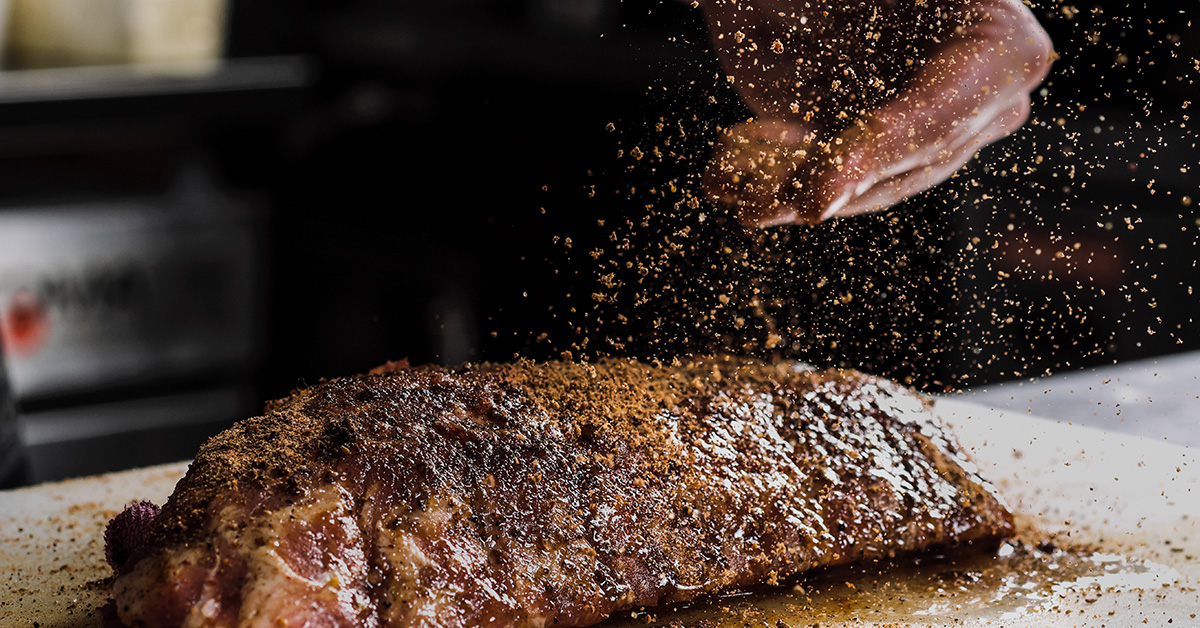
Once you’ve nailed the seasoning, it’s time to set up your grill for the best results.
Grill Setup and Cooking Techniques
Once your meat is perfectly seasoned, the next step is getting your grill ready. A well-preheated grill is key to consistent results. It ensures your food cooks evenly, helps lock in juices with a good sear, prevents sticking, and creates those delicious caramelized grill marks everyone loves.
Preheating and Temperature Control
For gas grills, start by checking your propane levels and making sure the tank is securely attached. Turn all burners to high, close the lid, and let the grill preheat for about 10–15 minutes. Once preheated, adjust the burners to reach your desired cooking temperature.
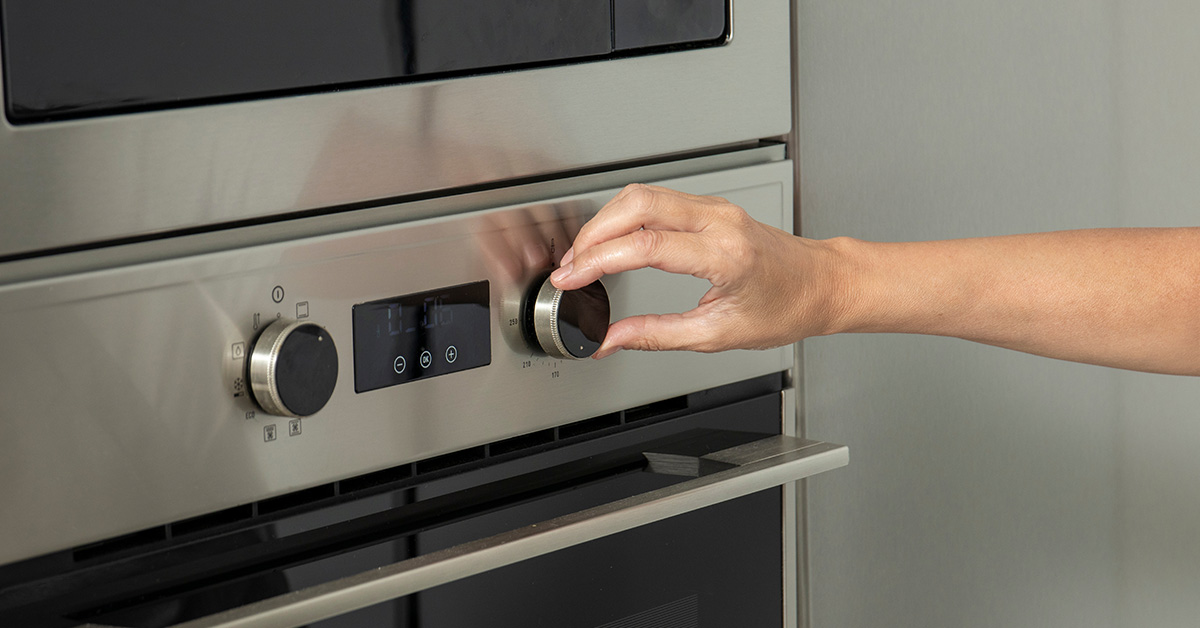
For charcoal grills, light the charcoal and wait until the briquettes are coated in white ash – that’s when they’re ready. Close the lid during preheating to ensure the heat spreads evenly. Remember, factors like the size of your grill, outdoor temperature, and wind can influence how long preheating takes.
sbb-itb-5ae85c5
Common Grilling Mistakes to Avoid
Steering clear of a few common grilling missteps can make all the difference in elevating your cookout game. While choosing the right cut of meat is crucial, avoiding these technical errors ensures your food is packed with flavor and perfectly cooked. These mistakes might seem minor, but they can have a big impact on your results. Knowing what to watch out for – and how to fix it – can help you grill with confidence every time.
Preventing Overcrowding and Sticking
Overcrowding the grill is an easy way to ruin your barbecue. When you pack the grill grates too tightly, heat circulation gets blocked, which leads to uneven cooking. Some pieces may end up overcooked, while others are still underdone. Plus, you lose the flexibility to shift food around if flare-ups occur or if you need to adjust for hot and cool zones.
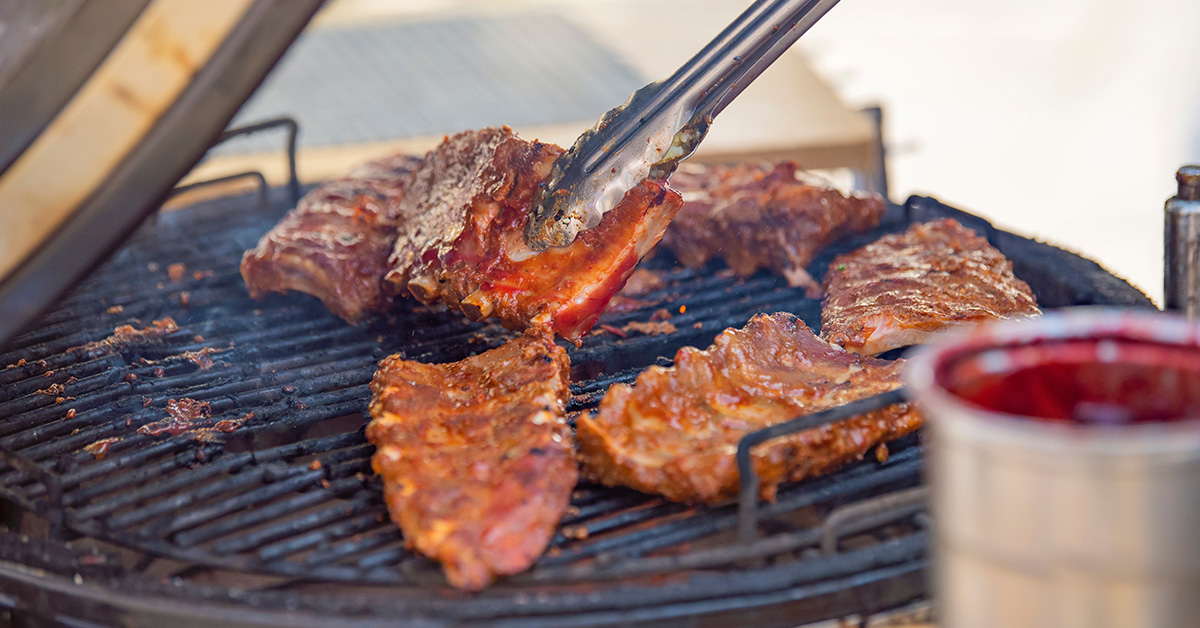
To avoid this, leave at least 2 inches of space between each piece of meat. This allows heat to flow freely and gives you room to maneuver. If you’re cooking for a crowd, cook in smaller batches rather than cramming everything on the grill at once. Trust me, your guests will appreciate perfectly cooked food over rushed, uneven results.
Sticking meat is another common frustration that can easily be avoided. When meat sticks to the grates, you risk tearing the surface and losing that beautiful sear. The solution? Proper preparation and timing.
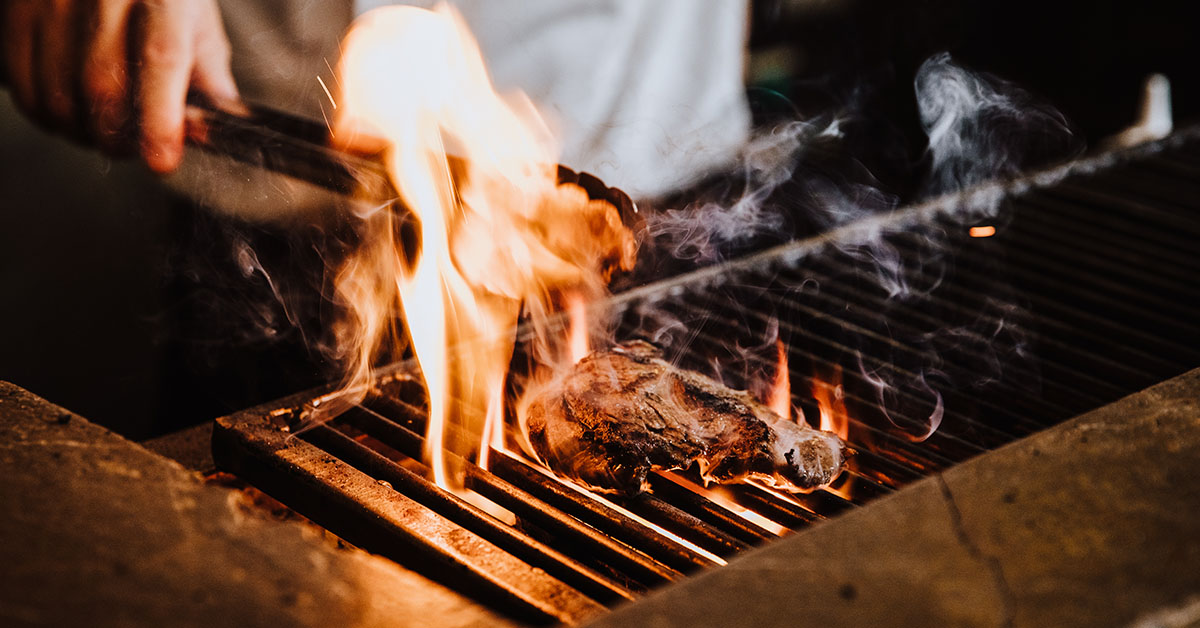
Start by cleaning your grates thoroughly before each use to remove any leftover food or grease. Once the grill is preheated, use tongs to rub a paper towel soaked in neutral oil (like vegetable or canola oil) across the grates. Skip the cooking spray – it can cause flare-ups and doesn’t coat as evenly.
When your meat is properly seared, it will naturally release from the grates. So, focus on spacing, proper preparation, and letting the crust develop before flipping.
Flipping and Timing: Getting It Right
Flipping too often is a common mistake that can ruin your grill marks and dry out your meat. Many people think frequent flipping helps cook meat evenly, but it actually interrupts the Maillard reaction – the process that creates a flavorful, caramelized crust.
For most cuts, flip only once after you’ve achieved a good sear on the first side. For steaks, this usually means 4-6 minutes per side, depending on thickness and desired doneness. Burgers typically need about 4-5 minutes on the first side before flipping.
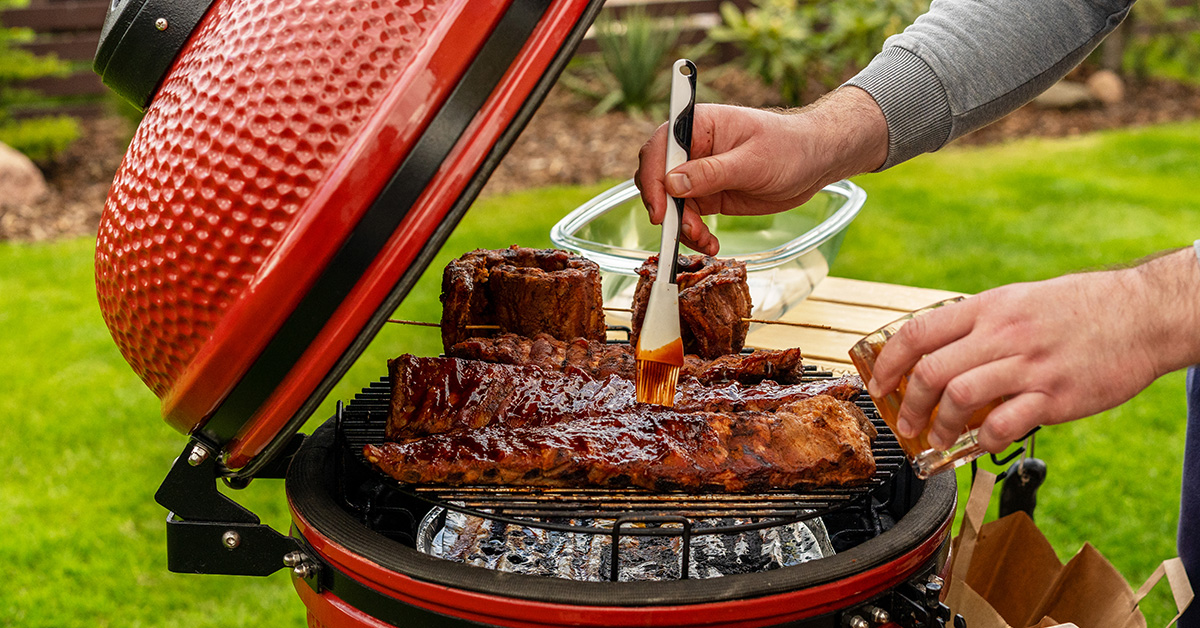
Thicker cuts, like whole chickens or large roasts, are an exception. These benefit from occasional turning to ensure even cooking, but keep it to every 15-20 minutes instead of constant flipping.
Timing issues often come from trying to rush the process. Remember, each cut of meat has its own cooking requirements, and outdoor conditions – like wind or humidity – can affect cooking times. Also, cold meat straight from the fridge will take longer to cook than meat that’s been brought to room temperature.
A good rule of thumb? Check for doneness at 75% of the estimated cooking time. This gives you time to adjust and avoid overcooking. And for precise results, a meat thermometer is your best friend.
Using a Meat Thermometer for Accuracy
Guessing doneness based on appearance or touch can lead to inconsistent results – and even food safety risks. An instant-read thermometer eliminates the guesswork, helping you hit the USDA-recommended safe temperatures every time.
To use it, insert the thermometer into the thickest part of the meat, avoiding bones, fat, or gristle, which can throw off the reading. For steaks and chops, insert it horizontally through the side. For burgers, go straight down from the top, making sure the probe reaches the center.
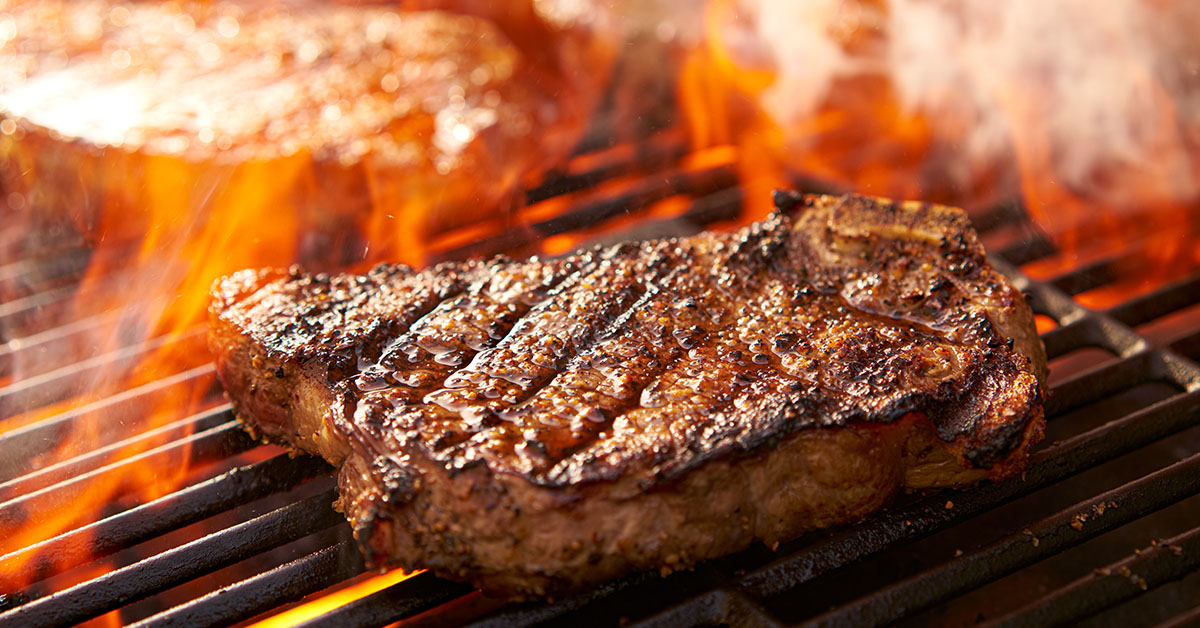
Here are the key temperatures to remember:
- Ground beef: 160°F for safety
- Whole cuts of beef, pork, and lamb: 145°F with a 3-minute rest
- Poultry: 165°F throughout
Keep in mind that safety temperatures and preferred doneness can differ. For example, many people enjoy steaks medium-rare, which means an internal temperature of 130-135°F. Remember, these temperatures are measured after resting, as the internal temperature will rise another 5-10 degrees.
To avoid overcooking, remove your meat from the grill when it’s 5 degrees below your target temperature. This allows for carryover cooking while the meat rests.
And don’t rely on color alone – especially for ground meat. Sometimes, properly cooked ground beef can still look pink due to factors like pH levels or carbon monoxide exposure from gas grills. A thermometer ensures accuracy beyond what you can see.
Final Steps: Resting, Slicing, and Serving
Grilling might be the star of the show, but the final steps – resting, slicing, and serving – are what truly bring your efforts to life. Skipping these can turn even the most perfectly grilled meat into a letdown. Mastering these finishing touches ensures your meat stays flavorful, juicy, and tender.
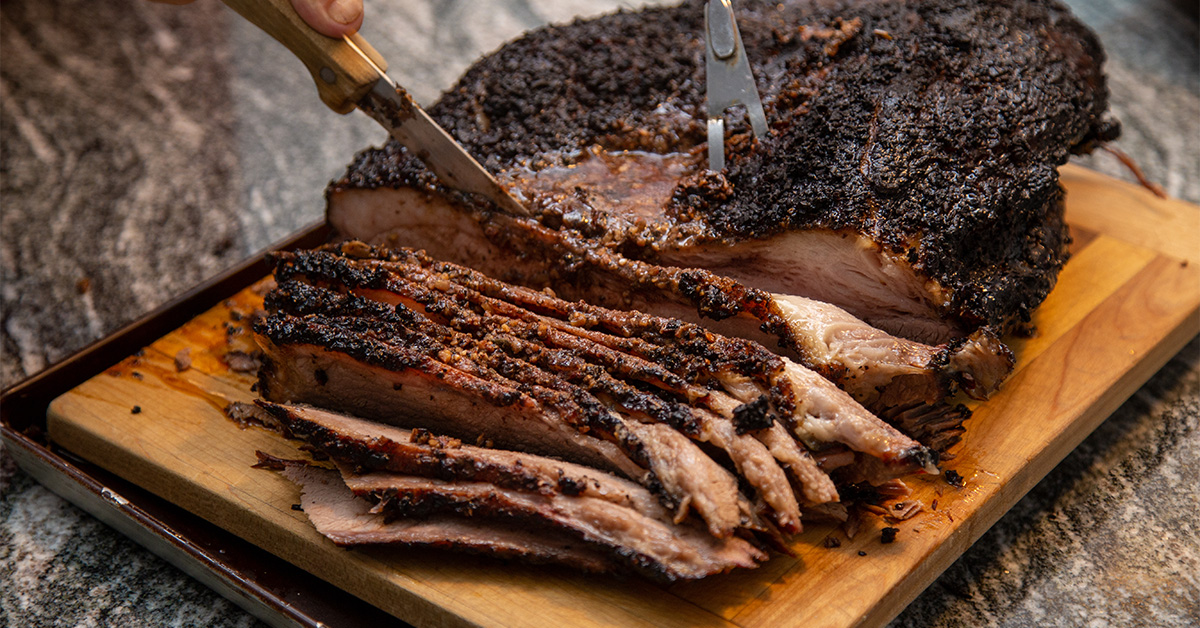
Why Resting Meat Is Essential
Resting meat isn’t just a suggestion – it’s a game-changer. Here’s why: when meat cooks, heat pushes the juices toward the center, creating pressure within the muscle fibers. If you cut into it right away, those juices spill out, leaving you with dry meat. Letting it rest allows the fibers to relax, redistributing the juices evenly throughout.
How long should you rest your meat? It depends on the cut:
- Steaks and chops: Rest for 5–10 minutes under a loose tent of aluminum foil.
- Larger roasts: Give them 15–20 minutes.
- Whole chickens: Let them sit for at least 10–15 minutes.
During this time, the meat’s temperature will rise by about 5–10°F due to carryover cooking, so take it off the grill a few degrees below your target temperature. Use this window wisely – warm your serving plates, finish prepping sides, or set the table. These small details make a big difference.
Slicing Against the Grain for Maximum Tenderness
Slicing meat might seem straightforward, but the technique you use can dramatically affect tenderness. The secret? Always slice against the grain. This means cutting perpendicular to the direction of the muscle fibers, which shortens them and makes the meat easier to chew.
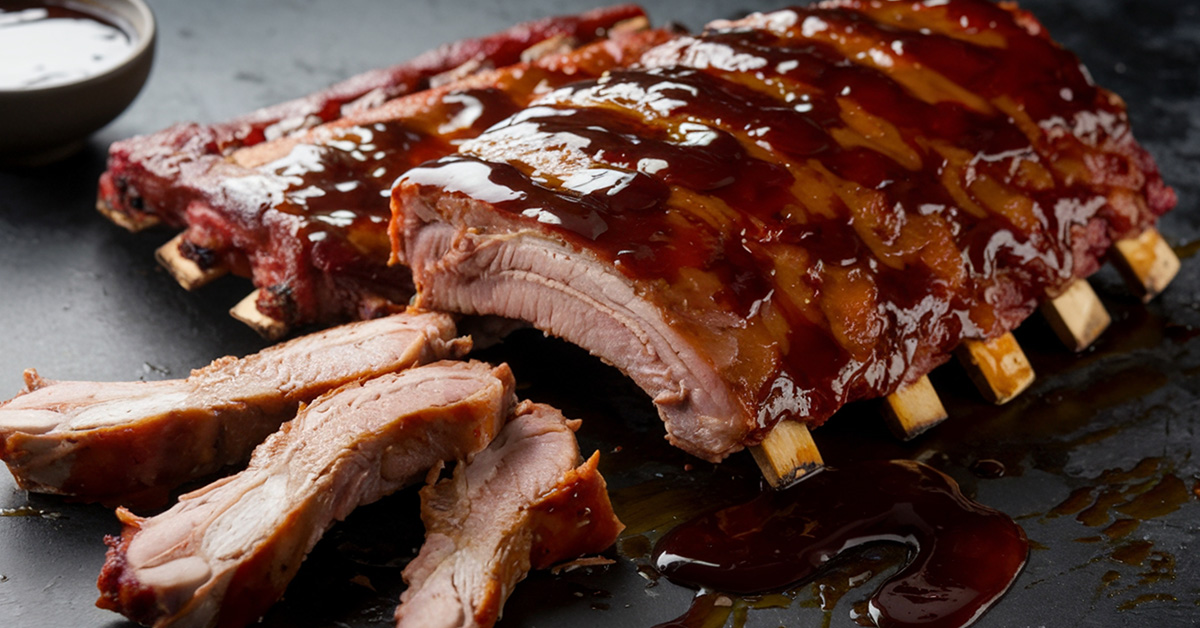
To find the grain, look for the lines running through the meat. Once you spot them, position your knife at a 90-degree angle to those lines and slice straight down. Aim for slices that are ¼ to ½ inch thick, depending on the cut.
Some cuts benefit even more from this approach:
- Flank and skirt steaks: Their grain is easy to spot, so slicing against it – at a slight diagonal – yields tender results.
- Brisket: Slice thinly (about ¼ inch) to break down its tough connective tissue.
- Tri-tip: This cut can have a grain that changes direction, so adjust your slicing angle as needed.
A sharp knife is your best friend here. Dull blades can tear the meat, ruining both texture and presentation. When done right, proper slicing not only enhances tenderness but also adds a polished look to your dish.
Serving Ideas to Elevate Your Meal
Presentation is the final step in showcasing the care you’ve put into grilling. A few thoughtful choices can highlight the meat’s natural flavor and make your meal unforgettable.
- Compound butters: Mix softened butter with herbs like thyme, rosemary, or chives, plus a pinch of salt and garlic. A small pat melting over a hot steak adds richness without overpowering the meat.
- Family-style platters: For larger cuts like brisket or tri-tip, arrange slices on a warm platter so guests can serve themselves. Include small bowls of coarse salt, cracked black pepper, or a simple chimichurri for added flair.
- Complementary sides: Keep it simple – grilled veggies, a fresh salad with vinaigrette, or classic potatoes let the meat shine. The goal is balance, not competition.
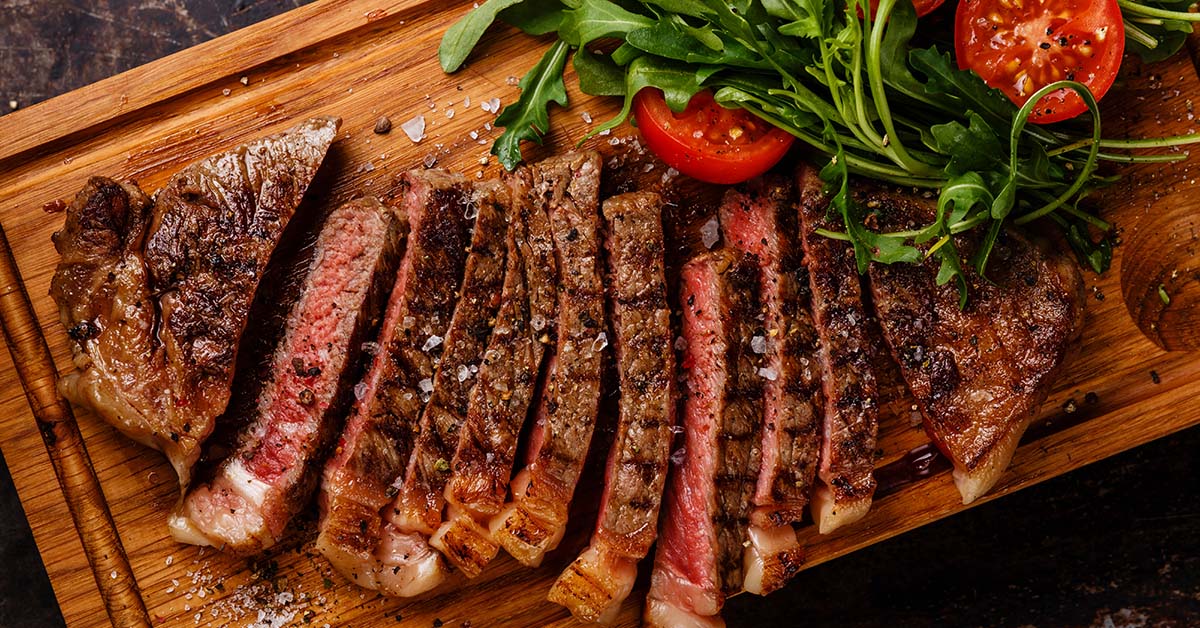
Adding contrast can also enhance the dining experience. Pair hot grilled meat with a cool cucumber salad or fresh tomatoes for a mix of temperatures and textures. And don’t underestimate the power of visual appeal – arrange slices to show off the perfect pink center of a medium-rare steak or the smoke ring on brisket. These details not only impress your guests but also reflect the skill and effort you’ve poured into your grilling.
Conclusion: Improve Your Grilling Skills
Grilling isn’t just about tossing meat on the fire – it’s about understanding and refining your technique to avoid common pitfalls that can ruin even the best cuts. From choosing the right meat to letting it rest properly, every step plays a role in achieving consistently mouthwatering results. Knowing how marbling enhances flavor, why controlling heat is crucial, and how slicing against the grain can tenderize tougher cuts gives you the confidence to grill like a pro.
The foundation of great grilling starts with quality meat. Sourcing from trusted suppliers, like Wild Country Meats, which offers USDA-inspected and traceable beef, ensures you’re starting with the best. Pairing high-quality ingredients with the right techniques is a recipe for success.
Perfecting these skills takes time, but the rewards are undeniable. Begin with small changes – use a meat thermometer to hit the perfect doneness or let your steaks rest to lock in juices. Each improvement builds on the last, turning occasional wins into consistent grilling triumphs. With great meat and solid techniques, every cookout can become an unforgettable feast.
FAQs
What’s the best way to grill tender cuts versus tougher cuts of meat?
When it comes to grilling meat, the key difference between tender and tougher cuts lies in their texture and connective tissue.
Tender cuts – think ribeye, strip steak, or tenderloin – are naturally soft and packed with flavor. These cuts are ideal for quick, high-heat grilling. A simple approach works best: season them, sear over high heat, and cook to your preferred level of doneness. The result? Juicy, melt-in-your-mouth perfection.
Tougher cuts, like brisket, chuck, or flank steak, require a bit more attention. These cuts have more connective tissue, which means they benefit from techniques that break down their fibers. Marinating is a great way to infuse flavor and tenderize the meat. Alternatively, cooking them low and slow gives the connective tissue time to soften, leaving you with a flavorful, tender bite instead of something too chewy.
The secret to great grilling? Match your cooking method to the cut, and you’ll bring out the best flavor and texture every time!
How can I grill meat so it’s juicy, flavorful, and perfectly cooked every time?
To get meat that’s juicy, full of flavor, and cooked just right on the grill, preparation is key. Start by picking high-quality cuts with good marbling for added tenderness. If you’re grilling lean meats like chicken breasts, consider brining them first – it helps lock in moisture. Season the meat generously, but don’t go overboard; you want the natural flavors to stand out.
Make sure your grill is preheated to ensure even cooking, and always use a meat thermometer to hit the perfect doneness. For medium-rare beef, aim for an internal temperature of 145°F, and for chicken, make sure it reaches 165°F. After grilling, let the meat rest for 5–10 minutes. This step allows the juices to redistribute, keeping every bite tender and flavorful. And one last tip – don’t press down on the meat while it’s cooking. Doing so can squeeze out those precious juices you worked so hard to keep.
Why should you let meat rest after grilling, and how does it improve the flavor and texture?
Letting meat rest after grilling is a crucial step for achieving a juicy, flavorful result. When heat cooks the meat, it pushes the juices toward the center. By letting the meat sit for a while after cooking, these juices have a chance to redistribute evenly throughout, ensuring every bite is moist and packed with flavor.
If you skip this step and cut into the meat right away, those precious juices will spill out onto the cutting board, leaving the meat dry and less tender. To avoid this, simply wait a few minutes – around 5 to 10 minutes for smaller cuts or up to 20 minutes for larger roasts. This short pause makes all the difference in texture and taste.

