Freezing meat the right way can save you money and ensure your meals taste great. Here’s what you need to know:
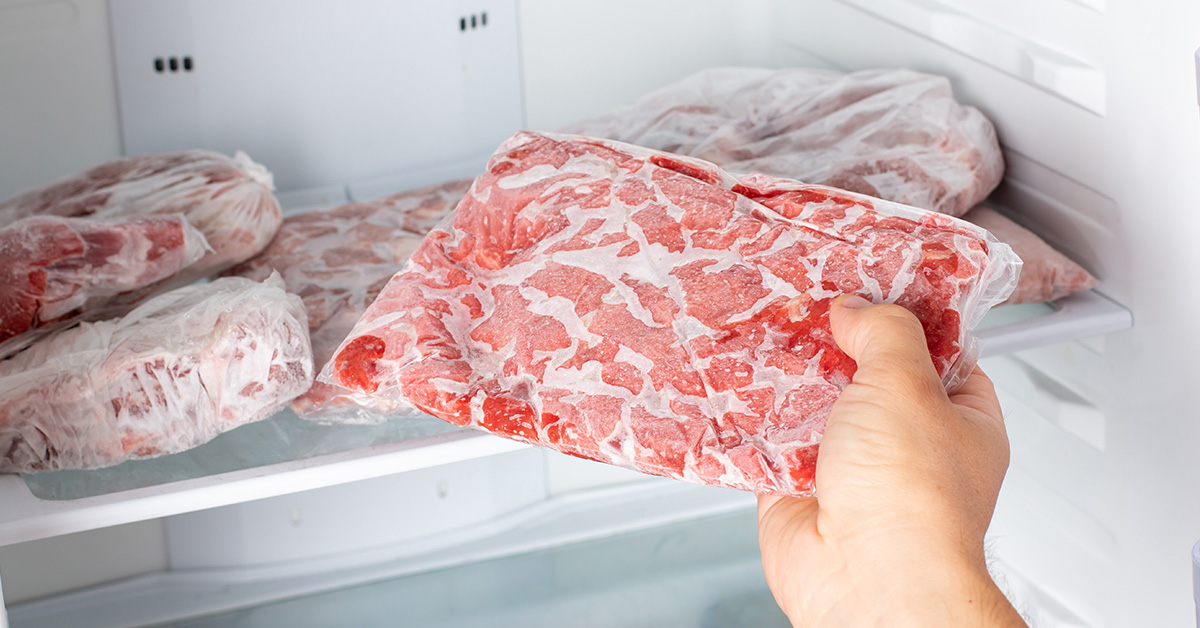
- Freeze at 0°F or lower: This halts bacterial growth and keeps meat safe for months.
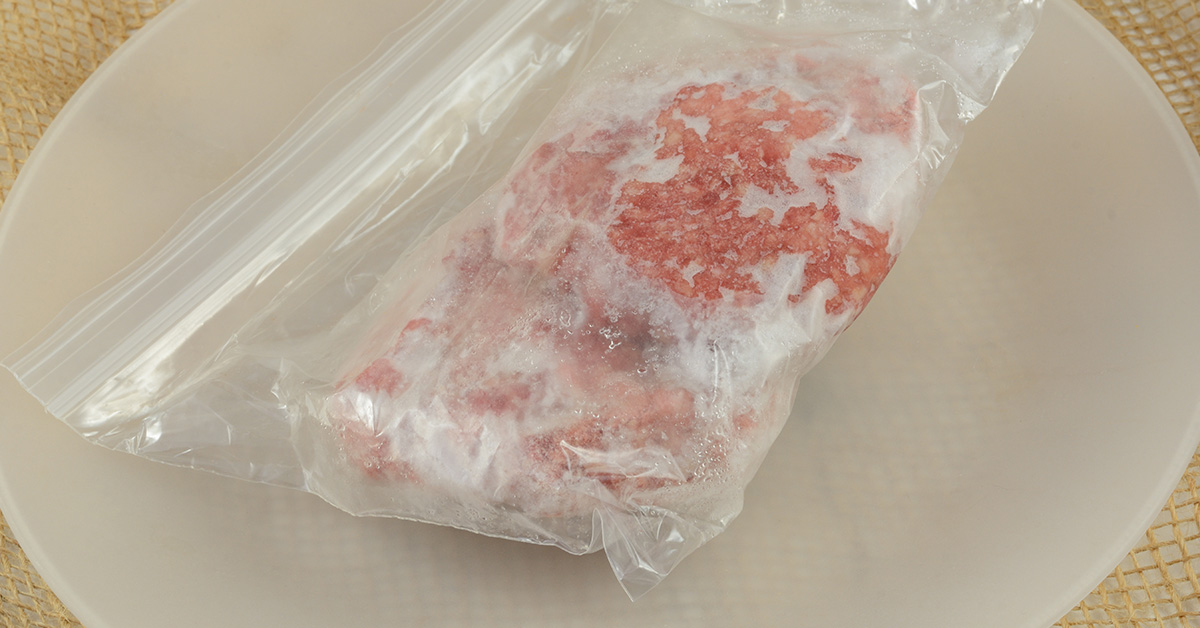
- Pack it airtight: Use vacuum sealers, heavy-duty freezer bags, or double-wrap with plastic and foil to prevent freezer burn.
- Portion your meat: Freeze in meal-sized amounts to avoid waste and speed up thawing.
- Thaw safely: Use the fridge, cold water, or microwave; never thaw meat at room temperature.
- Follow storage guidelines: Ground meat lasts 3–4 months, while steaks and roasts stay good for up to a year.
Proper storage ensures your meat stays safe, flavorful, and ready to cook when you need it.
How To Store and Freeze Meats
Freezing Basics for Meat
Knowing how freezing works is key to keeping your meat fresh and flavorful. Done correctly, freezing protects taste, texture, and ensures safety.
How Freezing Preserves Meat Quality
Freezing slows down the natural processes responsible for meat spoilage. At the right temperature, freezing pauses bacterial growth and enzyme activity that would otherwise break down proteins and fats. It’s important to note that freezing doesn’t kill bacteria – it simply stops them from multiplying. That’s why proper thawing and cooking are essential for safety. This method not only extends shelf life but also keeps the meat’s nutrients intact.
Meat frozen shortly after processing holds onto its original texture and flavor much better than meat left in the fridge for days before freezing. The timing really matters.
Water content in meat also plays a big role in freezing quality. When water freezes, it forms ice crystals. Smaller ice crystals are better because they preserve the meat’s texture. Larger crystals, on the other hand, can damage the meat’s cells, leading to mushiness or moisture loss during cooking. This is why controlling freezing conditions is so important.
Best Freezer Temperatures
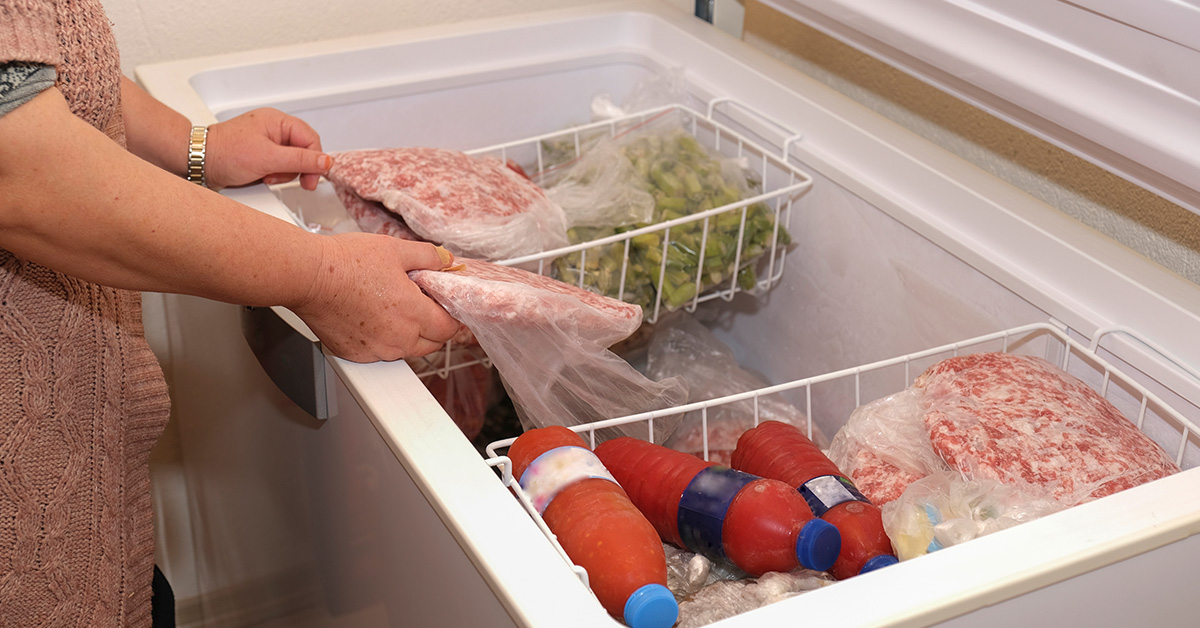
For long-term meat storage, your freezer should stay at 0°F (-18°C) or lower. This temperature halts bacterial growth completely and helps maintain meat quality for months. If your freezer fluctuates between 5°F and 10°F, storage time decreases, and bacteria may slowly begin to multiply.
It’s a good idea to check your freezer’s temperature regularly using a reliable thermometer. Place it in the center of the freezer, away from the walls and door. Chest freezers are often better at keeping temperatures stable because they lose less cold air when opened. That said, upright freezers can work just as well with proper maintenance.
Temperature stability is crucial. Every time the freezer goes above 0°F, ice crystals in the meat start to melt and refreeze. This process creates larger crystals that damage the meat’s structure. To help maintain steady temperatures, avoid overpacking your freezer – leave enough space for air circulation. At the same time, keeping it reasonably full helps stabilize the temperature because frozen items act like thermal mass.
Quick Freezing Methods for Home Cooks
Once your freezer is set to the right temperature, freezing meat quickly can further protect its quality. While commercial processors use flash freezing, you can replicate similar results at home with a few simple techniques.
Single-layer freezing is one of the best methods. Lay individual meat portions on a parchment-lined baking sheet, ensuring they don’t touch. Place the sheet in the coldest part of your freezer (usually the back or bottom) for 2-4 hours until the meat is fully frozen. After that, transfer the portions to storage containers or freezer bags.
For larger cuts like roasts or whole chickens, place them directly on the freezer shelves instead of containers. This allows cold air to circulate freely around the meat, speeding up the freezing process. Once frozen solid, move them to proper storage packaging.
Avoid stacking fresh meat pieces on top of each other before they’re frozen. Stacking slows down freezing, leading to uneven results. This can compromise quality by giving bacteria more time to grow and allowing larger ice crystals to form.
For even faster freezing, set your freezer to its coldest setting (around -10°F to -20°F) for the first 24 hours after adding fresh meat. Just remember to reset it to 0°F afterward to save energy and prevent freezer burn on items stored long-term.
Packaging Materials and Methods for Freezing
To maintain the quality of frozen meat, proper packaging is just as important as freezing techniques. The key is to eliminate air exposure, which helps prevent freezer burn and preserves flavor. Below are some effective methods to ensure your frozen meat stays fresh and delicious.
Best Packaging Options
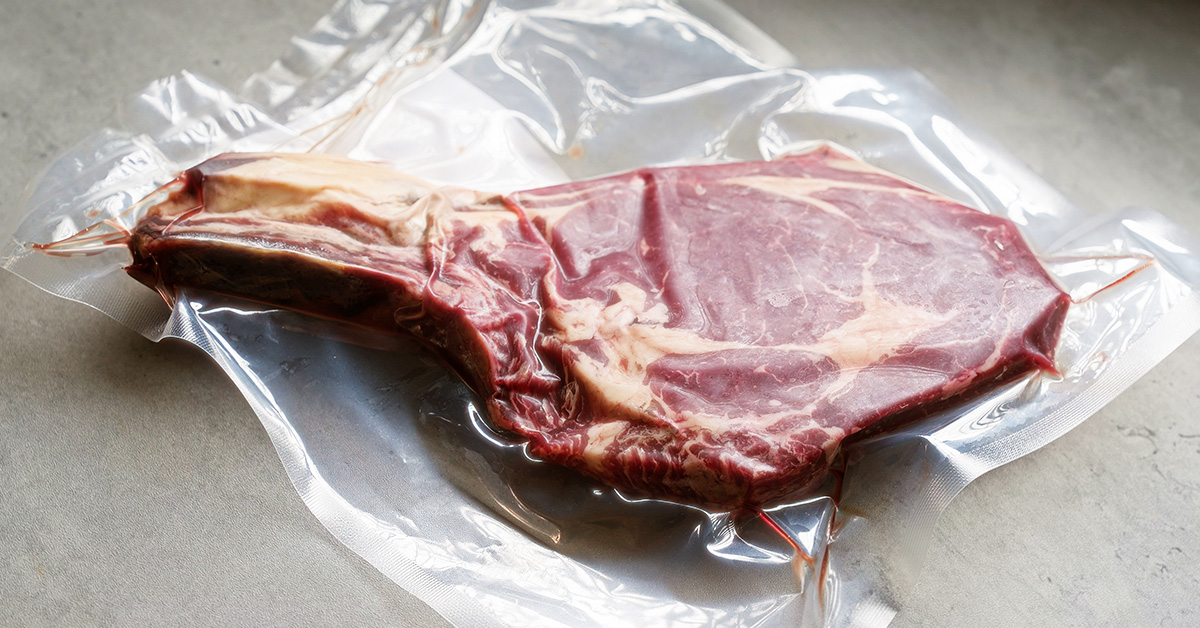
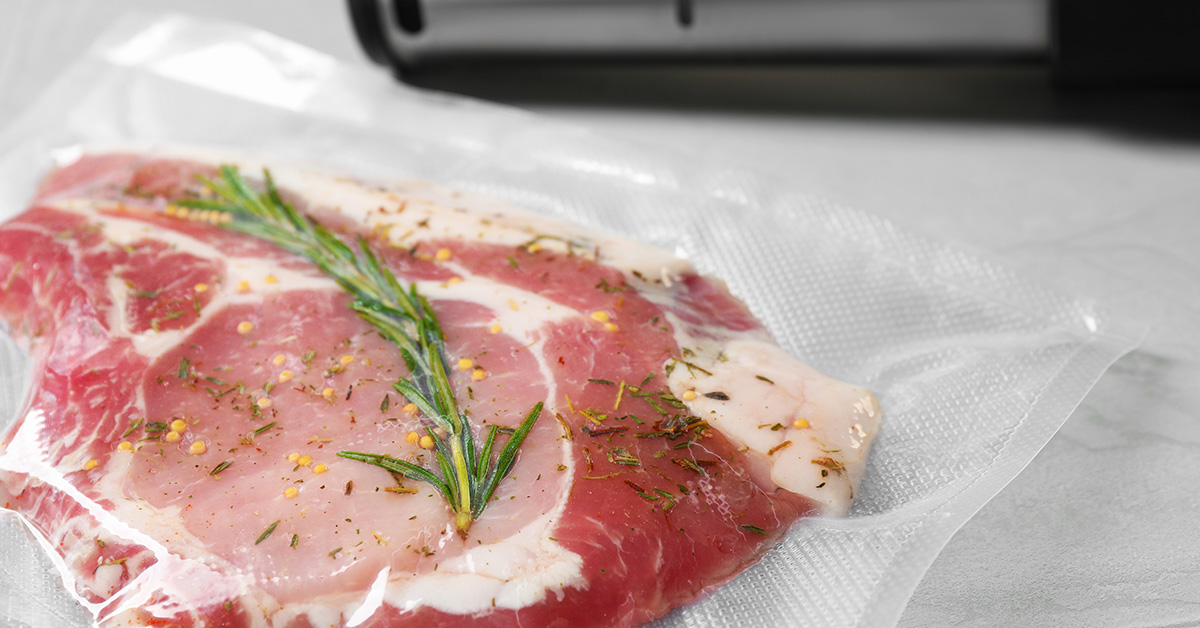
Vacuum sealing is one of the most effective methods. It removes air completely, keeping oxygen and moisture out, which significantly extends the meat’s shelf life.
Double-Wrapping and Air Removal
If you don’t have a vacuum sealer, you can still achieve great results by double-wrapping the meat. Start with a tight layer of plastic wrap to push out as much air as possible. For poultry packaged in shrink-wrap bags, you can use a simple trick: insert a drinking straw into the cavity, twist the bag tightly around the straw, and briefly dip it in hot water. The heat will shrink the bag, forcing out excess air. Once done, quickly remove the straw and seal the bag.
Labeling for Easy Identification
Proper labeling is essential to avoid confusion and ensure you use older meat first. Clearly write the type of meat, cut, weight, and freezing date on each package. Use waterproof markers or freezer labels that won’t come off in cold conditions. For added convenience, you can include cooking instructions or portion details to simplify meal planning.
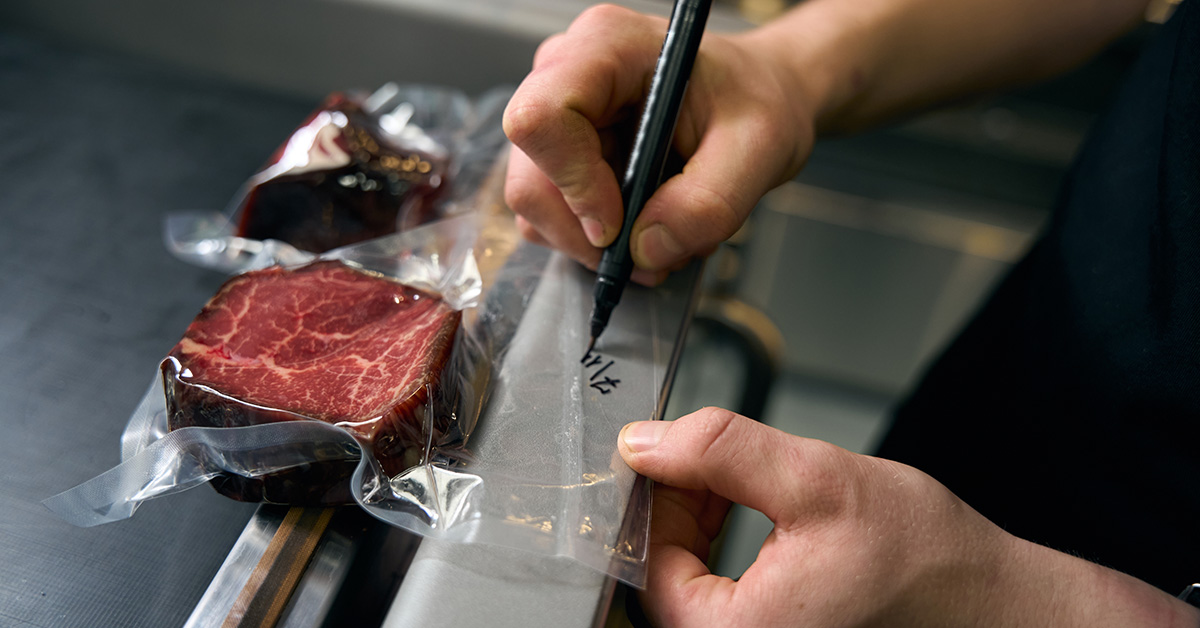
When dating your packages, stick to the MM/DD/YYYY format commonly used in the United States. This makes it easy to follow the "first in, first out" rule, helping you use older items before newer ones and reducing food waste.
Portioning and Organizing Meat for Freezing
Portioning Meat Before Freezing
Breaking meat into meal-sized portions is a smart way to save time in the kitchen and cut down on waste. Freezing food in portions ensures you only thaw what you need. As one expert puts it:
"If you freeze your food in a massive container, you’ll have to thaw that entire container of food in order to eat it. If this is more food than your family can eat, you’ll end up with a lot of food waste. That’s why it’s essential to freeze your food in the portions that make sense for you."
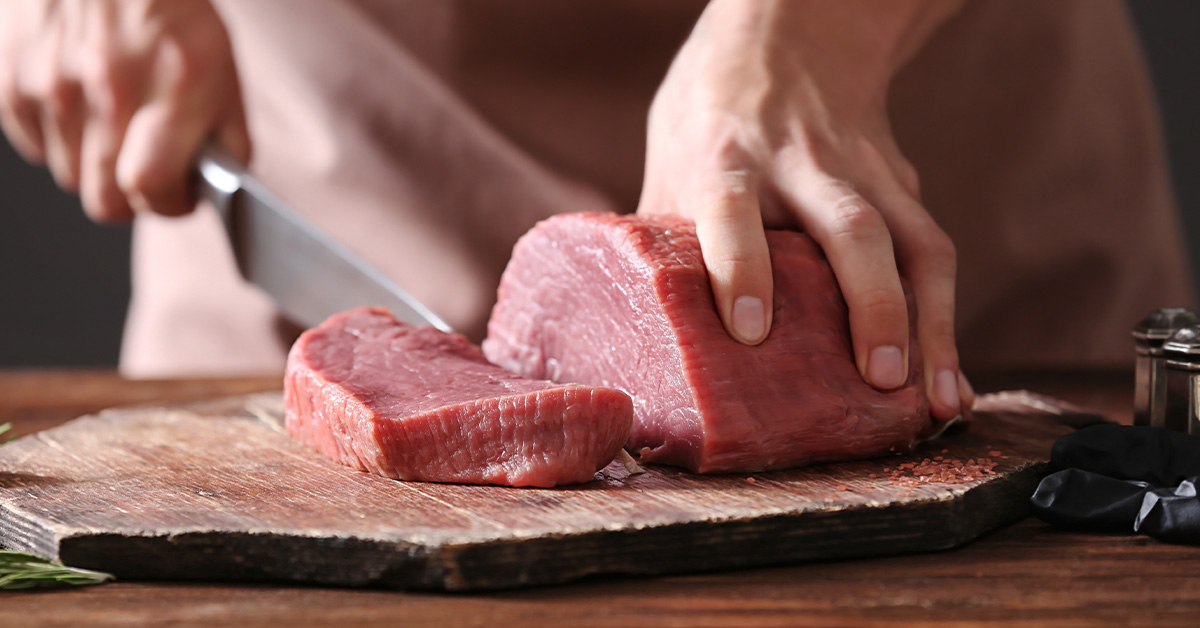
For ground meat, try dividing it into 1–2 lb portions and placing them in gallon-sized freezer bags. Flatten the bags with a rolling pin before sealing – this creates thin, uniform packages that thaw quickly and are easy to stack vertically. For individual items like chicken breasts, pork chops, or steaks, freeze each piece separately on a cookie sheet until firm, then transfer them to larger reusable freezer bags. This prevents sticking and allows you to grab only what you need for a meal.
Silicone bags are a reusable, dishwasher-safe alternative to disposable plastic bags. For items like bacon strips or fish fillets, you can use cereal box liners as dividers. Simply clean, dry, and cut the liners into strips to keep pieces from sticking together.
If you’re experimenting with a new recipe or cut of meat, start small. Freeze just 1–2 portions to see how well it thaws and reheats before committing to larger batches. Once your portions are ready, the next step is organizing your freezer for easy access.
Freezer Organization Tips
A well-organized freezer makes meal prep easier and reduces waste. Souper Cubes® trays are a handy tool for portioning. These durable silicone trays freeze food into consistent sizes – options include 2-cup, 1-cup, half-cup, or even 2-tablespoon portions. Once frozen, pop the cubes out and store them in freezer bags for compact storage.
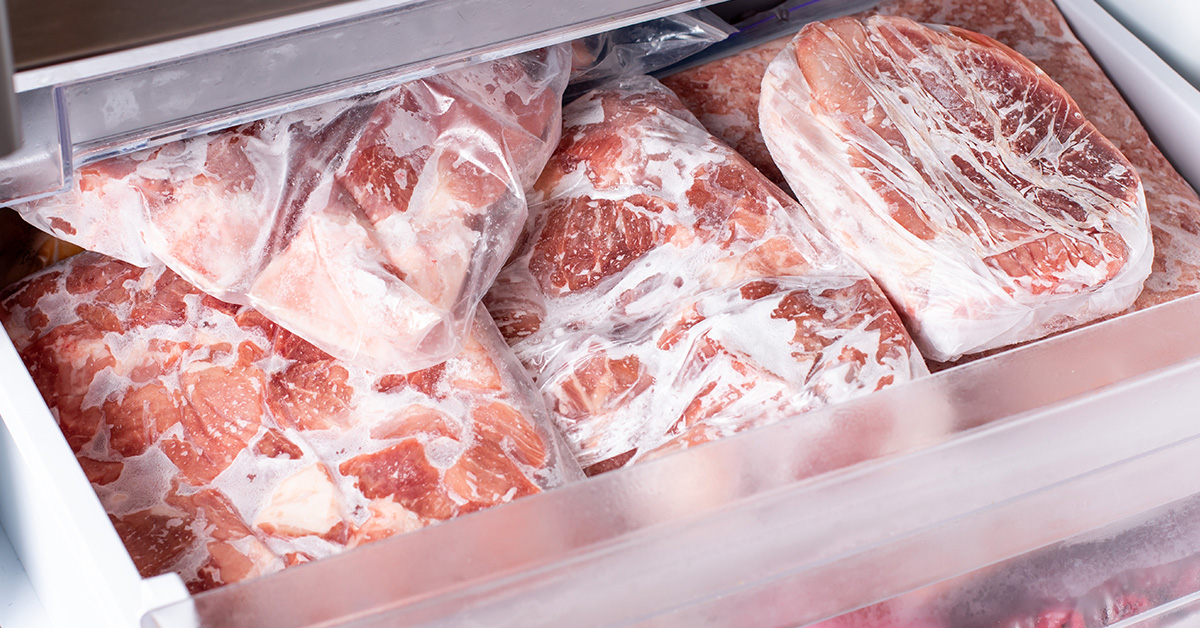
Flat freezing is another great space-saving trick. Flattened packages stack neatly and take up less room in the freezer.
Don’t forget to label your freezer bags. Use a Sharpie to note the contents and date (MM/DD/YYYY format works best). If you’re reusing bags, the marker wipes off easily with a little hand sanitizer. Keeping a "first in, first out" system ensures older items get used before newer ones, helping you stay organized and reduce waste.
sbb-itb-5ae85c5
Storage Times for Different Types of Meat
Storage Times for Common Meats
Understanding how long different meats can stay frozen helps with meal prep and cutting down on waste. Fresh meats tend to last longer in the freezer than processed ones, but maintaining a steady temperature of 0°F (–18°C) is key to preserving their quality.
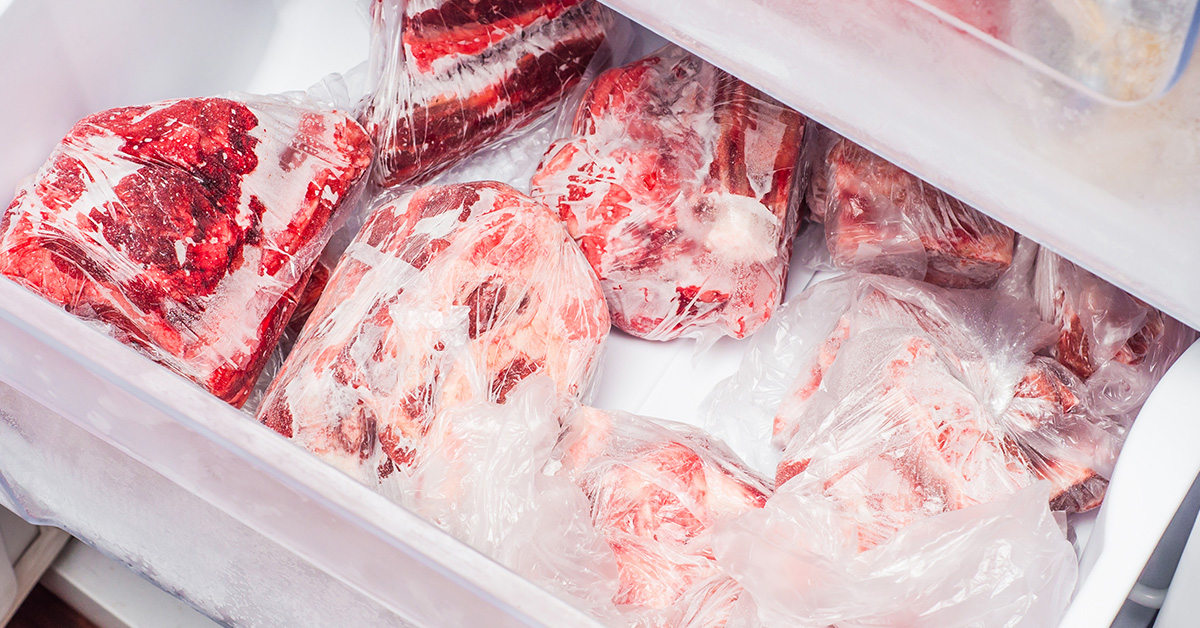
| Meat Type | Maximum Freezer Storage Time |
|---|---|
| Ground beef, pork, lamb | 3–4 months |
| Beef steaks and roasts | 6–12 months |
| Pork chops and roasts | 4–6 months |
| Whole chicken or turkey | 12 months |
| Chicken pieces | 9 months |
| Duck and goose | 6 months |
| Fish (lean varieties) | 6 months |
| Fish (fatty varieties like salmon) | 2–3 months |
| Venison and elk | 8–12 months |
| Wild turkey | 8–12 months |
| Bacon | 1–2 months |
| Ham (whole) | 1–2 months |
| Sausages | 1–2 months |
While frozen meat is safe to eat indefinitely, its quality – things like texture, flavor, and moisture – starts to decline after these recommended storage times. Leaner meats generally hold up better than fatty ones because fat can go rancid, even in the freezer. Ground meats have shorter storage times, as grinding increases surface exposure to air, making them more vulnerable to freezer burn. Wild game, such as venison or elk, often lasts longer because of its lower fat content and unique muscle structure, provided it’s properly processed and packaged.
Processing methods, like smoking or curing, can also affect these storage durations.
Fresh vs. Smoked or Processed Meats
Fresh, unprocessed meats tend to freeze better and for longer than smoked or cured options. While curing and smoking extend refrigerated shelf life, they can shorten how long the meat stays at its best in the freezer. For instance, fresh pork belly can last 4–6 months frozen, but bacon is best consumed within 1–2 months. This is due to the salt and nitrates in bacon, which alter how ice crystals form, leading to quicker texture changes.
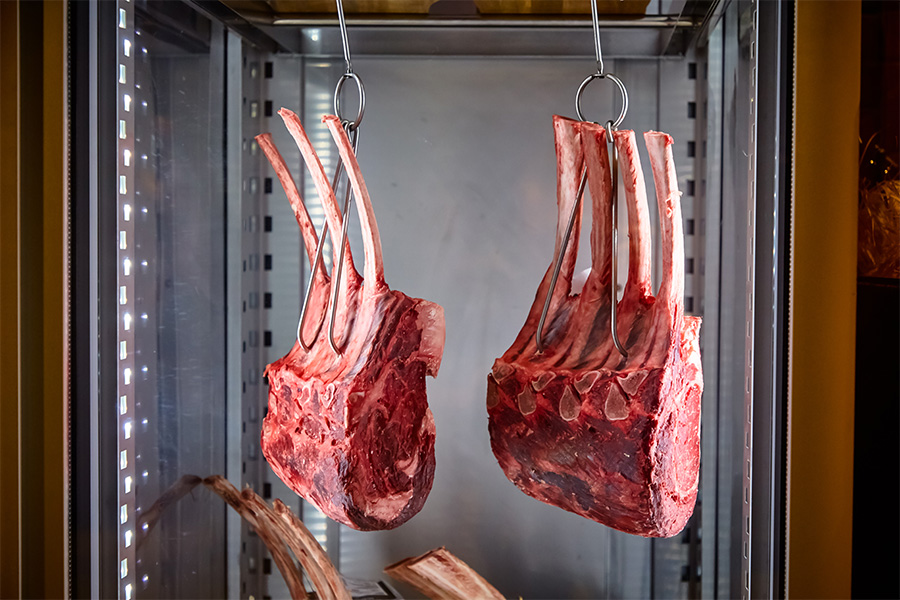
The same applies to smoked meats like ham, smoked turkey, or kielbasa. Their added moisture and salt content reduce their optimal freezer life. Deli meats and pre-cooked sausages have even shorter storage times – around 1–2 months – because their higher moisture levels make them more prone to texture changes when frozen.
If you plan to freeze these items, slice them beforehand and place parchment paper between slices to prevent sticking. For the best results, freeze them in their original, unopened packaging or rewrap tightly using freezer paper or heavy-duty aluminum foil. Double-wrapping can provide extra protection against freezer burn and help preserve their quality for a bit longer.
Safe Thawing and Using Frozen Meat
Safe Thawing Methods
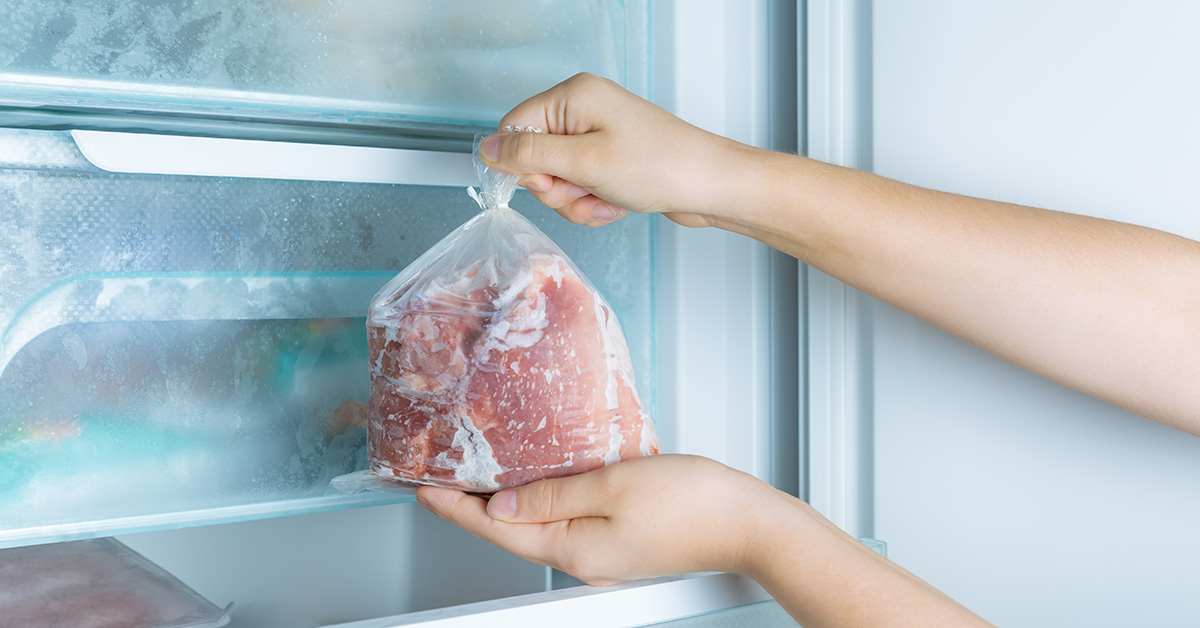
Once your meat is properly frozen and packaged, thawing it the right way is just as important to maintain both flavor and safety. The refrigerator method is the gold standard for thawing frozen meat. Simply place the meat on a plate or shallow dish to catch any drips, and let it thaw slowly in the fridge at 40°F (4°C) or below. While this method takes time – about 24 hours for every 4–5 pounds of meat – it ensures the meat stays at a safe temperature throughout the process.
If you’re short on time, the cold water method is a solid alternative. Seal the meat in a leak-proof bag, submerge it in cold water, and change the water every 30 minutes to keep it cold. This method typically takes about 30 minutes per pound for smaller cuts and up to an hour per pound for larger roasts. Be sure to avoid using warm or hot water, as it can create temperature zones that encourage bacterial growth.
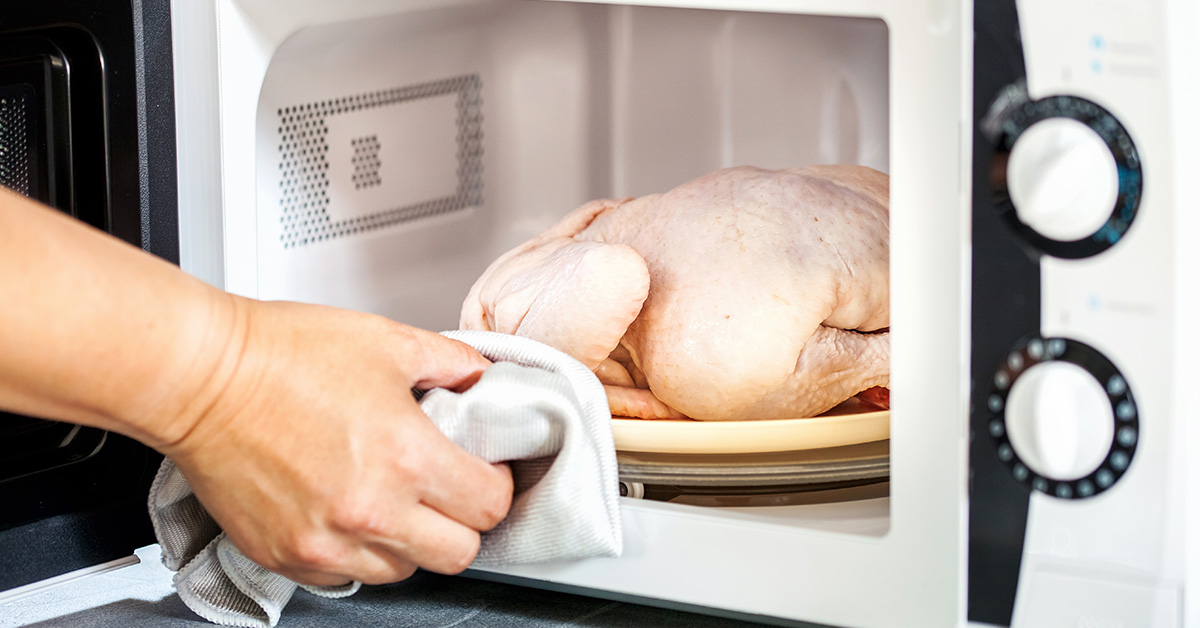
For those in a hurry, microwave thawing is the quickest option. Use your microwave’s defrost setting, adjusting for the meat’s weight. However, keep in mind that this method often leads to uneven warming, so you’ll need to cook the meat immediately after thawing to ensure safety.
One method you should never use is room temperature thawing. Leaving meat out on the counter might seem convenient, but it’s risky. The outer layers of the meat can quickly enter the "danger zone" (40–140°F or 4–60°C), where bacteria like Salmonella and E. coli thrive, even if the center remains frozen. This makes the meat unsafe to eat, even after cooking.
Once you’ve safely thawed your meat, focus on preserving its quality for the best results.
Maintaining Quality During Thawing
Thawing meat often leads to some moisture loss, but you can minimize this with a few simple techniques. For the refrigerator method, placing the meat on a wire rack inside a rimmed baking sheet can help. This setup keeps the meat from sitting in its own juices, which can affect its texture. Before cooking, pat the meat dry with paper towels to help it brown and sear more effectively.
Avoid refreezing raw meat once it’s been thawed. Every freeze-thaw cycle damages the muscle fibers and increases moisture loss, resulting in a mushy texture. If you’ve thawed more meat than you need, cook it first, then freeze the cooked portions for later use.
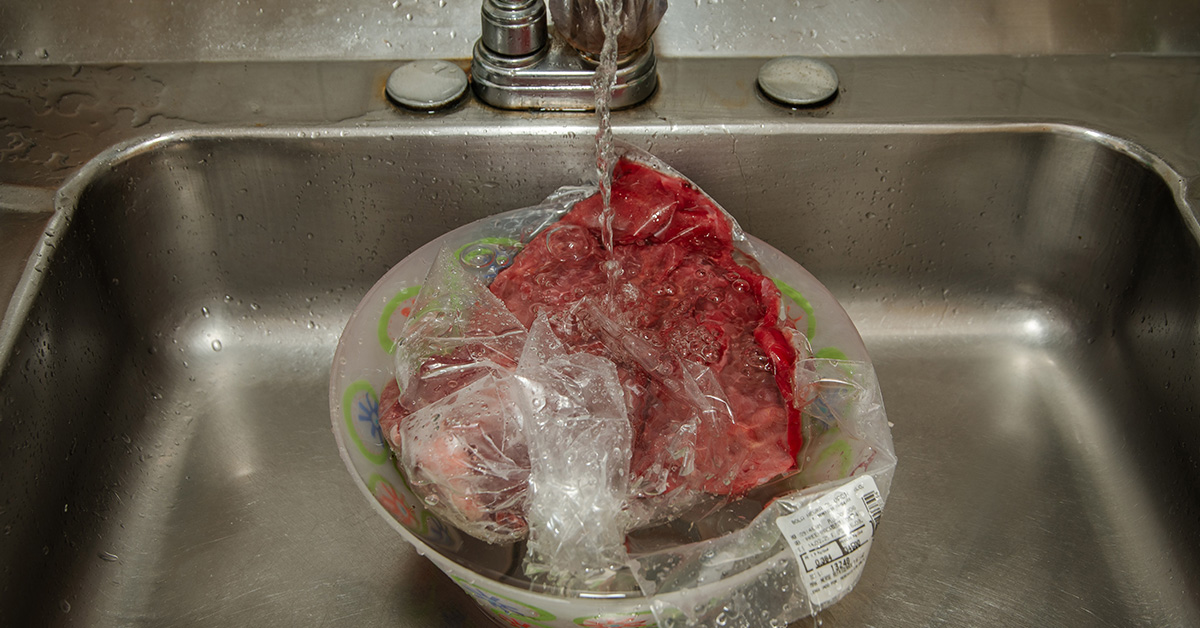
For ground meats, start breaking up large frozen blocks as they soften during thawing. This ensures even thawing and prevents the outer layers from warming too much while the center remains frozen. With steaks and chops, avoid pressing or squeezing them during thawing, as this can force out their natural juices.
Timing is key to maintaining quality. Start thawing early to avoid rushing into methods like running water or microwaving, which can compromise texture and moisture retention. Meat that’s been thawed slowly tends to have a better texture and flavor compared to meat thawed quickly.
Once thawed, use refrigerated ground meat within 1–2 days and whole cuts like steaks, chops, and roasts within 3–5 days. Poultry should also be used within 1–2 days. If you notice any unusual odors, slimy textures, or discoloration, it’s best to discard the meat, no matter how long it’s been thawed. Safety always comes first!
Preventing Freezer Burn and Maintaining Meat Quality
How Freezer Burn Happens
Freezer burn is a common issue that can ruin the quality of your frozen meat, but knowing how it happens can help you avoid it. It occurs when cold, dry air draws moisture out of the meat’s outer layers. Though it’s called "burn", it’s not actual burning. Instead, ice crystals on the surface of the meat skip the melting stage and turn directly into vapor – a process known as sublimation.
As moisture escapes, the meat develops noticeable signs of freezer burn. You might see dry, discolored patches, and the texture becomes tough and unappealing. The flavor also takes a hit, often leaving even high-quality cuts tasting dull or stale. The meat shrinks and loses its natural juiciness.
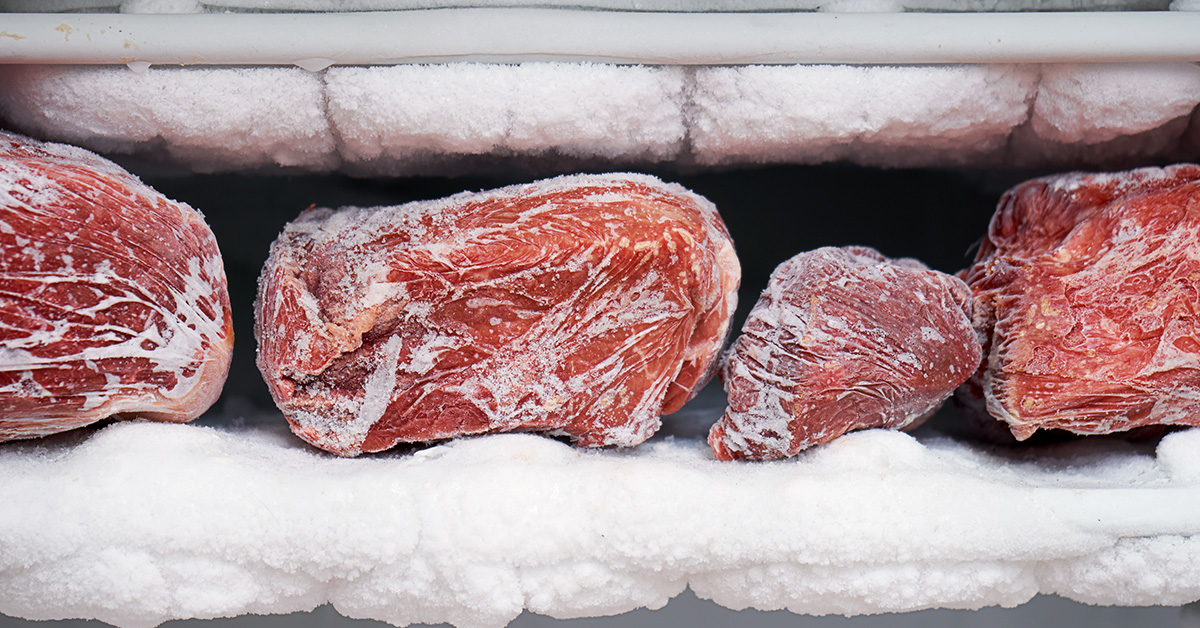
Standard grocery store packaging, like foam trays wrapped in plastic, offers limited protection. It’s only effective for about two months before freezer burn begins to affect the meat. That’s because supermarket plastic wrap is not airtight – it allows oxygen to seep in, which accelerates dehydration. This highlights the importance of proper packaging, as mentioned earlier. Reducing air exposure during storage is key to preventing freezer burn and keeping your meat flavorful and tender.
Conclusion: Key Points for Meat Freezing and Storage
To keep meat safe and maintain its quality, it’s essential to store it at a steady 0°F (-18°C).
Equally important is the packaging. Using vacuum sealers, freezer paper, or heavy-duty freezer bags can help lock in freshness and flavor. Pre-portioning meat before freezing not only saves time during meal prep but also prevents unnecessary thawing of more than you need.
Label your portions clearly and organize them using a first-in, first-out system to minimize waste. Stick to recommended storage times: ground meats are best used within 3–4 months, while whole cuts maintain their quality for 6–12 months.
When it’s time to thaw, do it safely to protect the meat’s texture and taste. Opt for refrigerator or cold-water methods, and avoid thawing at room temperature or in the microwave.
FAQs
How can I prevent freezer burn when storing meat for a long time?
To keep your meat fresh and avoid freezer burn, start by using airtight packaging such as vacuum-sealed bags or heavy-duty freezer wrap. These materials help limit air exposure, which is key to preserving quality. Before sealing, try to remove as much air as possible. Also, make sure to pat the meat dry beforehand to cut down on excess moisture that can lead to ice crystals forming.
Set your freezer to 0°F (-18°C) or lower to ensure the best storage conditions. For even more protection, you can use freezer-safe containers or double-wrap the meat with plastic wrap followed by aluminum foil. Keeping your freezer organized and avoiding overcrowding will also help maintain steady temperatures, reducing the chances of freezer burn over time.
How can I keep my freezer at the right temperature to preserve meat quality?
To keep your meat fresh and safe, set your freezer to 0°F or lower – this is the ideal temperature for food storage. Use an appliance thermometer to monitor the freezer’s temperature regularly and make sure it remains steady.
Try to limit how often you open the freezer door, as this can lead to temperature changes. Also, avoid packing the freezer too full. Leaving enough space for air to circulate ensures even cooling throughout.
What’s the best way to safely thaw frozen meat without losing its quality?
The safest ways to thaw frozen meat while keeping its quality intact include using the refrigerator, cold water, or microwave. Each approach has its advantages, depending on how much time you have and your specific needs.
- Refrigerator thawing is the most dependable option. Leave the meat in its original packaging or place it on a plate to catch any drips, and make sure your fridge stays at or below 40°F. While this method takes longer, it thaws the meat evenly and minimizes the risk of bacterial growth.
- Cold water thawing is much quicker but requires some monitoring. Seal the meat in a leak-proof bag and submerge it in cold water, changing the water every 30 minutes to maintain the temperature. This method is especially handy for smaller cuts of meat.
- Microwave thawing is the fastest method but should only be used if you’re cooking the meat right away. Microwaves can thaw unevenly, so check the meat often to prevent any parts from starting to cook prematurely.
Never thaw meat on the counter, as it can quickly reach unsafe temperatures, promoting bacterial growth. Stick to these methods to ensure your meat stays safe and ready to cook.

