Cooking ribs without a smoker is easier than you think. Whether you use an oven, slow cooker, or grill, you can achieve tender, flavorful results with the right techniques. Here’s a quick summary:
- Oven: Low-and-slow heat (275°F) ensures tenderness. Wrap ribs in foil to trap steam, then finish with a caramelized glaze.
- Slow Cooker: Stand ribs upright for even cooking. Add barbecue sauce and broil at the end for crispy edges.
- Grill: Use indirect heat and wood chips for smoky flavor. Maintain a steady 275°F–300°F for best results.
Key tips:
- Remove the membrane for better seasoning penetration.
- Use a dry rub and let it sit for at least an hour (overnight is better).
- Liquid smoke or wood chips can mimic that smoky essence.
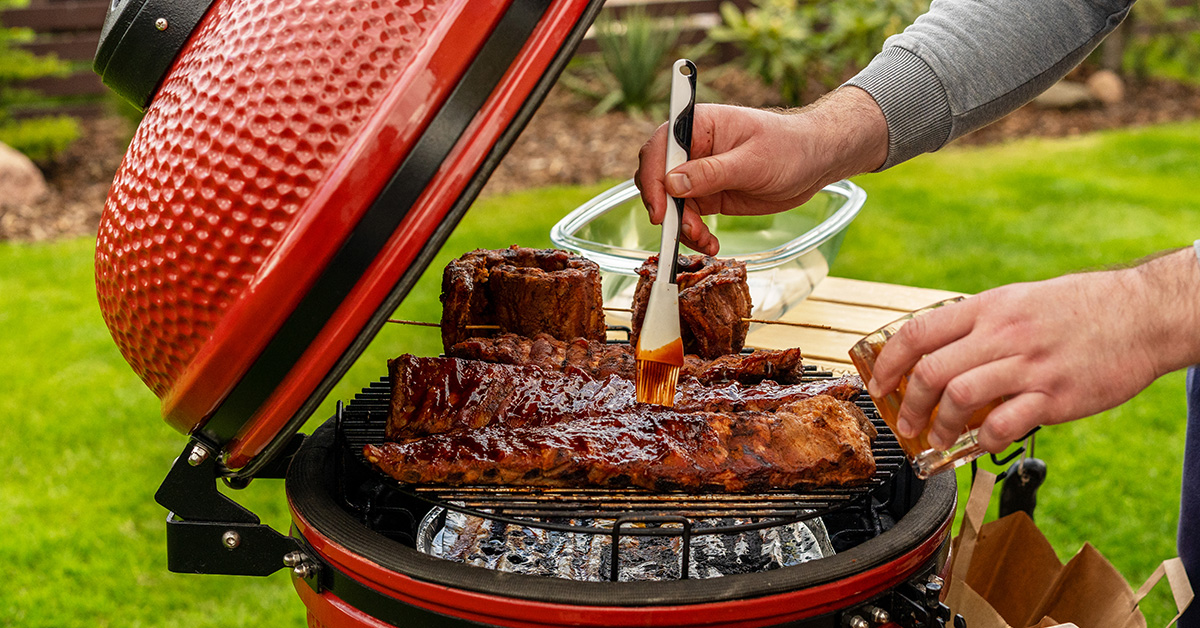
Each method delivers tender, juicy ribs without needing a smoker. Choose the one that fits your tools and schedule!
Choosing and Preparing the Ribs
Preparing Ribs for Cooking
Getting your ribs ready the right way can make all the difference. Start by trimming off any excess fat and loose bits of meat from the rack. While a little fat adds flavor, too much can block your seasonings from soaking in and might cause flare-ups when cooking.
One step you absolutely can’t skip is removing the membrane from the bone side of the ribs. This thin, papery layer acts like a shield, keeping your seasonings from reaching the meat and making the ribs harder to chew. Steven Raichlen, a five-time James Beard Award-winner and Barbecue Hall of Famer, insists that taking off the membrane is key to achieving tender ribs and allowing the smoke and spices to work their magic. To do this, slide a butter knife or spoon under the membrane at one end of the rack, lift it carefully, and grab it with a paper towel to pull it off. If it tears, don’t worry – just keep at it until it’s completely gone.
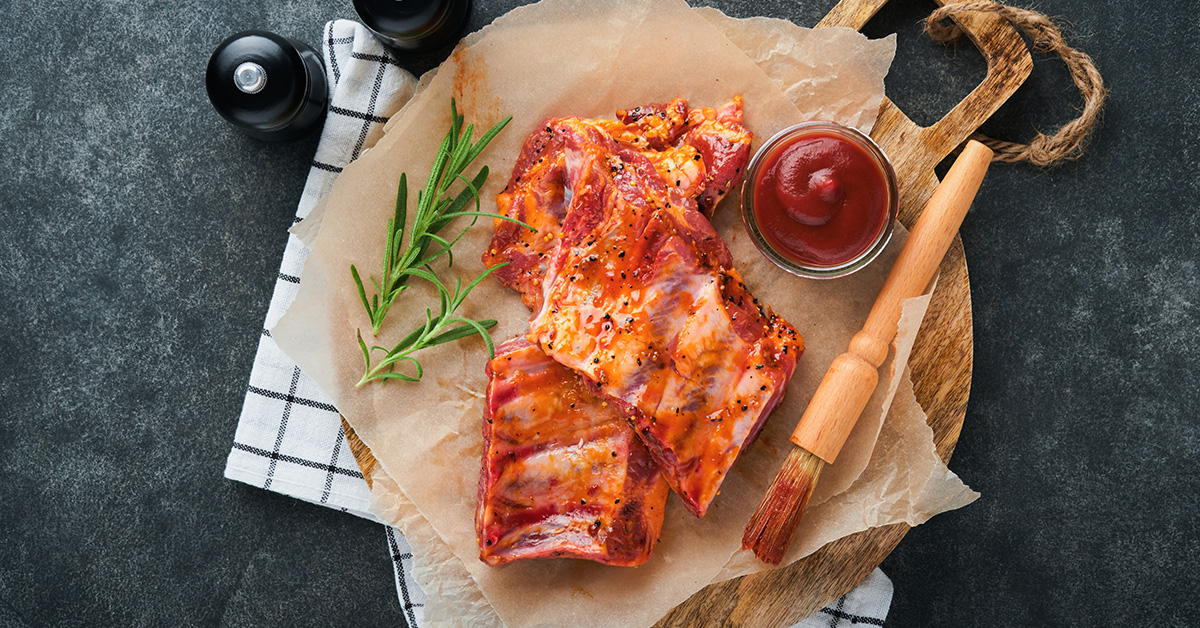
Once trimmed and membrane-free, pat the ribs dry with paper towels. This step is crucial because drying the surface helps the rub stick better and creates that coveted "bark" while cooking. Generously coat all sides of the ribs with a dry rub, pressing it in gently to ensure it adheres. For the best results, season the ribs at least an hour before cooking – or even better, let them sit overnight in the fridge.
"The salt in the rub draws some of the moisture from the surface of the meat, giving you better bark." – Steven Raichlen, 5-time James Beard Award-winner and Barbecue Hall of Famer
This process, often called dry brining, helps create a flavorful crust on the ribs. Once your ribs are prepped and seasoned, you’re ready to dive into the next steps to build layers of flavor.
What’s the best method for making Oven Ribs?
Seasoning and Marinades: Building Flavor
Once your ribs are prepped and dry-brined, it’s time to bring that smoky barbecue flavor to life – even without a smoker. The key? Smart use of seasonings and a touch of liquid smoke to mimic that authentic, slow-smoked taste.
Using Liquid Smoke and Other Flavor Enhancers
Liquid smoke can do wonders when used sparingly. For a gentle infusion, mix ½ cup of liquid smoke with ½ cup of water per slab of ribs and let them marinate for about an hour. This method adds a subtle smokiness without overpowering the meat.
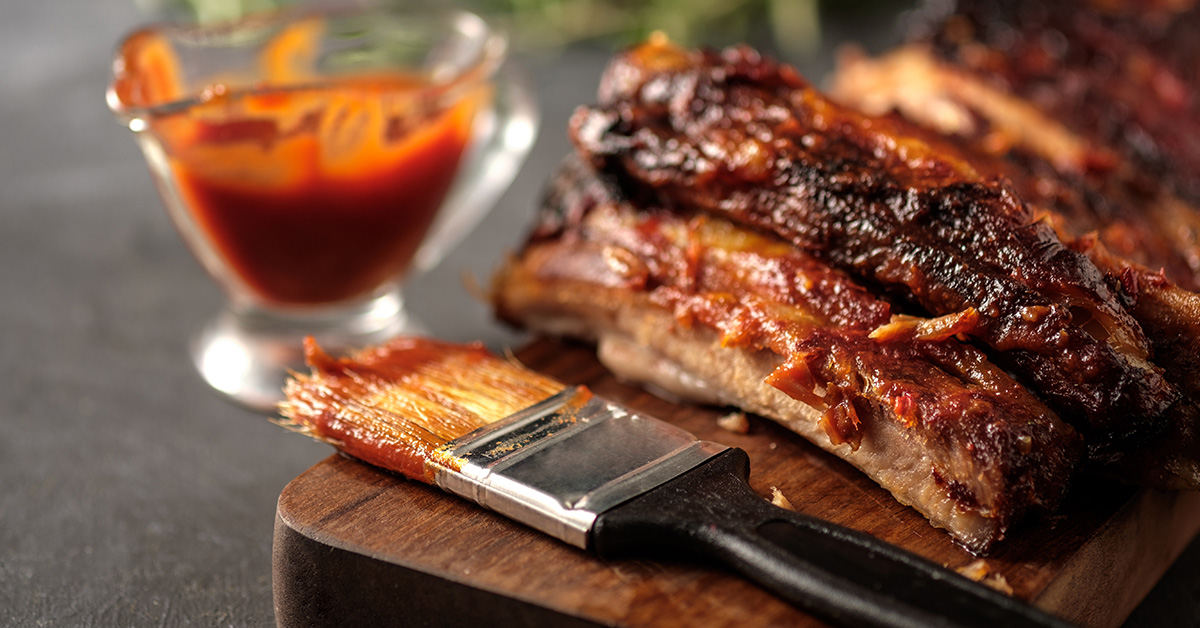
For a more direct approach, brush 1½–2 teaspoons of hickory liquid smoke onto every 4 pounds of ribs before applying your seasonings. Hickory offers that bold, classic barbecue flavor, but if you’re after something a bit sweeter, try apple liquid smoke for a softer, fruity undertone.
Want to take your barbecue sauce up a notch? Stir in ¼ teaspoon of liquid smoke, tasting as you go to keep the flavors balanced. Whether it’s in the marinade, brushed directly onto the meat, or mixed into the sauce, liquid smoke adds depth and complexity to your ribs. Combined with your dry rub, it creates a flavor profile that rivals traditional smoked ribs – no smoker required.
Alternative Cooking Methods for Smoky Ribs
Now that your ribs are seasoned and packed with smoky goodness, it’s time to cook them. Here are three methods to achieve tender, flavorful ribs without a smoker.
Oven-Baking for Tender Ribs
The oven is a dependable option for cooking ribs to perfection with minimal effort. Start by preheating your oven to 275°F–300°F. This low-and-slow approach helps break down the connective tissue, locking in the juices.
Place the seasoned ribs bone-side down on a foil-lined, rimmed baking sheet. After the first hour of cooking, wrap the ribs tightly in heavy-duty foil to trap steam, which enhances tenderness. Let them cook for 2.5 to 3 hours at 275°F, adjusting the time based on the thickness of the ribs. Baby back ribs usually cook faster than spare ribs.
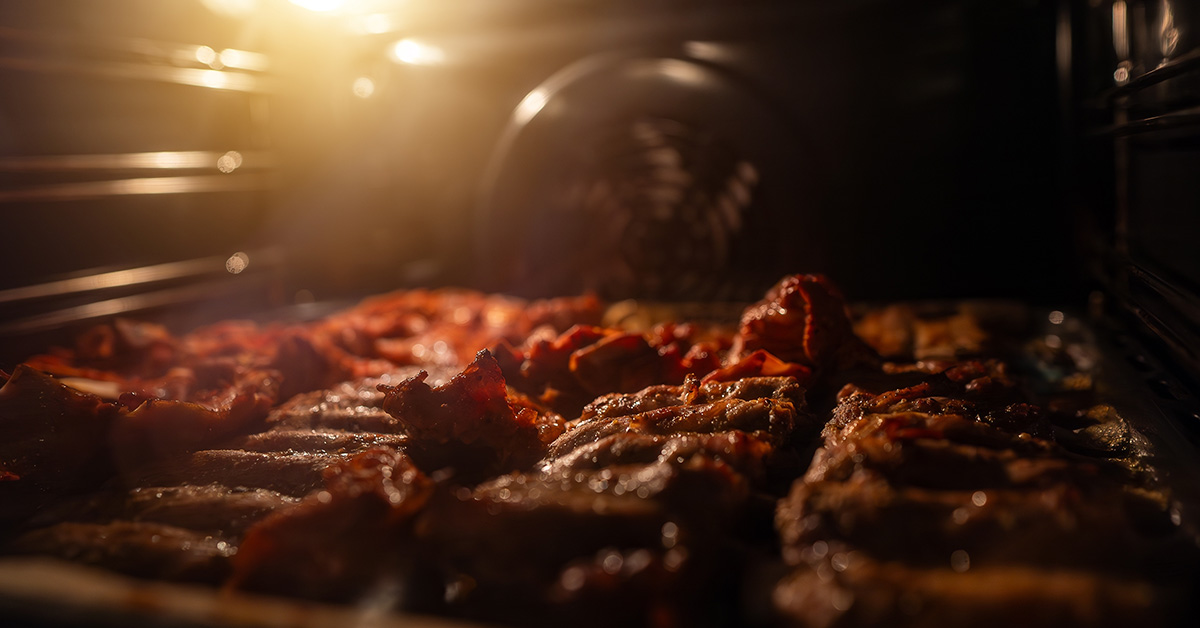
About 30 minutes before the ribs are done, unwrap them and brush on your favorite barbecue sauce. For the final touch, crank up the oven to 450°F or switch to the broiler for 3–5 minutes. Keep a close eye during this step to get a caramelized glaze without burning the edges.
Next up, let’s talk about how your slow cooker can make ribs that practically fall off the bone.
Slow-Cooking for Moist, Fall-Off-the-Bone Ribs
If you’re looking for a hands-off method, your slow cooker is a game-changer. The secret to success here is standing the ribs upright against the sides of the slow cooker instead of laying them flat.
"The trick for cooking these ribs in the crock-pot is to season them well, then stand them up in the slow cooker! This helps so that the ribs don’t drown in their own fluids and by leaning against the side of the crock-pot, you get close to crispy skin while keeping the meat tender."
After seasoning, position the ribs upright and pour about 1 cup of barbecue sauce along the edges, letting it drip down. Cook on HIGH for 4 hours or on LOW for 8 hours. This method works especially well for 2.5 to 3 pounds of ribs, as shown in The Fresh Mommy Blog’s 2025 recipe.
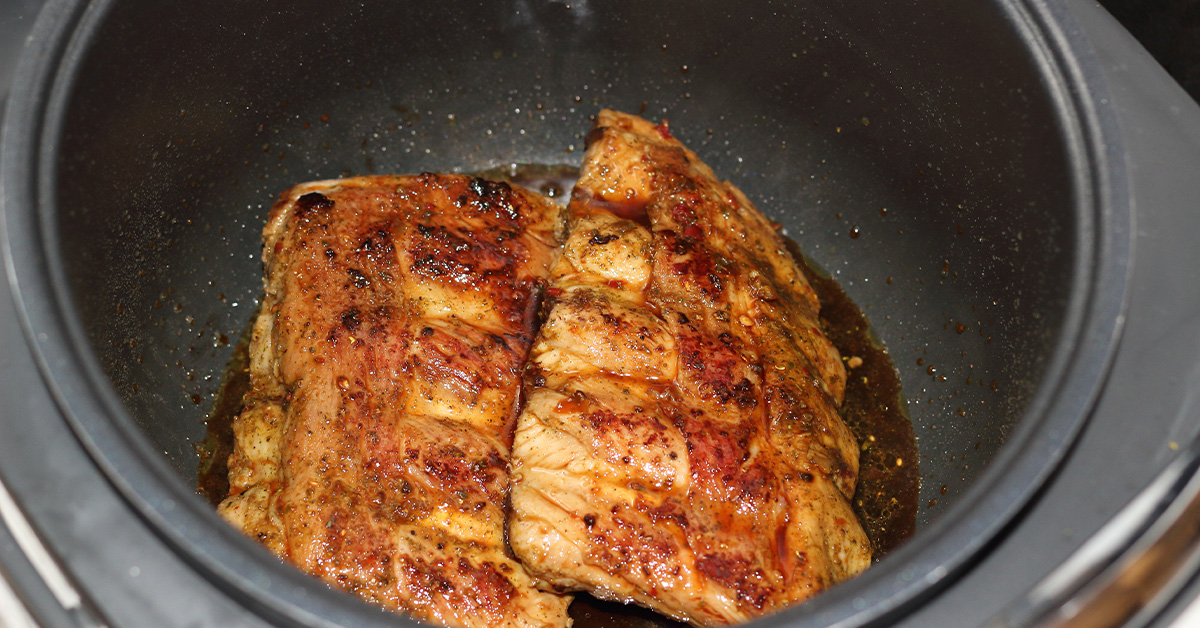
One home cook shared their success with this approach:
"These ribs were amazing. I’ve tried many recipes and almost given up making ribs at home because they lack restaurant quality. Until I saw your recipe… They were so tender, falling off the bone. And the flavor. Thank you, bless you, you are amazing. Thank you for sharing this amazing recipe." – Verified user, The Wooden Skillet
For an extra layer of flavor and to keep the ribs juicy, spray them with apple cider vinegar every 45 minutes. This simple step helps retain moisture while still allowing the ribs to develop a nice crust. To finish, place the ribs under the broiler for 2–3 minutes to caramelize the sauce and crisp the edges.
Grilling with Indirect Heat
Grilling with indirect heat is an excellent way to replicate the smoky flavor of a traditional smoker. Whether you’re using a gas or charcoal grill, this method delivers delicious results.
For a gas grill, turn on one burner to low and place the ribs on the opposite side. If you’re using charcoal, arrange the coals to one side, creating hot and cool zones.
To add a smoky flavor, make a DIY smoke generator. Wrap wood chips or chunks in heavy-duty aluminum foil, poke a few holes in the top, and place the pouch close to the heat source. Mesquite wood chips are a great choice for a bold, smoky taste.
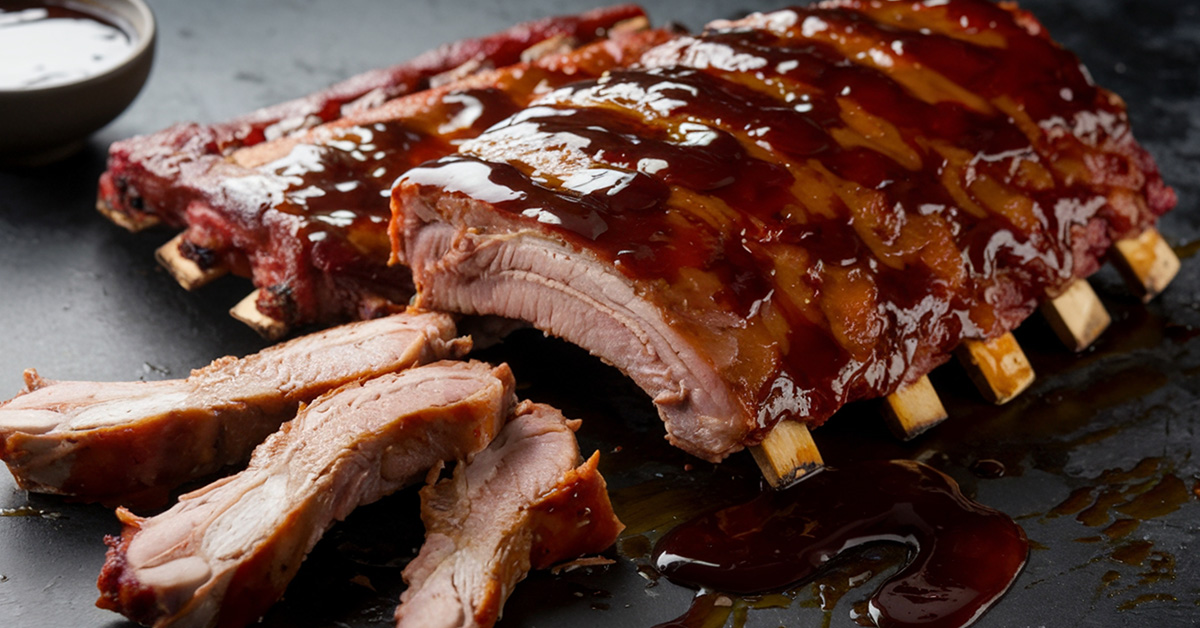
Grilling expert Jeff Phillips demonstrated how placing mesquite wood chunks near the coals and wrapping the grill in foil can produce ribs that rival restaurant quality after just 2 hours of smoking.
Keep the grill temperature between 275°F and 300°F, and smoke the ribs for at least 2 hours. Depending on the size of your ribs and how tender you want them, plan for a total cooking time of 3–4 hours.
Each of these methods offers a unique way to enjoy smoky, tender ribs. Pick the one that suits your style and get cooking!
sbb-itb-5ae85c5
Sauces and Glazes: Adding the Final Touch
Once you’ve perfected tender, smoky ribs using your preferred cooking method, the next step is to add a sauce or glaze. This final layer not only enhances the flavor but also adds a polished, mouthwatering look to your ribs. It’s the bridge between great cooking and a stunning presentation.
When and How to Apply Sauces
Timing is everything when it comes to sauces and glazes. To avoid burning and achieve the best flavor, apply them during the last 30–45 minutes of cooking. This allows the sugars to caramelize just right without becoming bitter from too much heat.
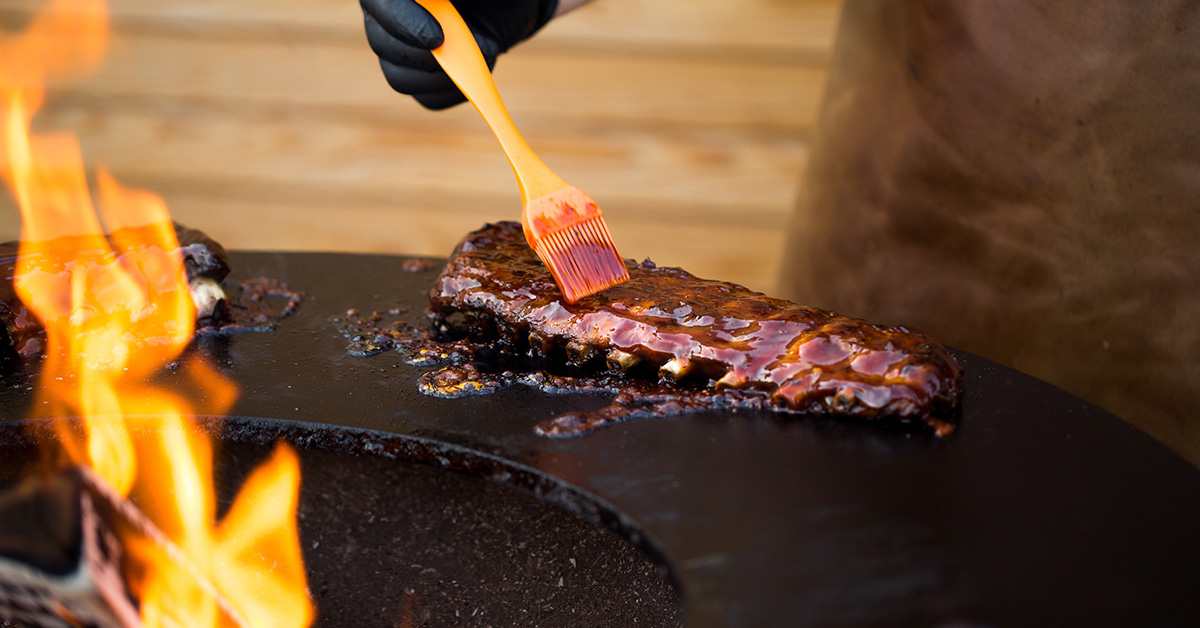
For sweeter sauces, like a bourbon glaze or honey-based mix, aim to apply them about 20 minutes before the ribs are done. This gives them just enough time to caramelize properly without overcooking. On the other hand, lighter sauces – think vinegar or mustard-based options – work best with a thin coat applied 30 minutes before finishing, followed by a second light layer about 20 minutes before the end.
Glazes, which are thicker than standard BBQ sauces, create that irresistible shiny finish as they caramelize. Brush on a thin, even layer to coat the ribs completely. For a sticky, flavorful coating, reapply every 10–15 minutes, letting the ribs go back to the heat after each application to let the glaze set.
Keep an eye out for that glossy, tacky surface on the ribs – it’s the telltale sign that they’re ready to serve.
Serving and Pairing Ideas
Once your ribs are cooked to perfection, the way you present them can make all the difference. A well-thought-out presentation not only enhances the visual appeal but also shows the care and effort that went into preparing the meal. After all, as barbecue enthusiasts often say, people "eat with their eyes first".
Resting and Slicing the Ribs
To keep the meat looking its best, slice the ribs carefully along the bone. For a family-style presentation, consider cutting portions that include two bones each.
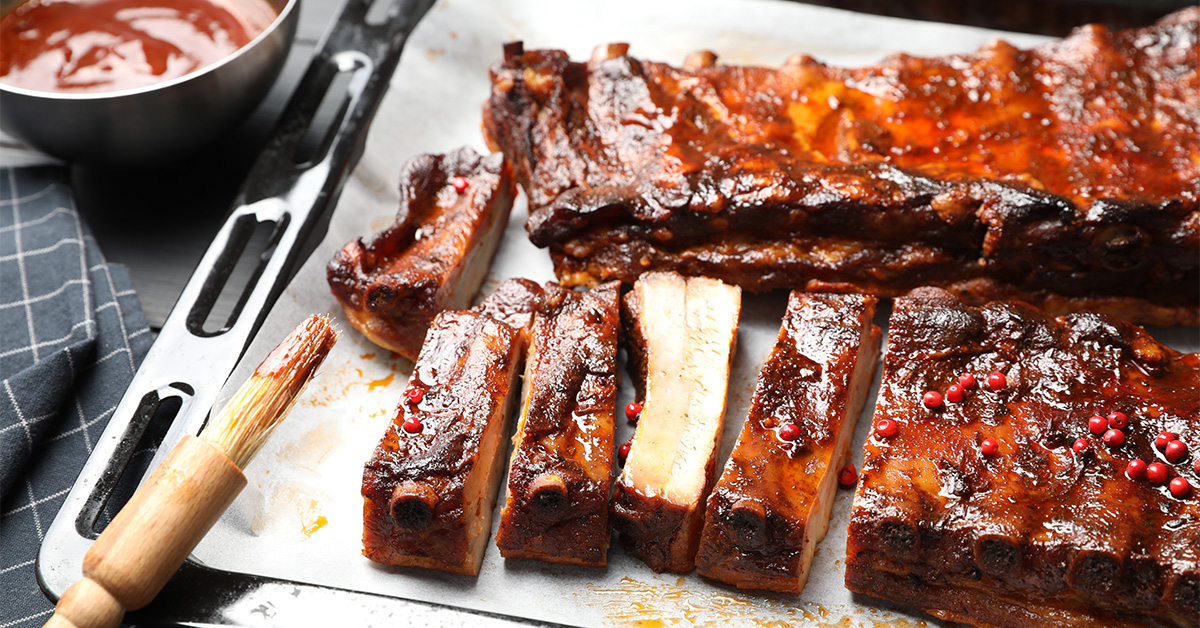
This makes sharing easy while keeping the servings neat and visually appealing.
Classic Side Dishes and Pairings
Place the sliced ribs on a large glass or ceramic platter for an elegant touch. To add a bit of flair, serve them on a bed of field greens, spring mix, or creamy mashed red potatoes. When it comes to sauce, lightly brush your chosen variety over the ribs and keep extra sauce on the side, allowing guests to adjust to their taste.
For a finishing touch, sprinkle a bit of dry rub or chopped parsley over the top. Adding a sprig of rosemary or a pickled jalapeño can give your platter a pop of color and a hint of sophistication.
Comparison of Cooking Methods
Let’s dive into how different cooking methods stack up against each other. Each technique has its own perks and drawbacks, so choosing the right one depends on your taste preferences, available time, and equipment.
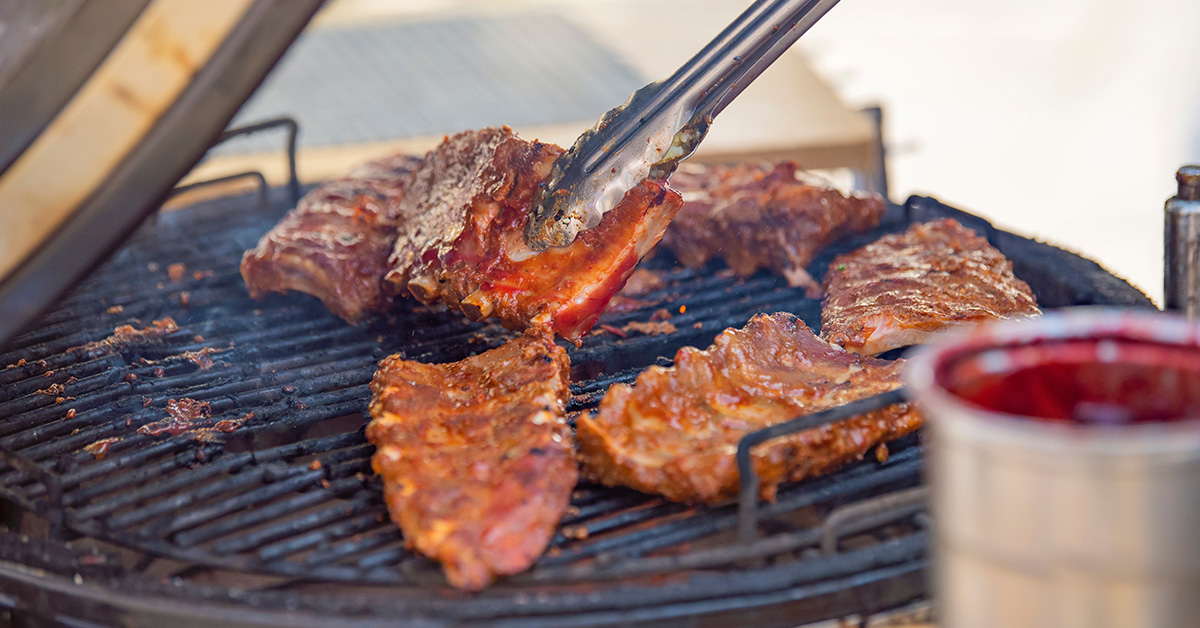
Comparison Table: Pros and Cons of Cooking Methods
| Method | Tenderness | Flavor Profile | Time Required | Equipment Needed | Best For |
|---|---|---|---|---|---|
| Oven-Baking | Very tender when wrapped in foil | Smoky notes with liquid smoke | 3-4 hours at 275°F | Standard oven, aluminum foil | Consistent results, beginners |
| Slow-Cooking | Extremely tender, fall-off-the-bone | Mild flavor, relies on strong seasonings | 6-8 hours on low | Slow cooker or crockpot | Hands-off cooking |
| Grilling (Indirect) | Tender with slight chew | Authentic smoky flavor from wood chips | 4-5 hours | Gas or charcoal grill, wood chips | Outdoor cooking, bold flavor |
Each of these methods can help you create flavorful dishes, even without a traditional smoker. Here’s how they compare in more detail:
Oven-Baking is perfect for beginners or anyone looking for consistent results. Wrapping the ribs in foil helps retain moisture, ensuring tenderness.
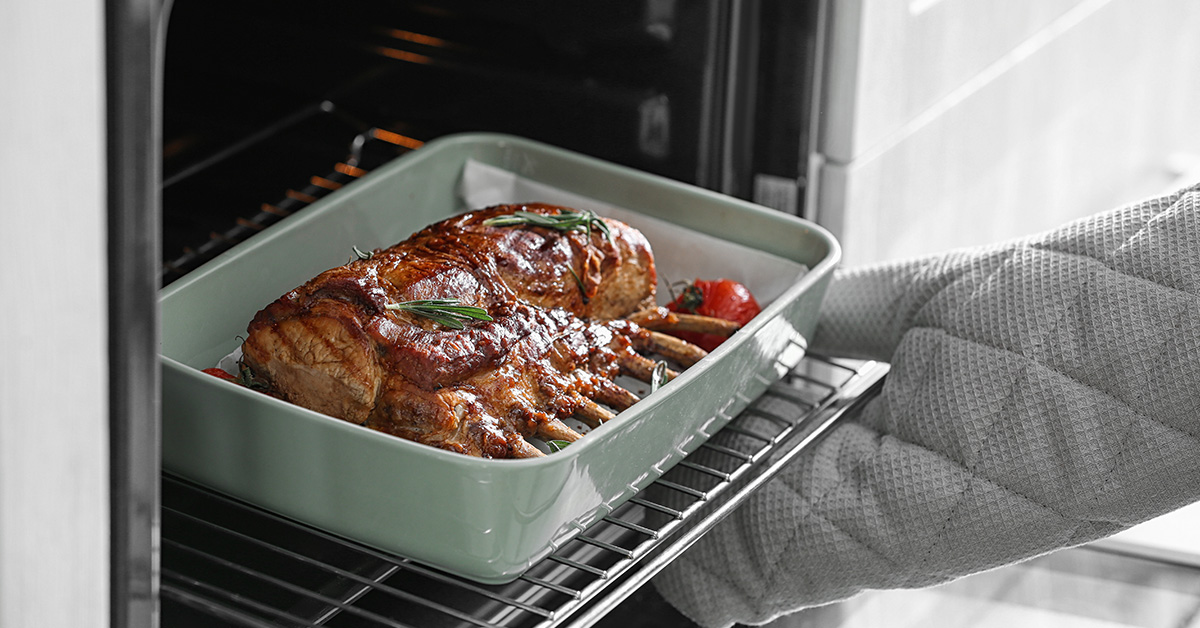
While it lacks the deep smoky flavor of traditional smoking, adding liquid smoke or other enhancers can help bridge the gap.
Slow-Cooking is the ultimate low-effort option. It delivers incredibly tender, fall-off-the-bone results, but the texture can lean too soft if overcooked.

The flavor is mild, so bold seasoning is key to making the dish stand out.
Grilling using wood chips adds authentic smoky notes, and the grill allows for a slightly chewy texture with a crisp exterior. However, it requires more attention to manage the temperature and maintain consistent results.
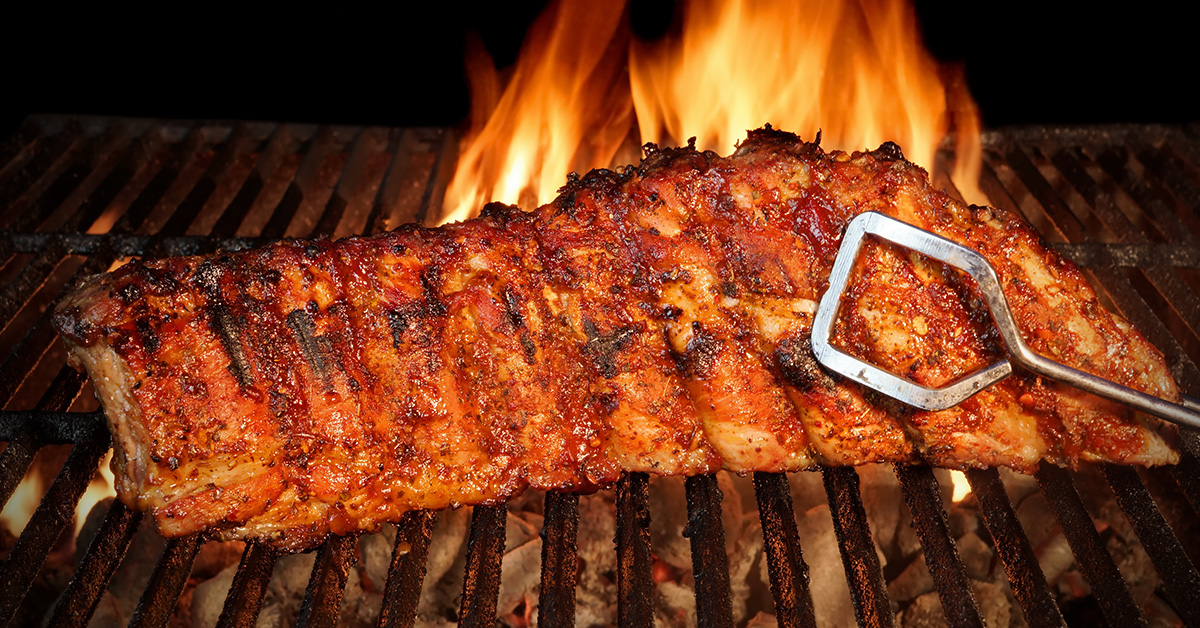
When it comes to time, slow-cooking takes the longest but is the easiest to set and forget. Oven-baking strikes a balance with a moderate cooking time, while grilling is quicker but demands more active involvement.
For equipment, most kitchens are already equipped for oven-baking, making it the simplest choice. Slow cookers and grills, on the other hand, require specialized gear like wood chips, thermometers, or outdoor setups, which might not be as accessible for everyone.
Each method brings something different to the table, so pick the one that fits your schedule, tools, and flavor goals!
Conclusion: Achieving Great Flavor Without a Smoker
You don’t need a smoker to create ribs bursting with flavor. Techniques like oven-baking, slow-cooking, or indirect grilling can produce tender, mouthwatering ribs that could rival any barbecue joint. Start with a generous dry rub applied well in advance, and for that smoky essence, consider adding liquid smoke or wood chips.
The key to success? Patience and steady heat. Low-and-slow cooking is the secret to ribs that are tender and juicy. Whether you’re wrapping them in foil for the oven or carefully managing wood chips on the grill, consistent temperature and proper cooking time are what separate tough, chewy ribs from those that fall right off the bone.
Of course, starting with quality meat makes all the difference. Using premium cuts, like those from Wild Country Meats, ensures your efforts pay off. Their fresh, well-marbled ribs respond beautifully to these methods, giving you restaurant-worthy results right at home.
Try these approaches and wow your family and friends with ribs so good, they’ll never believe you made them without a smoker.
FAQs
How can I get smoky, flavorful ribs without using a smoker?
You don’t need a smoker to create smoky, flavorful ribs – just a few clever tricks can do the job. If you’re grilling, try using soaked wood chips like hickory or applewood. Wrap them in a foil packet, poke a few small holes, and place it on the grill. As the chips heat up, they’ll release a rich, aromatic smoke that adds depth to your ribs.
For oven cooking, you can still capture that smoky essence by adding smoked paprika or a touch of liquid smoke to your marinade or dry rub. These ingredients mimic the flavor of traditional barbecue.
To get tender, fall-off-the-bone ribs, start by slow-cooking them in the oven at a low temperature – about 275°F. Once they’re tender, finish them off on the grill to develop that beautifully charred, smoky crust. These simple steps make it easy to enjoy barbecue-style ribs at home, no fancy equipment required.
What are the differences in texture and flavor when cooking ribs in the oven, slow cooker, or on the grill?
Each method of cooking ribs brings its own twist to texture and flavor. Oven-baked ribs are known for being tender and juicy, often developing a caramelized crust if you finish them with high heat or a quick grill session. Slow cooker ribs practically melt off the bone, delivering incredible tenderness, though they might lack that crispy exterior unless you pop them in the oven or on the grill for a final touch. Grilled ribs offer a smoky, charred flavor with a firmer bite, reminiscent of traditional smoked ribs, but they require close attention to prevent drying out.
To get the best outcome, pick the method that suits your taste and texture preferences. And don’t skip the marinades, dry rubs, or sauces – they’re the secret to taking your ribs to the next level!
Why should I remove the membrane from ribs, and how does it affect the flavor and texture?
Removing the membrane from ribs is an essential step if you want tender, flavorful meat. This thin, papery layer on the back of the ribs can act like a shield, preventing seasonings, marinades, and smoky flavors from seeping into the meat. Taking a few minutes to remove it ensures the flavors can fully penetrate, giving your ribs a deeper, more satisfying taste.
On top of that, leaving the membrane on can make the ribs tougher and harder to chew, which can take away from the enjoyment of your meal. If you’re aiming for ribs that are packed with flavor and have that perfect, fall-off-the-bone texture – especially when you’re not using a smoker – getting rid of the membrane is a step you don’t want to skip.

