Keeping meat safe and edible isn’t just about convenience – it’s about protecting your health and saving money. Improper storage can lead to spoilage, foodborne illnesses, and wasted groceries. Here are six practical ways to store meat safely and extend its shelf life:
- Refrigerator Temperature: Keep your fridge between 32°F and 40°F (ideal: 37°F) to slow bacterial growth. Use a separate thermometer for accuracy and avoid overloading the fridge to ensure proper airflow.
- Proper Placement: Store raw meat on the bottom shelf to prevent juices from contaminating other foods. Use paper towels under packages for extra protection.
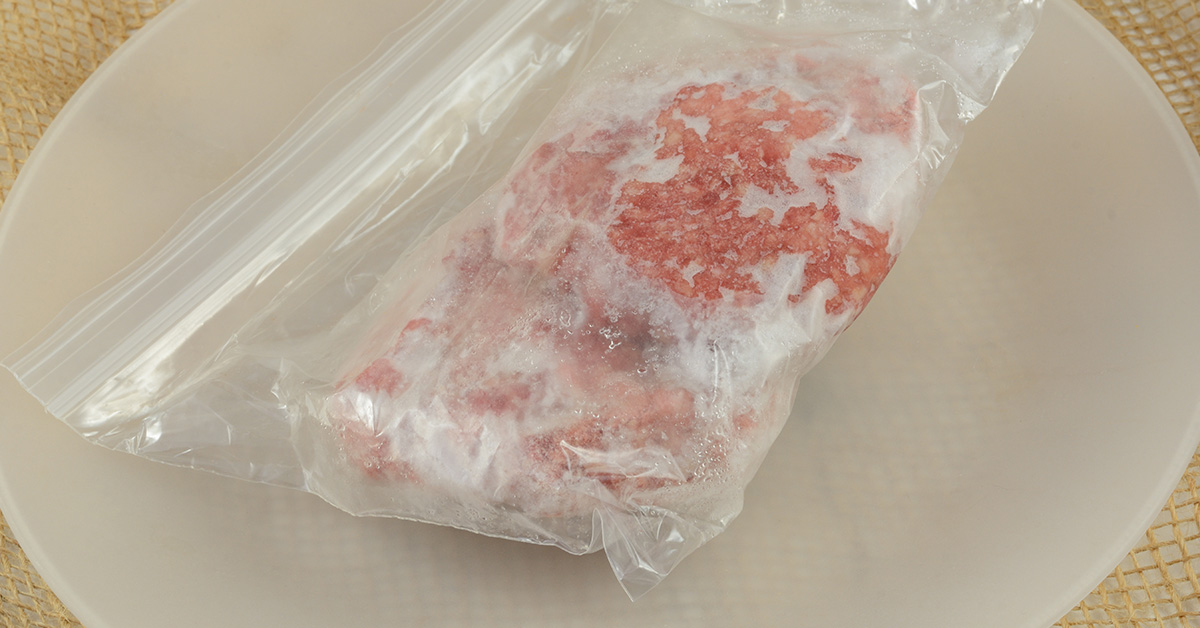
- Airtight Packaging: Use plastic wrap, freezer paper, or airtight containers for short-term storage. Minimize air exposure to prevent spoilage and freezer burn.
- Vacuum Sealing: For long-term storage, vacuum sealing removes oxygen, drastically slowing spoilage. Meat can last months or even years in the freezer when sealed properly.
- Labeling and Rotation: Clearly label packages with dates and use the FIFO method (First In, First Out) to ensure older items are used first.
- Safe Thawing: Thaw meat in the refrigerator or cold water to prevent it from entering the "danger zone" (40°F–140°F), where bacteria can multiply.
These methods help you avoid waste, save money, and reduce health risks. Start by checking your fridge temperature and organizing your meat storage today.
Let’s Talk: Storing Meats
Solution 1: Keep Your Refrigerator at the Right Temperature
Maintaining the right refrigerator temperature is key to keeping your food safe and fresh. When the temperature creeps above 40°F, harmful bacteria like Salmonella and E. coli can multiply rapidly. These microorganisms thrive in the "danger zone" between 40°F and 140°F, making temperature control critical for food safety.
The ideal range for your refrigerator is 32°F to 40°F, with 37°F being the sweet spot for most households. At this temperature, bacterial growth slows significantly, helping to preserve meat and other perishables. For example, ground beef stored at 37°F can last 1-2 days, but at 45°F, it might spoil in just a few hours. Even brief temperature spikes above 40°F can encourage bacterial growth, putting your food – and health – at risk.
Check Temperature Daily
Built-in thermometers in refrigerators aren’t always reliable, often being off by 5–10°F. To ensure accuracy, consider using a separate refrigerator thermometer placed in the center of the main compartment. These thermometers provide real-time readings, giving you a clearer picture of your fridge’s conditions.
Make it a habit to check the temperature every morning. It only takes a few seconds but can save you from the headache of spoiled food or, worse, foodborne illness. If you notice the temperature creeping above 40°F, adjust the settings right away and recheck after 24 hours.
For added peace of mind, digital thermometers with minimum/maximum memory functions can track temperature fluctuations over time. These tools help you identify issues early, potentially saving you hundreds of dollars in wasted food each year.
Avoid Overloading Your Refrigerator
Packing your refrigerator too full can block airflow, creating warm pockets where bacteria can thrive. Proper circulation is essential for maintaining consistent temperatures throughout the fridge.
Aim to keep your fridge no more than 75% full. Leave space between items and avoid stacking containers too tightly. Pay close attention to the area around air vents, leaving at least 2-3 inches of clearance to allow cold air to flow freely.
Overloading your fridge can lead to temperature variations of 10-15 degrees between different sections. For instance, while your thermometer might read 37°F, a tightly packed area could reach 50°F, creating the perfect conditions for bacterial growth and spoilage.
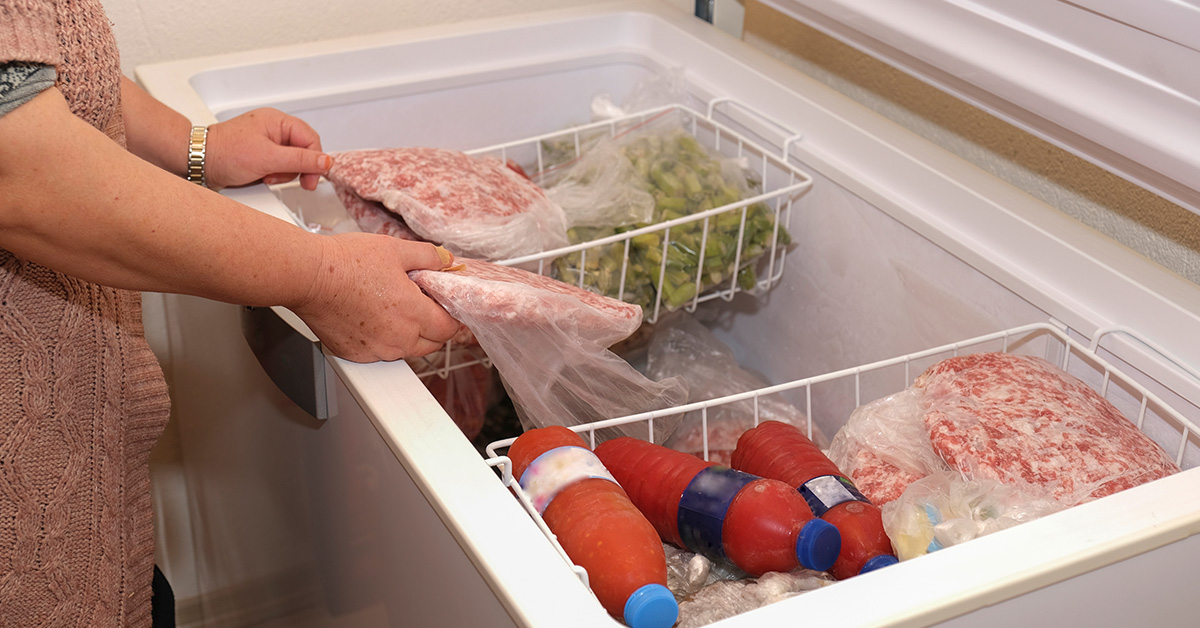
Solution 2: Place and Store Meat in the Right Spots
Storing meat properly in your refrigerator isn’t just about organization – it’s a crucial step in preventing foodborne illnesses. Raw meat juices can carry harmful bacteria like Salmonella, E. coli O157:H7, and Listeria, which can contaminate other foods. Use these tips to keep your fridge safe and avoid cross-contamination.
Put Meat on the Bottom Shelf
Always store raw meat, poultry, and seafood on the bottom shelf of your fridge. This placement helps contain any drips or leaks, especially when thawing frozen meat.
To add an extra layer of protection, place a paper towel under the meat packages to catch any stray juices. Keep meat in its original packaging until you’re ready to use it. These packages are specifically designed to hold in juices and reduce the risk of spills.
Keep Different Meats Apart
Separating raw meat from other foods and even other types of raw meat is key to reducing contamination risks.
Store cooked meats, seafood, and poultry in airtight containers on a different shelf from raw items. For maximum safety, arrange your fridge so that ready-to-eat foods are on the top shelves, leftovers in the middle, and raw meats on the bottom. This simple system ensures that nothing drips down onto foods that are already safe to eat.
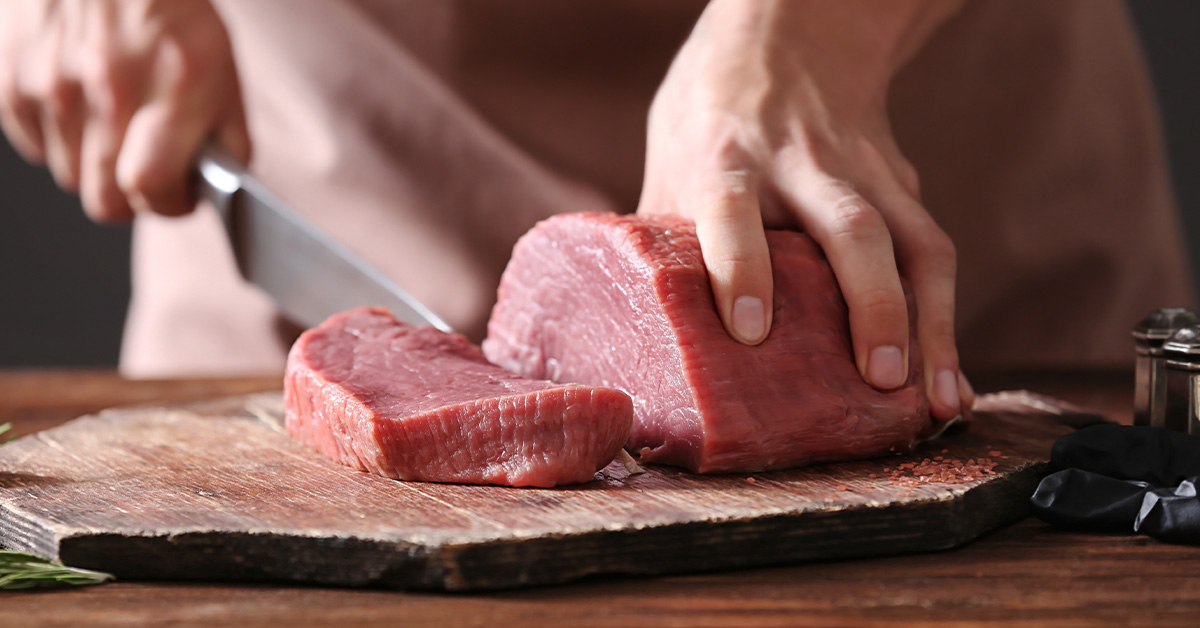
Solution 3: Use Airtight Packaging for Short-Term Storage
Once you’ve tackled temperature and placement, the next step to keeping meat fresh is proper packaging. Air exposure is a major culprit behind discoloration, off-flavors, and spoilage. Using the right packaging creates a protective barrier, locking in moisture and keeping harmful bacteria at bay.
Choose the Best Packaging for the Job
The type of packaging you use depends on how long you plan to store the meat and the specific cut:

- Plastic wrap: Ideal for meats you’ll use within 1-2 days, such as steaks, chops, or smaller cuts.
- Freezer paper: Suitable for storage up to a week. Wrap the meat with the plastic-coated side facing inward for better protection.
- Airtight containers: Glass containers with tight-fitting lids work well for ground meat, marinated cuts, or pre-cooked items. Minimize empty space to reduce air exposure.
- Heavy-duty aluminum foil: Great as an additional layer of protection. Double-wrap for extra security, especially for longer storage or sharp-edged cuts.
Keep Freezer Burn at Bay
Even during short-term storage, improper wrapping can lead to freezer burn – those dried-out, gray patches that ruin both the texture and flavor of meat. This happens when air reaches the surface and pulls out moisture.

To avoid this, make sure to eliminate as much air as possible. With plastic wrap, start at one end and press out air bubbles as you go. For freezer bags, try the water displacement method: seal the bag almost completely, then submerge it in a bowl of water. The water pressure will push out the remaining air before you seal it fully.
For extra protection, double-wrap your meat. If you’re dealing with bone-in cuts, cover sharp edges with a paper towel to prevent punctures, or opt for thicker packaging to avoid tears. These extra steps can make all the difference in preserving your meat’s quality.
sbb-itb-5ae85c5
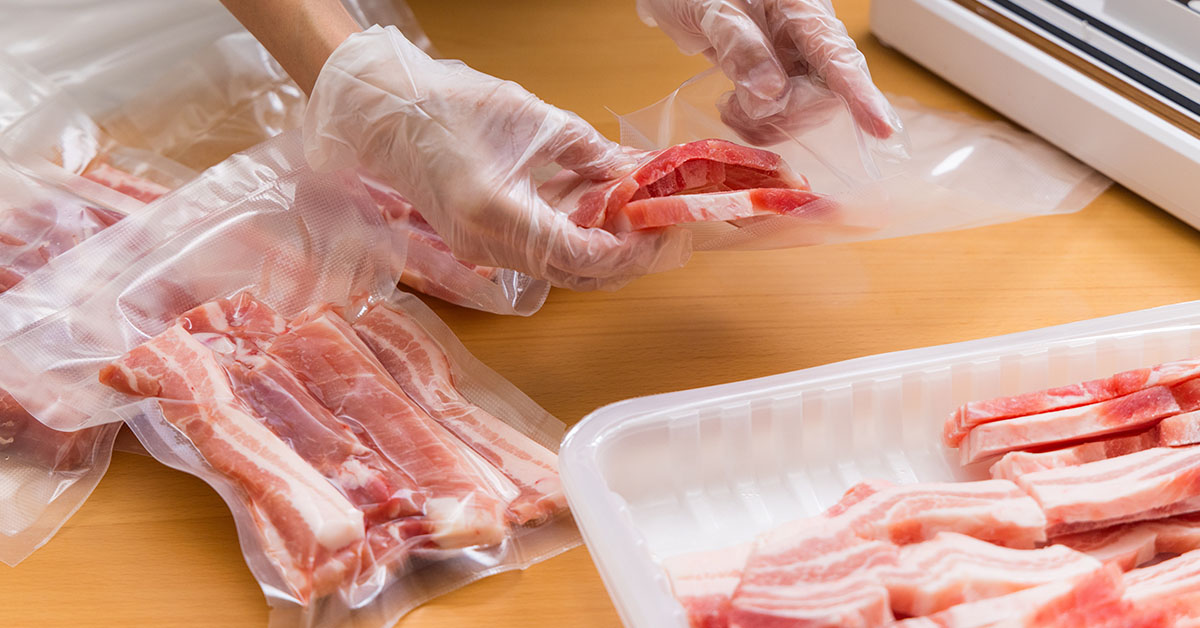
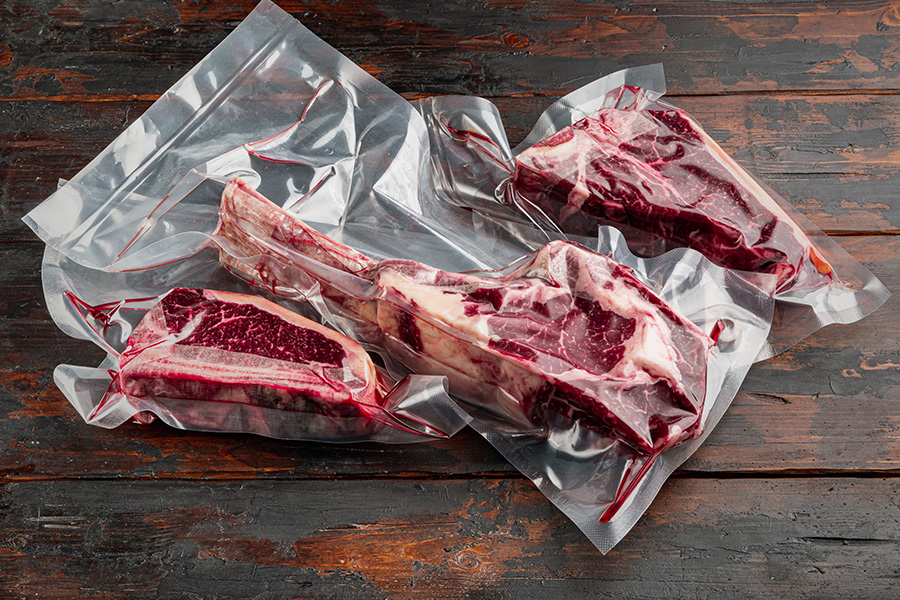
Solution 4: Vacuum Seal for Long-Term Storage
If you’re looking to keep meat fresh for weeks or even months, vacuum sealing is a game-changer. While airtight packaging works well for short-term needs, vacuum sealing takes things to the next level by creating an environment that drastically slows spoilage and preserves quality far better than traditional plastic wrap or freezer bags.
How Vacuum Sealing Protects Meat
The secret to vacuum sealing lies in its ability to remove most of the oxygen from the packaging. With less oxygen, bacterial growth slows down significantly, and freezer burn becomes a thing of the past. This method ensures your steaks, roasts, or ground meat stay flavorful and fresh, even after months in the freezer.
To get the best results, chill your meat to 32°F–37°F or give it a quick freeze for 30–60 minutes before sealing. Preparing your cuts properly also makes a big difference. Divide larger portions into meal-sized servings, trim off any extra fat, and wrap sharp bones with freezer paper to avoid puncturing the vacuum bag.
When choosing vacuum bags, opt for ones designed for low-temperature storage and leave 3–4 inches of space at the top for sealing. To ensure a clean seal, fold back the top 2–3 inches of the bag while loading the meat. These small steps go a long way in guaranteeing a perfect seal and long-lasting freshness.
Why Buying a Vacuum Sealer Pays Off
Vacuum-sealed beef can last 2–3 years in the freezer, compared to just 6–12 months with traditional wrapping. This not only cuts down on waste but also saves you money in the long run.
Many modern vacuum sealers come with useful features like liquid stop functions, which are ideal for sealing moist cuts of meat. Some models even let you pre-freeze marinades into ice cubes before sealing, keeping liquids from interfering with the process while still enhancing flavor.

Another bonus? Vacuum-sealed portions make meal planning a breeze. Need just one steak or a pound of ground beef for dinner? Grab exactly what you need without rummaging through the freezer. It’s an investment that keeps your meat fresh, reduces waste, and makes your life a little easier.
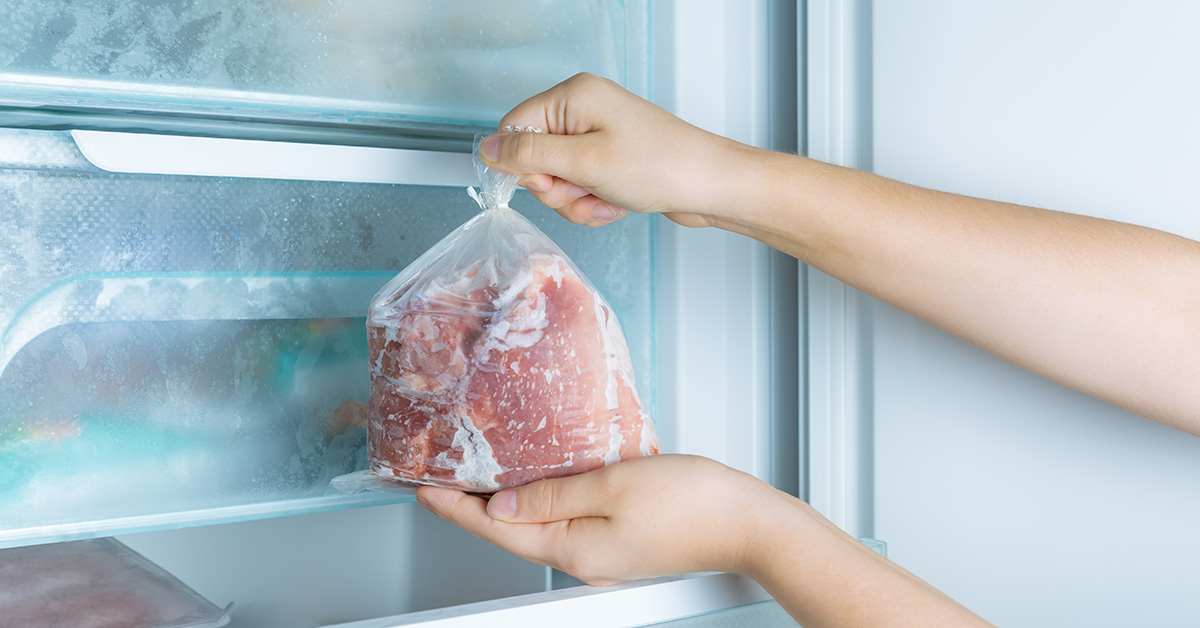
Solution 5: Label Everything and Use Oldest Items First
Keeping your meat storage organized is key to reducing waste and frustration. Without a proper system, it’s easy for last month’s vacuum-sealed steak to get lost behind newer purchases. By combining clear labeling with smart rotation practices, you can turn a chaotic freezer into an efficient storage system.
Write Clear Labels on Every Package
Every meat package should have a clear label. Use a permanent marker on waterproof labels or masking tape to jot down the type of meat, portion size, and storage date in MM/DD/YYYY format. For instance, a label like "Ground Beef, 1 lb, 11/14/2025" gives you all the details you need at a glance.
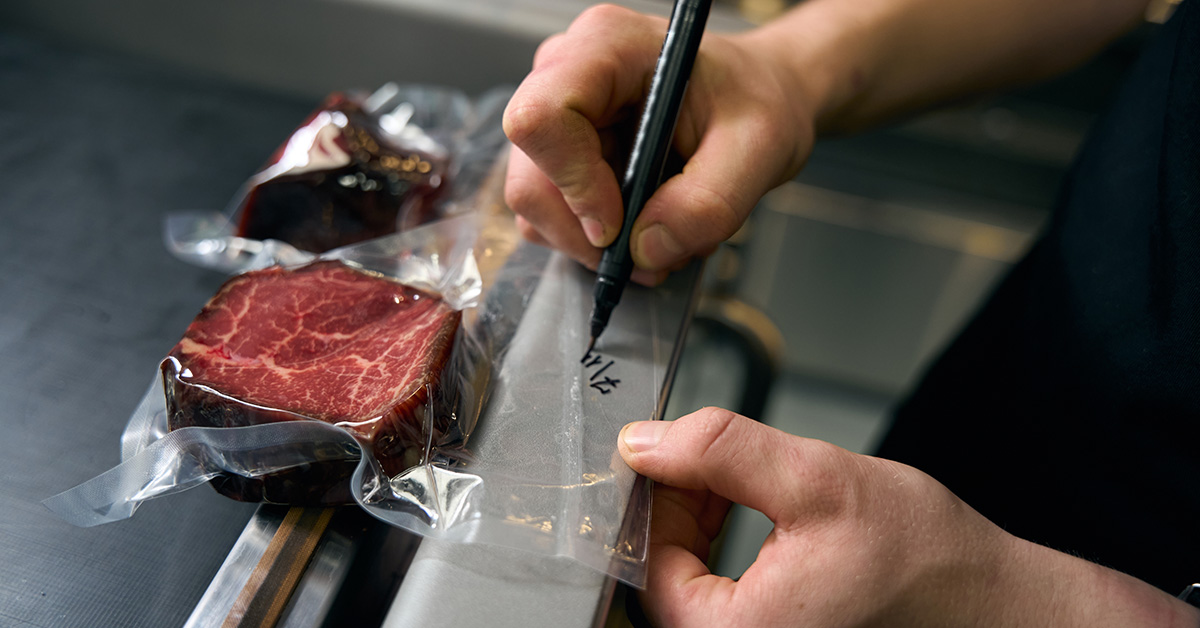
To make things even easier, try a color-coding system. Assign red labels for beef, pink for poultry, and blue for seafood. This quick visual cue saves time when searching for specific items.
Use the FIFO Method (First In, First Out)
Pair your labeling system with the First In, First Out (FIFO) method to ensure older meat gets used before newer items. It’s a simple yet effective way to prevent forgotten packages and unnecessary waste. When adding new meat to your freezer or fridge, place it behind the older items and move the older ones to the front.
Take it a step further by maintaining a freezer inventory – either on paper or digitally. Track the type of meat, quantity, and storage date, and cross items off as you use them. This not only helps you avoid buying duplicates but also makes meal planning easier.
Review your inventory weekly and plan meals around older cuts to use them before they expire. Staying proactive like this keeps your meat fresh and helps you stick to your grocery budget.
Solution 6: Thaw Meat the Safe Way
Thawing meat properly is a crucial step in ensuring both safety and flavor. The method you choose can mean the difference between a meal that’s safe to eat and one that’s potentially hazardous. Many people mistakenly believe leaving meat on the counter to thaw is harmless, but this practice can lead to serious food safety issues. Why? Because the outer layers of the meat can quickly enter the "danger zone."
"Thawing meat at room temperature is a major food safety risk. The outer layers of the meat will warm up to the ‘danger zone’ (40°F – 140°F) while the inside is still frozen, creating an ideal environment for bacteria to multiply rapidly." – Nick’s of Calvert
It’s also worth noting that cooking won’t fix the problem if toxins have already formed during improper thawing. As Folio3 FoodTech points out, "Heat may destroy some microbes, but it won’t eliminate toxins already produced".
If your meat has been exposed to temperatures above 40°F for more than two hours during thawing, it’s no longer safe to eat. While it might feel wasteful to discard it, doing so is far better than risking foodborne illness.
Thaw in the Refrigerator
The refrigerator is your best ally for safe thawing. By keeping the meat consistently below 40°F, it prevents bacterial growth while maintaining the meat’s quality.

Sure, it’s slower, but it’s the safest option. Place the frozen meat on a plate or in a shallow container on the lowest shelf of your fridge. This placement prevents any juices from dripping onto other foods, which aligns with safe storage practices.
Use Cold Water for Faster Thawing
If you’re short on time, a cold water thaw is a solid alternative. To do this, seal the meat in a plastic bag to protect its texture and safety, then submerge it in cold tap water. Change the water every 30 minutes to keep the temperature low and prevent the surface of the meat from entering the danger zone (40°F – 140°F).
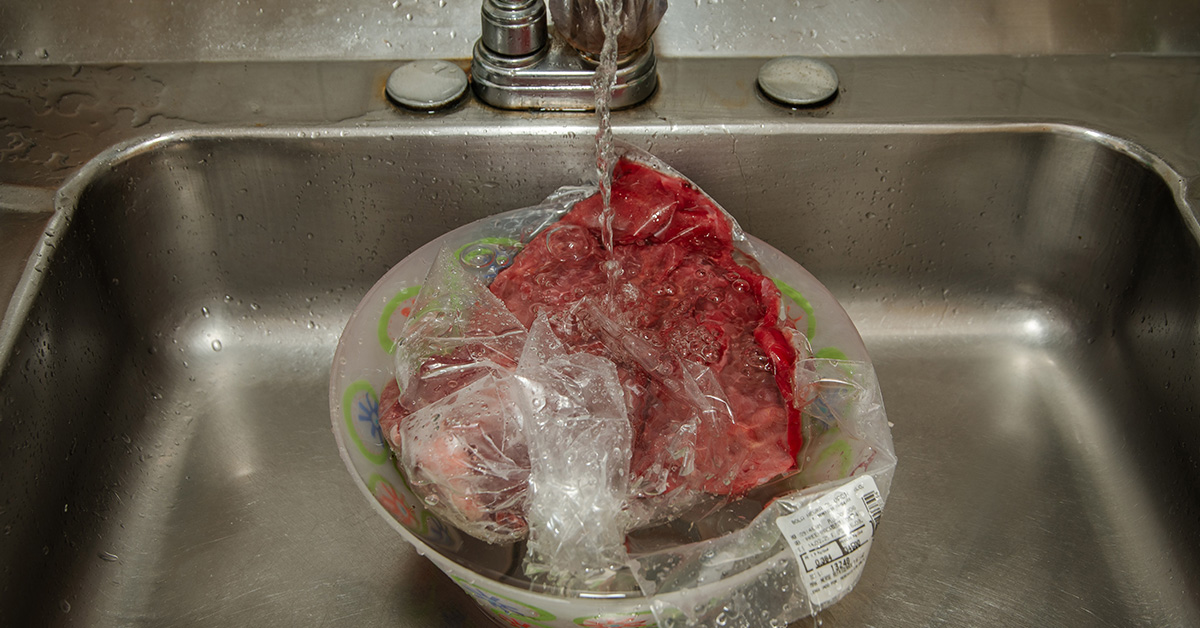
As a general guide, smaller cuts like a 1-pound package of ground beef can thaw in about 30 minutes, while larger pieces like a 4-pound roast may take closer to two hours. Just remember: never use warm or hot water to speed up the process. Doing so can lead to the same bacterial risks as leaving meat out on the counter.
Conclusion: Protect Your Meat and Your Money
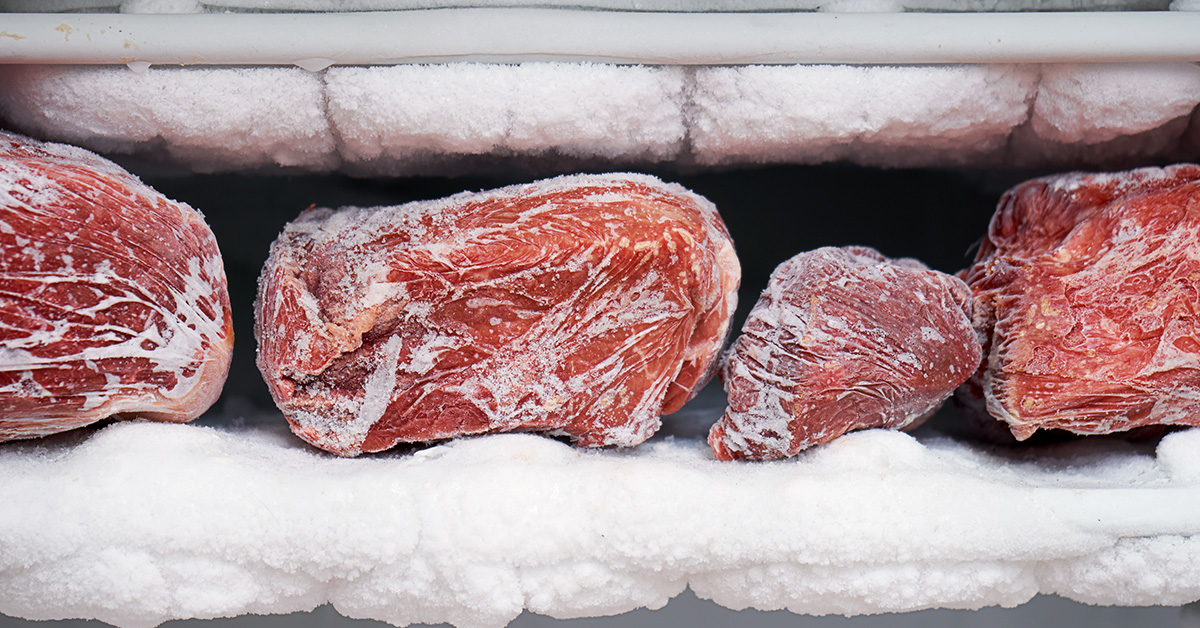
These six approaches provide a strong strategy for reducing spoilage and ensuring food safety. Keeping your refrigerator at or below 40°F and your freezer at 0°F slows bacterial growth significantly, giving your meat a longer, safer shelf life. Storing meat on the bottom shelf and separating different types helps prevent cross-contamination.
Using proper packaging is another key step – it limits oxygen exposure and slows bacterial activity. For example, vacuum sealing can extend your meat’s shelf life by two to three times. This not only cuts down on spoilage but also saves money, especially when you consider that about 20% of global meat production – or 304.2 million tons – is lost to spoilage each year.
Good organization also plays a big role in reducing waste and improving usability. A labeling and rotation system, like FIFO (First In, First Out), ensures that older items are used first, so you don’t lose track of what’s in your freezer. Safe thawing practices are equally important, keeping meat out of the "danger zone" where bacteria thrive, while maintaining its quality.
The financial benefits are clear: meat is often a significant part of the grocery bill, and proper storage can stretch its shelf life from just a few days to several months. By following these six steps, you’re not only keeping your meat fresh but also getting the most out of every purchase – all while protecting your family from foodborne illnesses.
Take the first step today. Check your refrigerator’s temperature, reorganize your storage, and consider investing in airtight containers or a vacuum sealer to cut waste and improve the quality of your meals.
FAQs
What are the advantages of vacuum sealing meat for long-term storage over traditional methods?
Vacuum sealing is a game-changer when it comes to storing meat for the long haul. By eliminating air, it helps protect against freezer burn, which can ruin both the texture and flavor of your food. Plus, it dramatically prolongs the shelf life of meat while locking in essential nutrients like proteins and vitamins.
Another bonus? Vacuum sealing saves space by compressing the meat, making it easier to store. It also lets you stock up in bulk, cutting down on both costs and grocery trips. Compared to traditional methods like plastic wrap or freezer bags, vacuum sealing keeps your meat fresher and safer to eat for much longer.
What’s the best way to make sure my refrigerator is at the right temperature for storing meat safely?
To ensure your meat stays fresh and safe, keep your refrigerator temperature at 40°F or below. A reliable refrigerator thermometer can help you monitor this. Move the thermometer to different areas of the fridge from time to time since temperatures can fluctuate in different spots. For optimal storage, place meat on the bottom shelf or in a designated meat drawer. This helps prevent cross-contamination and ensures consistent cooling.
What’s the quickest and safest way to thaw meat if I don’t have time to let it thaw in the fridge?
If you’re pressed for time, thawing meat in cold water is a reliable option. Just place the meat in a leak-proof plastic bag to avoid contamination, then submerge it in cold water. Be sure to change the water every 30 minutes to maintain a safe temperature. This method helps speed up the process while keeping the meat safe to eat. Steer clear of hot water – it can lead to uneven thawing and encourage bacteria to grow.