A cluttered freezer wastes time, money, and food. By organizing it efficiently, you can maximize storage, prevent freezer burn, and simplify meal prep. Here’s how:
- Clean and Sort: Empty your freezer, clean it, and discard expired or freezer-burned items.
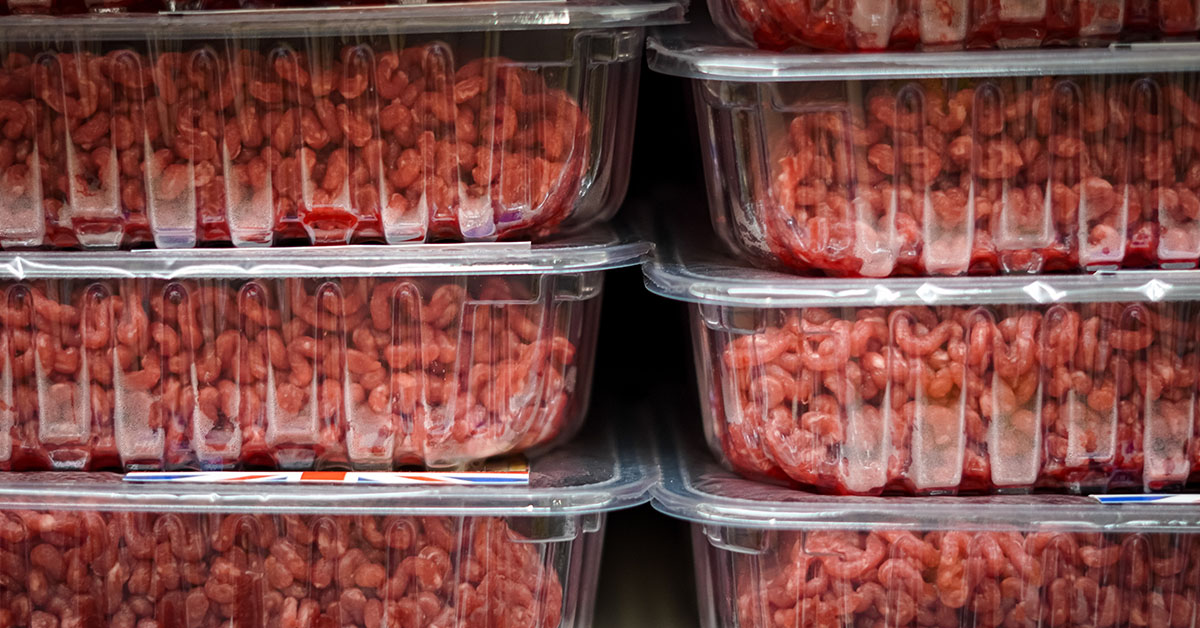
- Categorize and Label: Group meats by type (e.g., ground beef, poultry) and label with cut, weight, and freeze date.
- Storage Tips: Use freezer bags or vacuum-sealed pouches. Freeze items flat for better stacking.
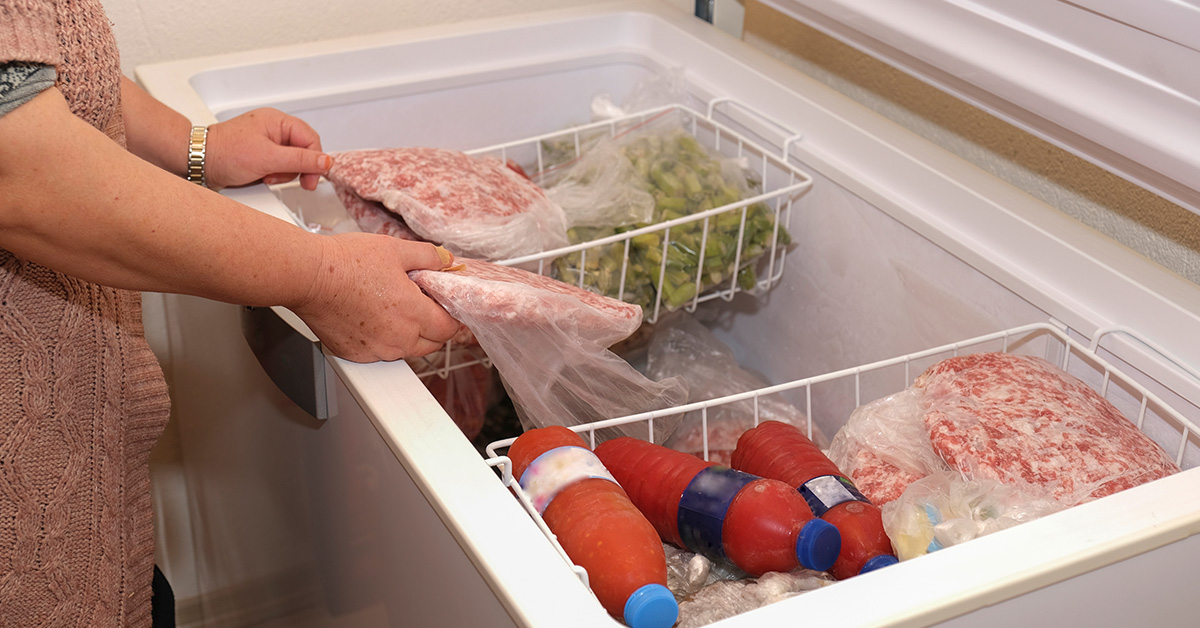
- Use Zones: Assign sections for different meats and stack vertically for easy access.
- Track Inventory: Maintain a list to avoid duplicates and reduce waste.
A well-organized freezer saves time, keeps food fresh longer, and ensures you always know what’s available for your next meal.
How to Organize Your Freezer to Save Money | Easy Freezer Organization Tips upright & chest freezer
Step 1: Prepare Your Freezer for Organization
Before diving into organizing, it’s essential to start with a clean slate. That means emptying and thoroughly cleaning your freezer.
Empty and Clean the Freezer
Take everything out of your freezer. If needed, place the items in a cooler or another freezer to keep them frozen during the process. If there’s a significant ice buildup, defrost your freezer to improve its efficiency and reduce energy costs. Once defrosted, use a mild cleaning solution to wipe down all interior surfaces – this includes shelves, drawers, and walls. With a clean freezer, you’re ready for the next step: sorting through its contents.
Sort and Discard Unusable Items
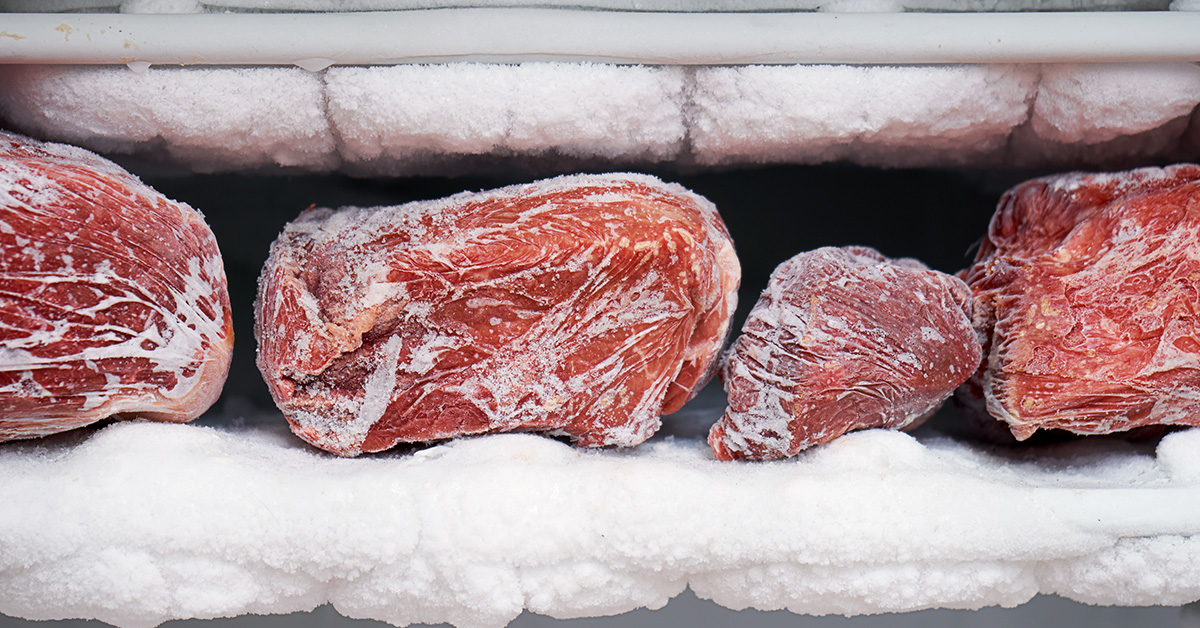
Go through everything you’ve removed from the freezer. Toss out anything that’s expired, freezer-burned, or unrecognizable. While food stored at 0°F can technically remain safe to eat indefinitely, its quality diminishes over time. Items that are past their prime are best discarded to make room for fresher, more usable food.
Step 2: Categorize and Label Meat Products
Once your freezer is clean and ready, it’s time to organize your meat products in a way that saves you time and reduces waste. By categorizing and labeling everything properly, you’ll make it easier to find what you need and ensure nothing goes unused.
Group Meats by Type and Cut
Start by sorting your meat into categories like ground beef, steaks and roasts, poultry, pork, wild game, and specialty cuts. This method keeps everything organized and easy to locate.
For example:
- Keep all ground beef together in one section.
- Separate steaks (like ribeye, filet mignon, and New York strips) from roasts.
- Group poultry items – such as chicken breasts, thighs, or whole chickens – separately from red meat.
- Wild game, such as venison, elk, or wild boar, should have its own space since it often has unique storage needs.
- Items like bone-in short ribs, oxtail, or custom sausages can be grouped as specialty cuts.

Once you’ve sorted everything, labeling becomes the next essential step to maintain order.
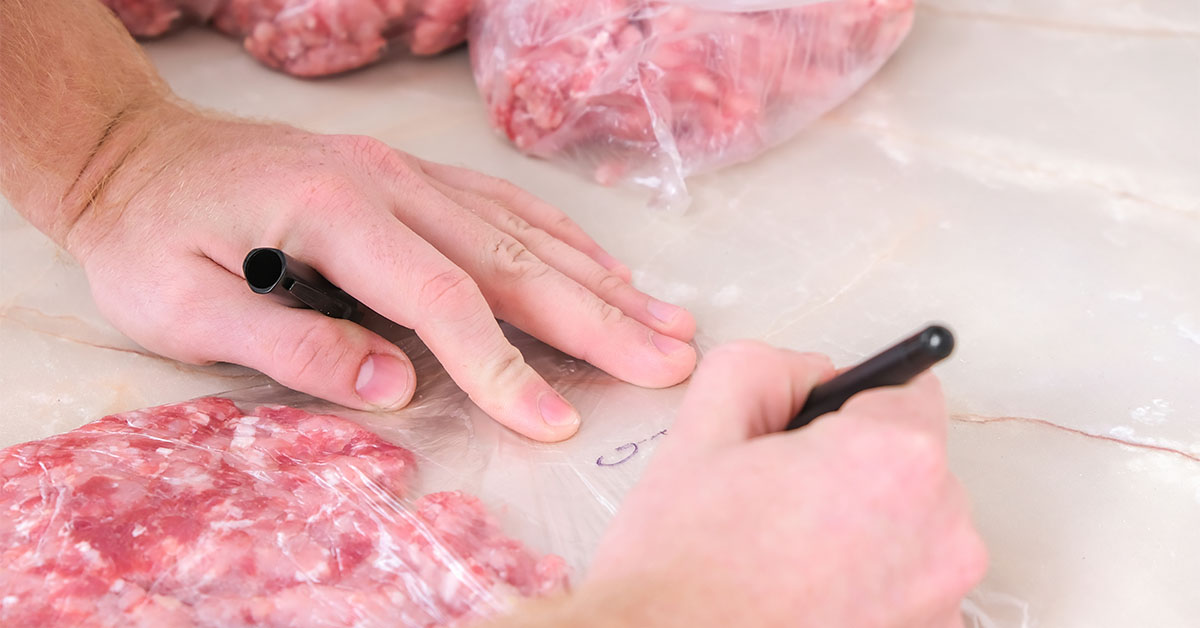
Label Items Clearly
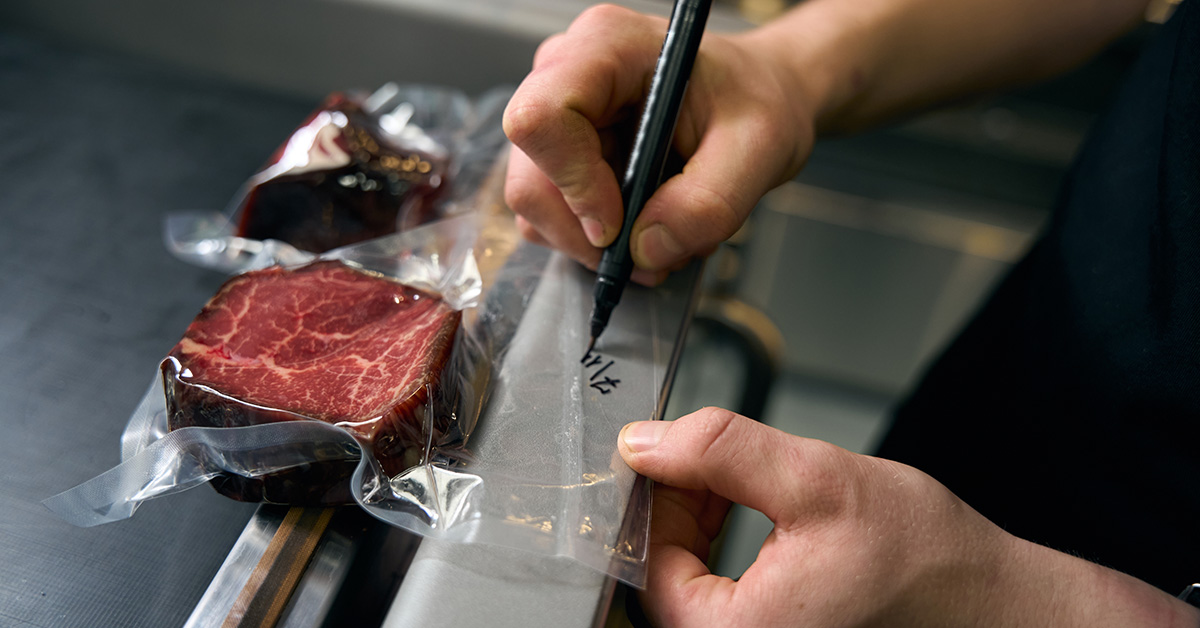
Use a permanent, freezer-safe marker to label each package with details like the cut type, weight, and freeze date. For instance, write something like: “Ribeye Steak – 1.2 lbs – 11/15/2025” directly on the package.
This method supports a first-in, first-out system, helping you use older items before newer ones. For example, if your ground beef was frozen on October 10th and your steak on November 5th, you’ll know to use the ground beef first.
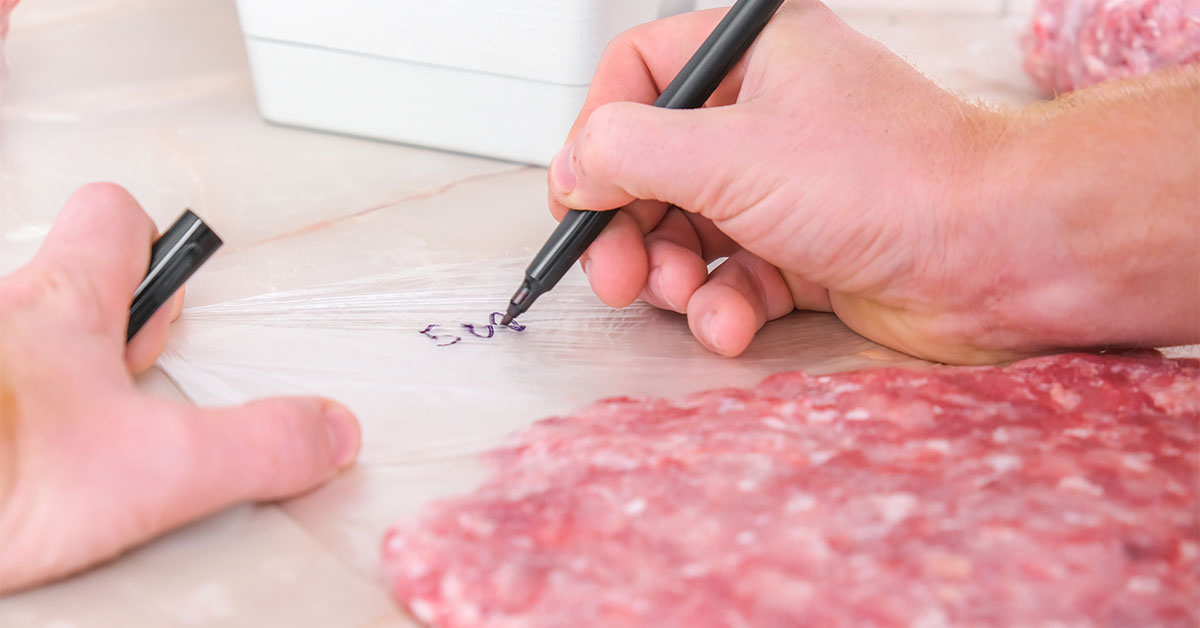
To make identification even easier, consider using different colored markers for different types of meat:
- Red for beef
- Blue for poultry
- Green for wild game
This quick visual system can save you time when you’re digging through the freezer.
Include Custom Processing Details
If you have custom-processed items, group them separately and label them with additional details like the processing date and source. For example: “Venison Backstrap – 2.1 lbs – Processed 10/28/2025 – WCM Order #1247.”
This information helps you keep track of freshness and quality, especially for larger quantities of meat from bulk orders. To make things even more efficient, you can use color-coded freezer tape for items processed in the same batch. This way, you’ll know which items to use together or within a specific timeframe.
Step 3: Use Storage Solutions Effectively
Once you’ve categorized your meat, the next step is to make the most of your freezer space. With the right storage techniques and tools, you can keep your meat fresh while staying organized.
Pick the Best Storage Containers
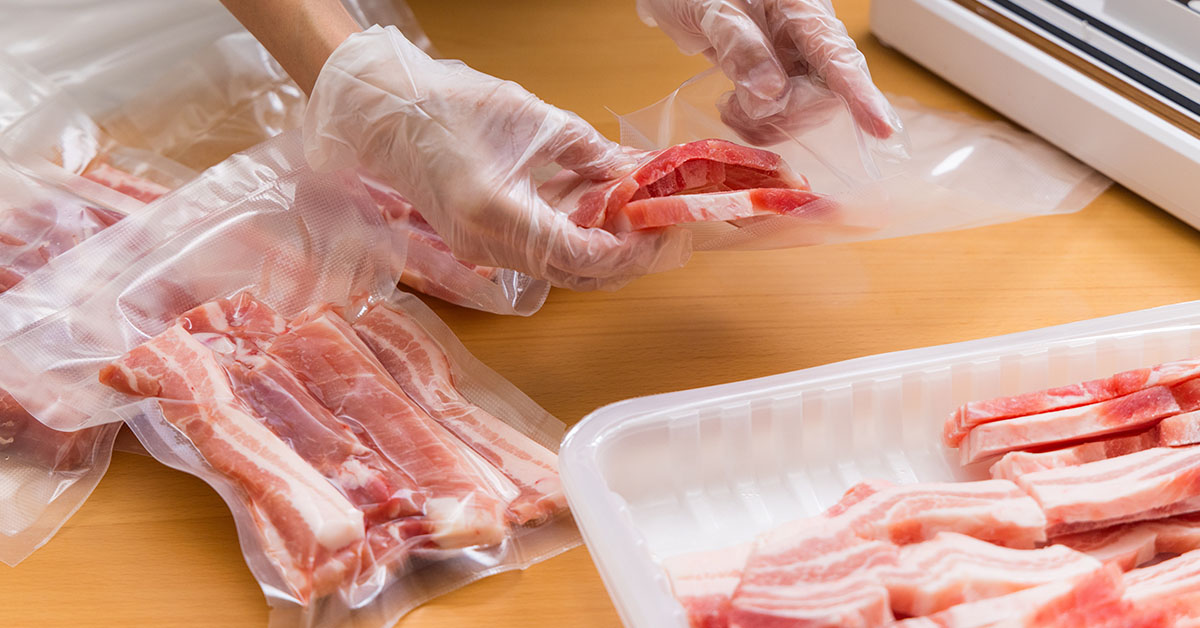
For most meat storage, heavy-duty freezer bags are a reliable choice. They’re built to handle freezing temperatures and protect against freezer burn. If you’re looking to save even more space and extend the shelf life of your meat, consider vacuum-sealed pouches.
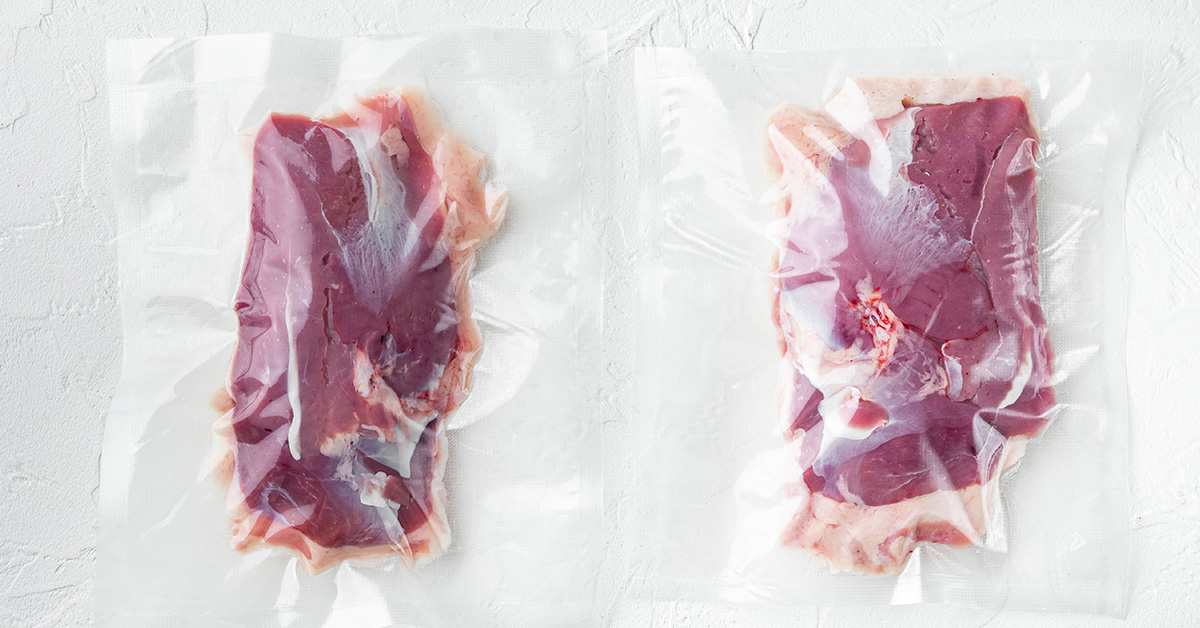
By removing air, these pouches not only prevent freezer burn but also compress the meat for better storage. A vacuum sealer can be a game-changer for reducing waste and keeping your freezer neat.
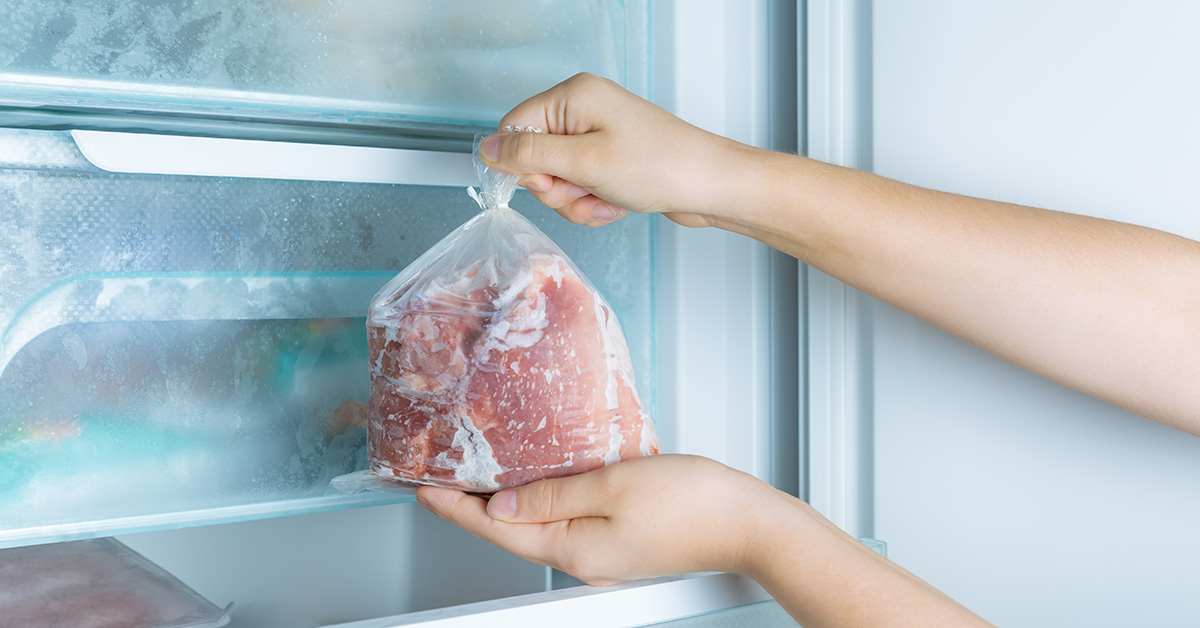
Freeze Flat for More Space
When packing meat in freezer bags, lay them flat and press out as much air as possible before sealing. This method minimizes freezer burn and creates thin, uniform packages. Once frozen, these flat packages can be stacked vertically, making it easier to maximize your freezer’s capacity. As Food52 highlights:
"Freeze flat. It’s a great way to save space and decrease thaw time."
 Additionally, dividing meat into smaller portions before freezing ensures you only thaw what you need, reducing waste and hassle.
Organize with Bins and Baskets
To take your freezer organization up a notch, use bins, baskets, or even magazine holders to create zones. These tools help you group similar items together, making it much easier to find what you’re looking for. Plus, they simplify retrieval and keep your freezer tidy.
sbb-itb-5ae85c5
Step 4: Organize for Accessibility and Space Maximization
With your storage solutions ready, it’s time to arrange everything in a way that keeps your freezer neat, accessible, and efficient. A well-organized freezer not only saves time but also ensures nothing gets lost or wasted – especially those high-quality cuts of meat.
Zone Your Freezer by Meat Type
Assign specific sections of your freezer to different types of meat – beef in one area, pork in another, poultry in its own spot, and wild game in a separate zone. This setup makes meal planning and cooking a breeze.

If you’re using a chest freezer, bins or baskets can help divide the space by meat type. For upright freezers, dedicate shelves or sections of shelves for each category. Keep ground meats grouped together since they’re often your go-to for quick meals, and place specialty cuts like steaks and roasts in spots where they’re easy to grab without accidentally using them for everyday dishes.
This system is especially handy when dealing with large amounts of custom-cut meat. Instead of digging through random packages, you’ll know exactly where to find that perfect ribeye or the soup bones you’ve been saving.
Layer and Rotate Inventory
Once you’ve zoned your freezer, focus on organizing each section to make everything easy to access. To avoid waste, use a “first in, first out” system – place newer items behind or beneath older ones so you use the oldest stock first.
Keep frequently used items at eye level or in the easiest-to-reach spots so you don’t have to shuffle through everything to find what you need. Save harder-to-reach areas for items you use less often, like specialty cuts or bones for stock.
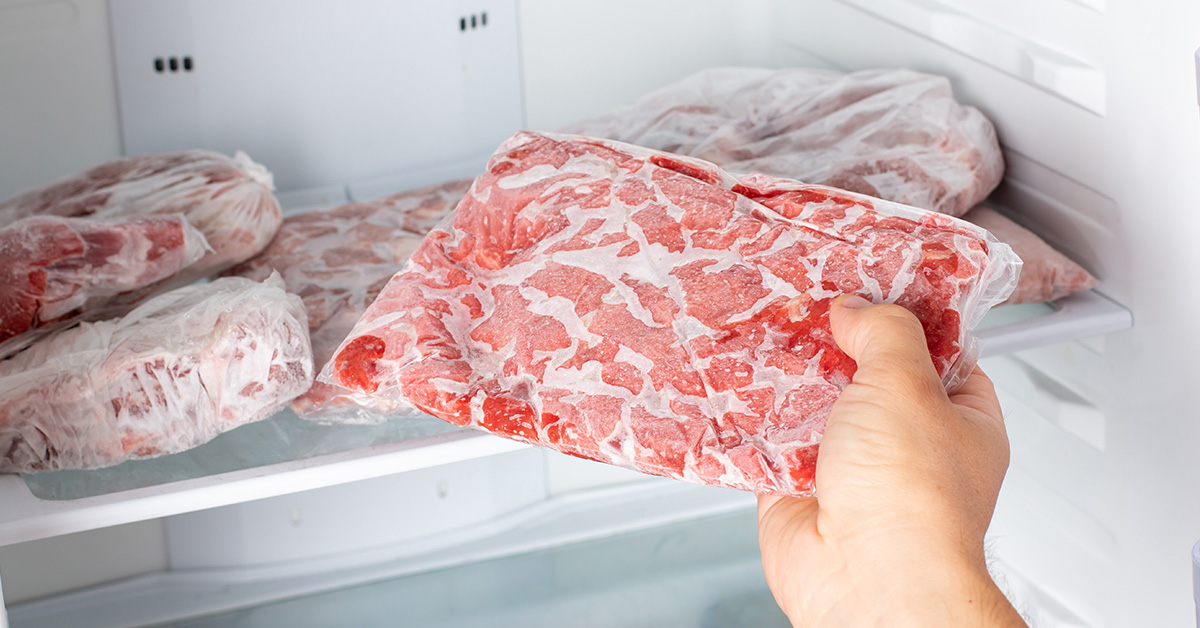
For better visibility, stack flat-frozen packages vertically instead of piling them horizontally. This way, you can quickly see what’s available without digging, and it prevents smaller packages from getting buried under heavier ones.
Fill Gaps Efficiently
Make the most of every inch of your freezer by using smaller packages to fill awkward spaces. Ground meat, stew meat, and individually wrapped portions are perfect for tucking into tight corners or gaps between larger items.
Those odd-shaped spaces around the edges? They’re ideal for soup bones, marrow bones, or smaller cuts that don’t need prime placement. These often-overlooked spots are a great way to store items you use occasionally without wasting valuable space.
In chest freezers, a layered approach with baskets works wonders for keeping things organized. For upright freezers, vertical stacking – standing items on their sides – makes the most of the available space. Don’t forget the door shelves, which are perfect for storing smaller or less frequently used items, ensuring no space goes unused.
Step 5: Maintain a Freezer Inventory
Now that your freezer is neatly organized, the trick to keeping it that way is knowing exactly what’s inside. A simple inventory system can help you avoid buying duplicates, use up older items first, and cut down on waste. Let’s look at some easy ways to set up and manage your freezer inventory.
Create a Simple Inventory System
The best inventory system is the one that fits into your routine. Keep it straightforward by choosing between a physical list on your freezer door or a digital option on your phone.
For a physical inventory, consider using a whiteboard, a magnetic notepad, or a laminated sheet attached to the freezer. Create columns for the item name, quantity, and the date it was frozen. This quick-glance system makes it easier to plan meals or grocery shop without guessing what’s already in stock.
If you’re more into digital tracking, your phone’s notes app works just as well. You can organize items by categories like beef, chicken, pork, or even wild game. Be sure to include details like the cut, package size, and freeze date for each item.
Whatever method you choose, capture key details that matter most: the type of cut, approximate weight or number of servings, and the date it was frozen. If you’ve got custom-processed meats, note any special prep – like marinated steaks or pre-seasoned ground beef. These details make meal planning easier and ensure you use specialty items before their quality declines.
Update Inventory Regularly
An inventory system only works if it’s kept up to date. Make it a habit to update your list every time you add or remove something from the freezer.
- Adding new items? Log them right after you put them in the freezer. This is especially important when you’re dealing with bulk purchases or custom-processed meat, where multiple packages go in at once.
- Taking something out to cook? Cross it off or delete it from your list immediately.
- Do a monthly review to ensure everything is accurate. This is also a great time to spot items that have been frozen the longest, so you can prioritize them in your meal plans. Set a monthly reminder on your phone to make this a regular habit.
Conclusion: Key Takeaways for a Well-Organized Freezer
An organized freezer can completely change the way you handle meat storage and meal prep. By dedicating time to clean, sort, and arrange your freezer systematically, you’re setting yourself up to make the most of bulk purchases and custom-processed meats.
This five-step approach gives you a solid framework for keeping your freezer in top shape. Starting with a clean and properly cooled freezer ensures your meat stays fresh for longer. Categorizing and labeling your cuts makes finding dinner ingredients a breeze – no more digging through piles of frosty packages.
Once your freezer is set up, keeping it organized becomes easier. Store items by type, use zones to separate cuts, and rotate older stock to the front so nothing goes to waste. Maintaining an inventory sheet ties everything together, letting you track what’s on hand and plan future purchases with ease. With this system in place, every freezer trip feels efficient and stress-free.
A structured freezer setup not only protects the quality of your meat but also helps you maximize the value of your investment in premium, locally-sourced cuts. Plus, it saves you time and cuts down on waste. You’ll spend less time searching, avoid losing items to freezer burn, and always know what’s ready for your next meal. Keeping up with regular maintenance ensures these benefits last.
FAQs
What’s the best way to prevent freezer burn when storing meat?
To keep freezer burn at bay, ensure your meat is wrapped and sealed properly to keep air out. Use options like vacuum-sealed bags, freezer-safe containers, or heavy-duty freezer wrap for the best results.
For added protection, double-wrap items like steaks or roasts in plastic wrap before placing them in a freezer bag. Squeezing out as much air as possible is key to creating a tight seal. Don’t forget to label everything with dates – this helps you use up older items first and minimizes the chance of exposing food to cold air for too long.
What are the advantages of using a vacuum sealer for freezer storage?
Using a vacuum sealer for freezer storage comes with some great perks. For starters, it helps protect your food from freezer burn, which can ruin both the flavor and texture. It also keeps your frozen items fresh for much longer, making it easier to store bulk buys like meats or vegetables without worrying about them going bad.
Another bonus? Vacuum-sealed packages are more compact, saving valuable freezer space and helping you stay organized. By removing extra air, these bags also lock in flavor and maintain the quality of your food, so it tastes just as good as the day you sealed it.
How often should I check and update my freezer inventory to keep it organized and avoid waste?
Keeping your freezer organized and minimizing waste is as simple as doing an inventory check every 3 to 6 months. Use this time to spot items approaching their expiration dates, tidy up the space, and discard anything you’re no longer planning to use.
By staying on top of these updates, you’ll not only cut down on food waste but also streamline meal planning, simplify bulk shopping, and ensure your frozen goods remain fresh and easy to find.