Tough cuts of meat like chuck roast, brisket, and beef shank are affordable, flavorful, and perfect for hearty meals. Their dense fibers and connective tissue make them challenging to cook quickly, but with the right methods – braising, slow cooking, and marinating – you can transform them into tender, rich dishes. Here’s how:
- Braising: Combines searing and slow, moist cooking for melt-in-your-mouth results.
- Slow Cooking: A hands-off method using steady low heat to break down tough fibers.
- Marinades: Use acids, fats, and aromatics to tenderize and flavor meat before cooking.
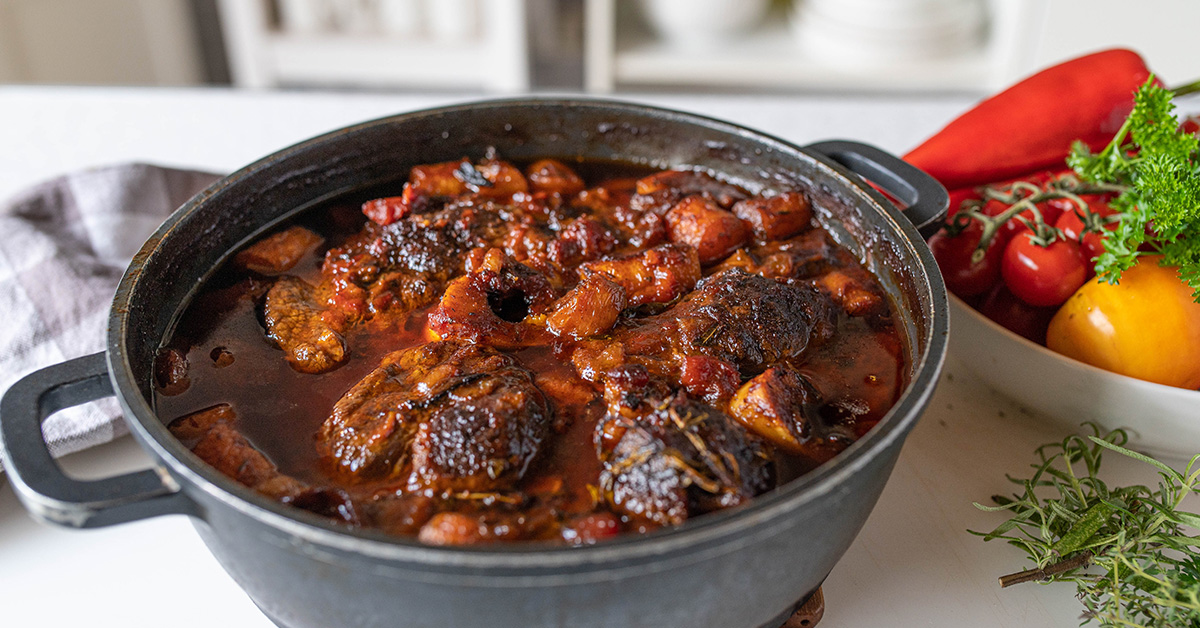
These methods highlight the natural richness of these cuts and require minimal effort. Pairing them with local, high-quality meat suppliers like Wild Country Meats ensures better flavor and supports your community. Keep reading for detailed instructions and tips to master these techniques.
Braising 101: How to properly braise any meat!
How to Choose and Work with Tough Cuts of Meat
Let’s dive into the world of tough meat cuts – those hearty, flavorful options that come from the hardworking muscles of an animal, like the shoulders, legs, and chest. These cuts are packed with dense fibers and connective tissue, which can make them tough if cooked quickly. But when you take your time and use the right techniques, they transform into some of the most delicious and satisfying meals you’ll ever make.
The secret lies in collagen, the connective tissue that sets tough cuts apart from their tender counterparts. While cuts like ribeye or filet mignon have little connective tissue, options like chuck roast or brisket are full of it. Collagen may seem like a challenge, but it’s actually the key to unlocking rich, flavorful dishes. Let’s take a closer look at some popular tough cuts and how to make the most of them.
Popular Tough Cuts and How to Use Them
- Chuck roast: Taken from the shoulder, this cut is a perfect mix of meat, fat, and connective tissue. It’s ideal for pot roasts, stews, and braises. The marbling keeps the meat juicy during long cooking times, while the collagen breaks down to create a luscious, flavorful sauce.
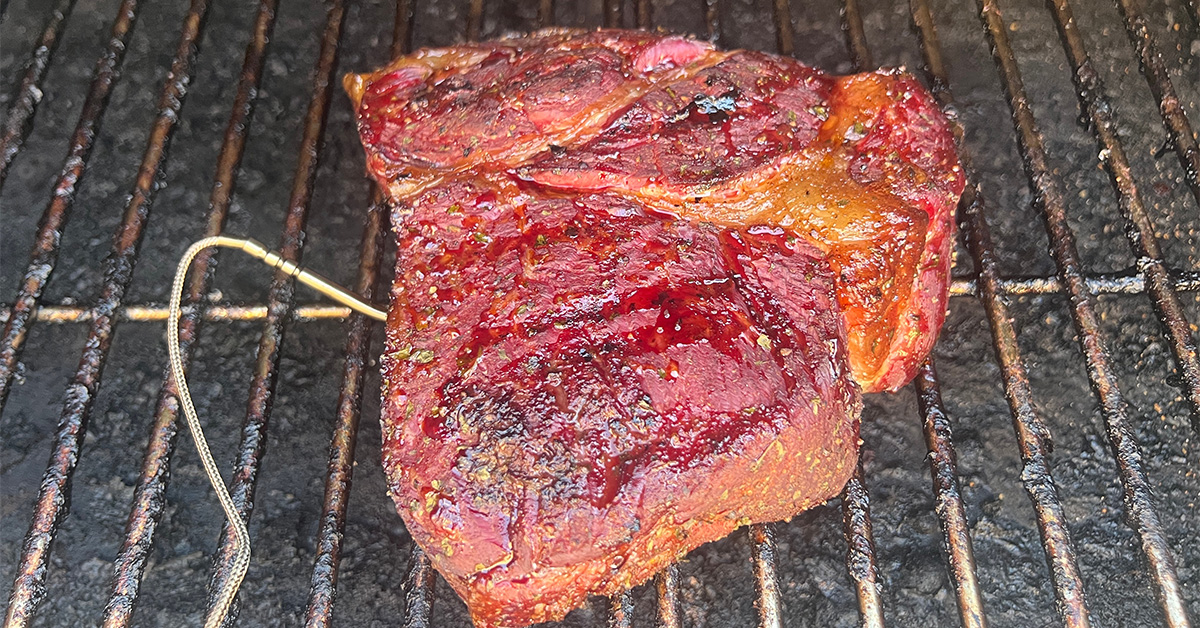
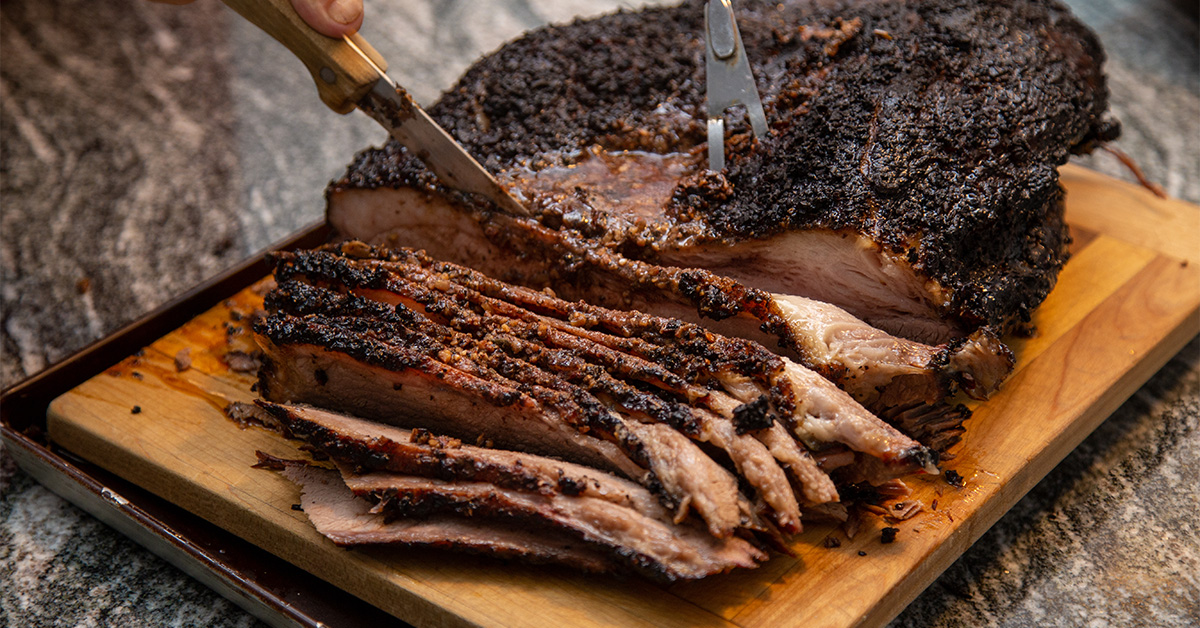
- Brisket: Sourced from the cow’s breast, brisket is a barbecue favorite and a braising superstar. Weighing anywhere from 8 to 16 pounds whole, it’s often sold in smaller portions. Its grain runs in one direction, so slicing against the grain after cooking is essential. Brisket also works well for corned beef.
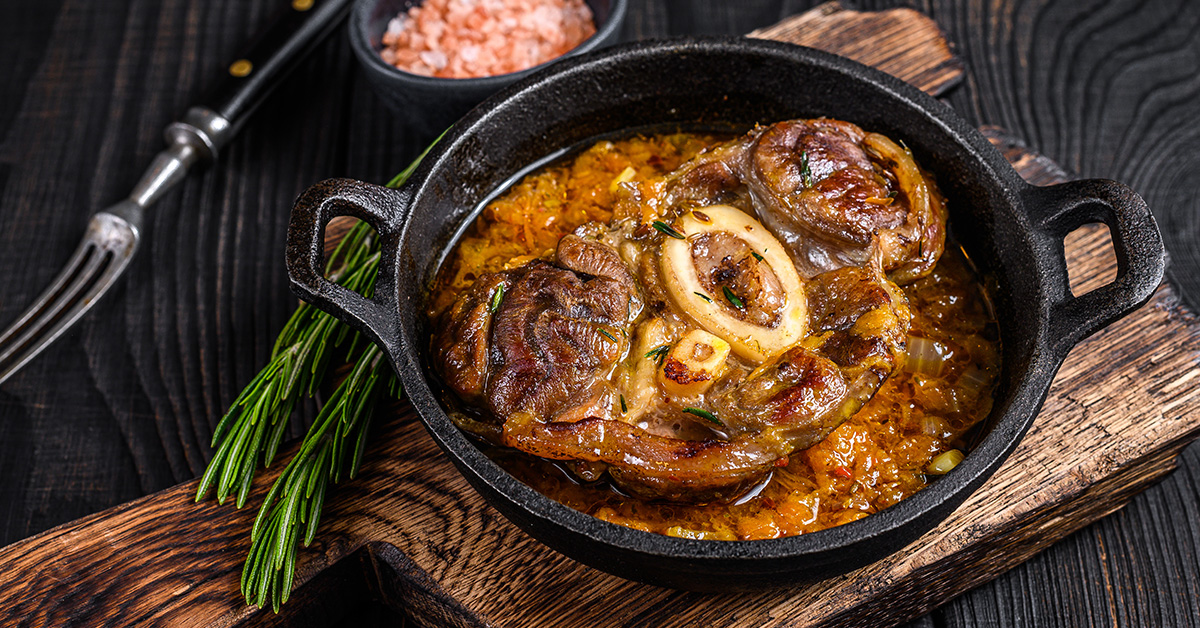
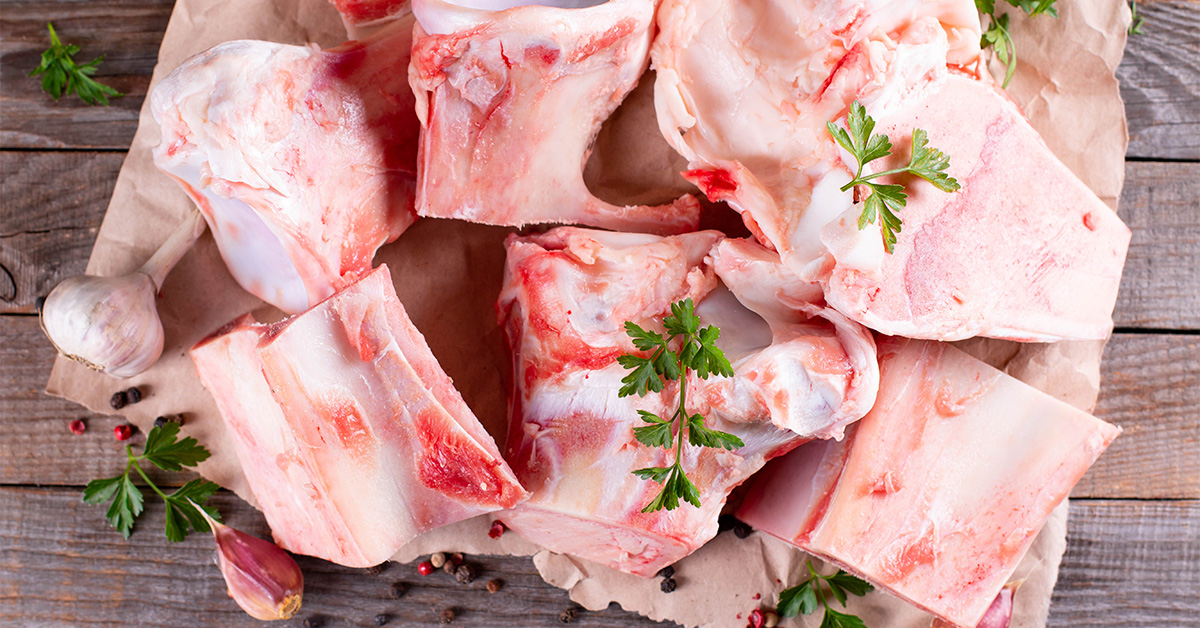
- Beef shank: Cut from the leg, this is one of the toughest cuts, loaded with connective tissue. Cross-cut shanks (known as osso buco) include marrow-filled bones that add depth to broths and sauces. These cuts take the longest to cook but reward your patience with tender, fall-apart meat.
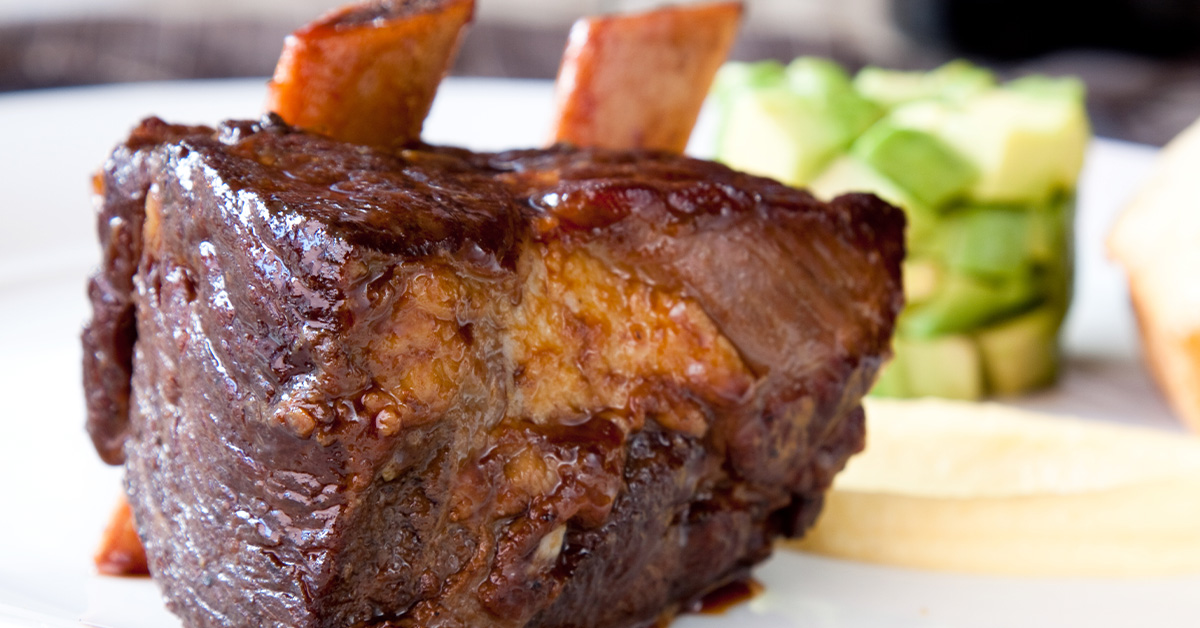
- Short ribs: These deliver bold, beefy flavor and enough fat to stay moist during cooking. English-cut short ribs (cut parallel to the rib bones) are great for long braises, while flanken-cut ribs (cut across the bones) also work well for shorter braising methods.
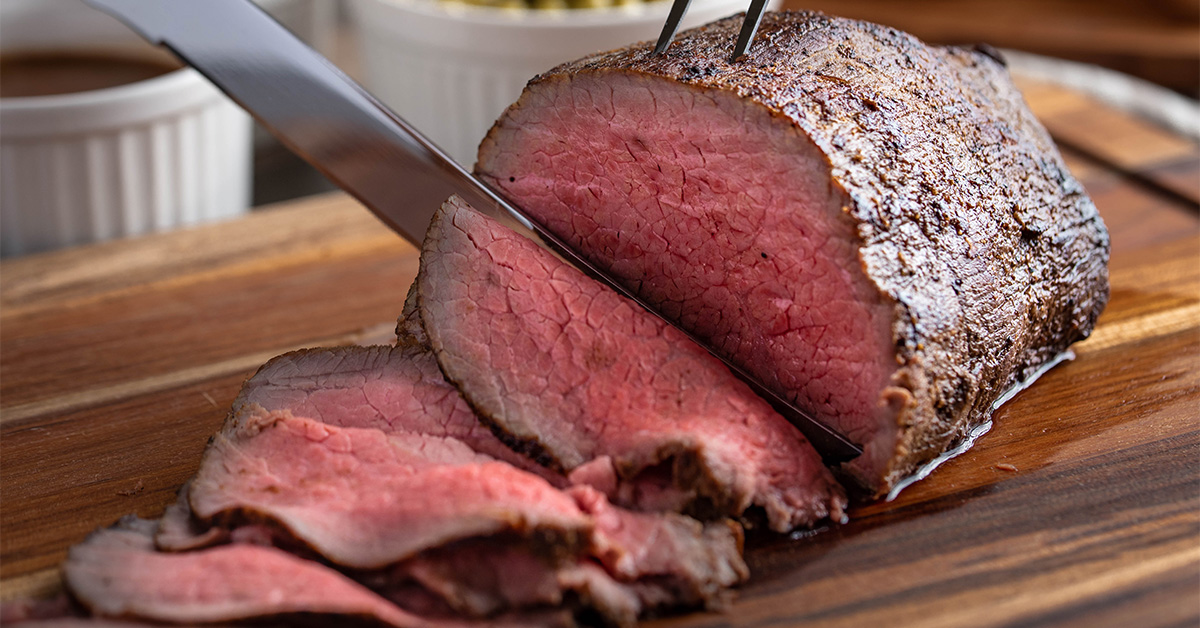
- Round roast: From the rear leg, round roast is leaner than other tough cuts. Bottom round and eye of round need careful handling to avoid drying out but respond well to marinades and slow, moist cooking. These cuts shine when sliced thin for sandwiches or shredded for tacos.
Now that you know the stars of the tough-cut world, let’s talk about how collagen works its magic.
How Collagen Makes Meat Tender
Collagen is the game-changer when it comes to transforming tough cuts into tender, melt-in-your-mouth meals. Here’s how it works: When collagen is exposed to heat, moisture, and time, it begins to break down. At around 160°F, the process starts, but the real magic happens between 180°F and 200°F, where collagen fully converts into gelatin. This transformation, called hydrolysis, is what gives braised meat its rich, silky texture and that satisfying, almost sticky mouthfeel.
To get the best results, you need both heat and moisture. Dry-heat methods like grilling or roasting won’t do the trick because they lack the humid environment needed to break down collagen. Instead, go for braising, stewing, or slow cooking, where the meat stays surrounded by liquid.
Keep the heat moderate – too high, and the muscle fibers will tighten up, drying out the meat. A steady, moderate temperature allows the collagen to dissolve slowly while keeping the meat juicy and tender.
It’s worth noting that collagen levels can vary not just between cuts but even within the same cut. For instance, parts of a chuck roast near joints or bones will have more connective tissue and may take longer to tenderize. These areas, however, also contribute extra richness to your dish. Understanding these variations lets you adjust cooking times and techniques for the best results.
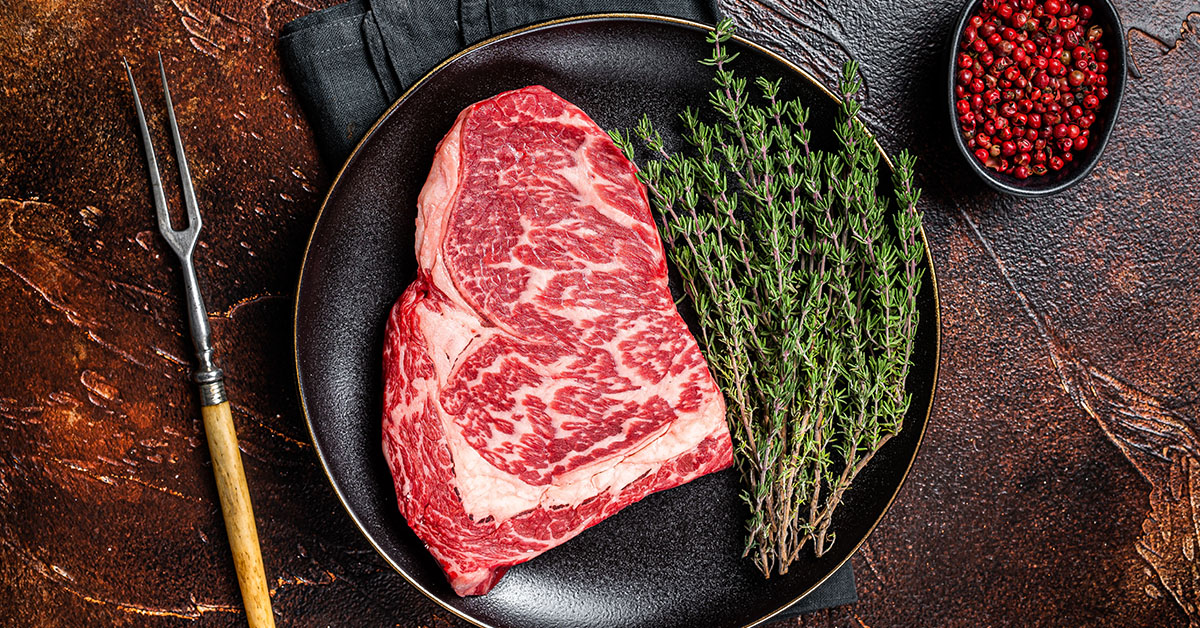
Lastly, don’t overlook the role of fat. Cuts with good marbling, like chuck roast, benefit from fat that melts during cooking, essentially basting the meat from the inside. Leaner cuts, like round roast, need extra moisture and careful temperature control to achieve the same level of tenderness.
With the right approach, tough cuts of meat turn into culinary treasures – rich, flavorful, and oh-so satisfying.
Braising: Step-by-Step Instructions
Braising is a cooking method that works wonders on tougher cuts of meat, turning them into tender, flavorful dishes. It combines two essential techniques: searing for a rich, caramelized crust and slow, moist cooking to break down tough fibers. While it does take time, most of it is hands-off, making braising ideal for leisurely weekend cooking or prepping meals ahead.
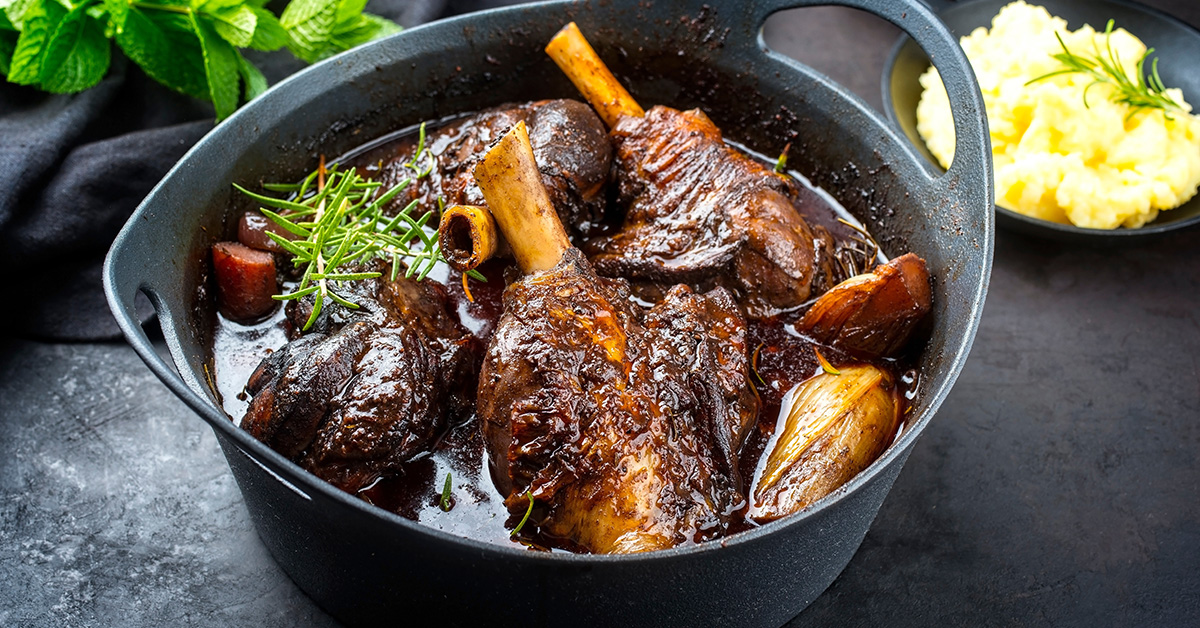
Season and Sear Your Meat
Start by patting the meat dry with paper towels – this step is key for achieving a good sear. Excess moisture prevents browning, so don’t skip it. Generously season the meat with salt and pepper at least 30 minutes before cooking, or let it sit overnight in the fridge for even better flavor absorption.
Heat a heavy-bottomed Dutch oven or braising pot over medium-high heat. Add a tablespoon of neutral oil with a high smoke point, like vegetable or canola oil, and heat it until it shimmers. If the oil begins to smoke, lower the heat slightly.
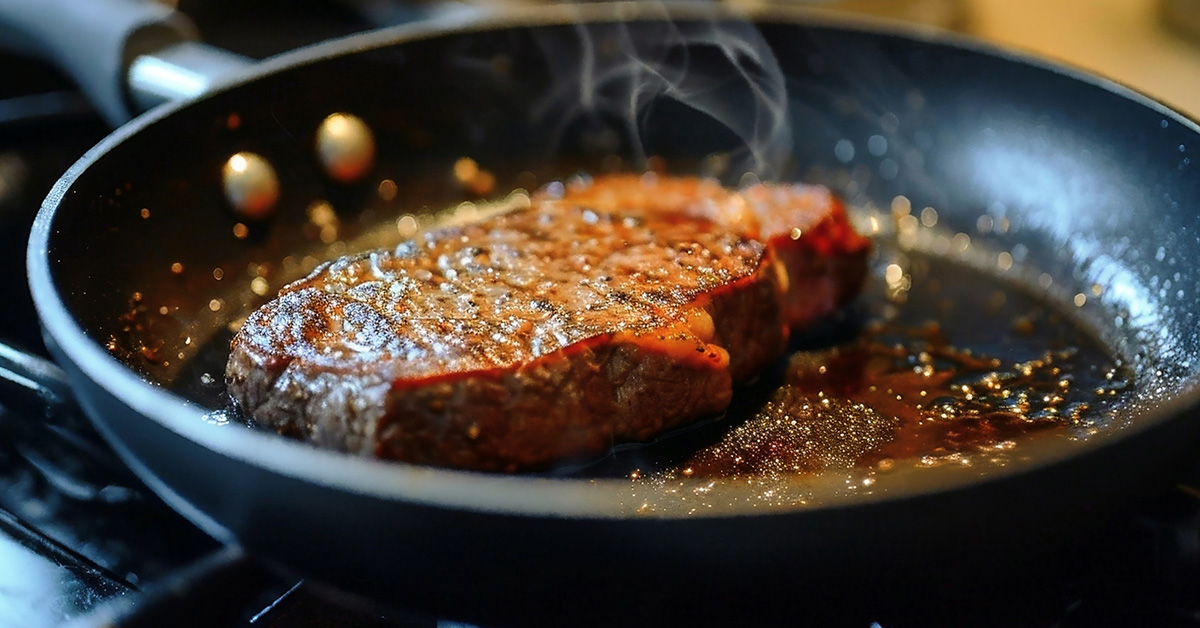
Sear the meat on all sides until it develops a deep, golden-brown crust. For larger cuts like chuck roast or short ribs, this usually takes 3-4 minutes per side. Avoid overcrowding the pot; if you’re cooking multiple pieces, sear them in batches. This step builds a foundation of flavor for the dish.
Once seared, remove the meat and set it aside. Don’t clean the pot! The browned bits left behind, known as fond, are packed with flavor. Add diced onions, carrots, and celery (a classic mirepoix) to the pot and cook for 5-7 minutes until softened and slightly browned. These vegetables will help deglaze the flavorful bits from the bottom of the pot.
In the last minute of cooking the vegetables, stir in aromatics like minced garlic, fresh thyme, bay leaves, or rosemary. These ingredients are delicate and can burn easily, so add them just before moving on to the next step.
Add Liquid and Cook Low and Slow
Now it’s time to introduce moisture and let the magic of braising happen. Return the seared meat to the pot, nestling it among the vegetables, and pour in your chosen liquid. The liquid should reach about halfway up the sides of the meat, leaving part of it exposed to create a nice textural contrast.
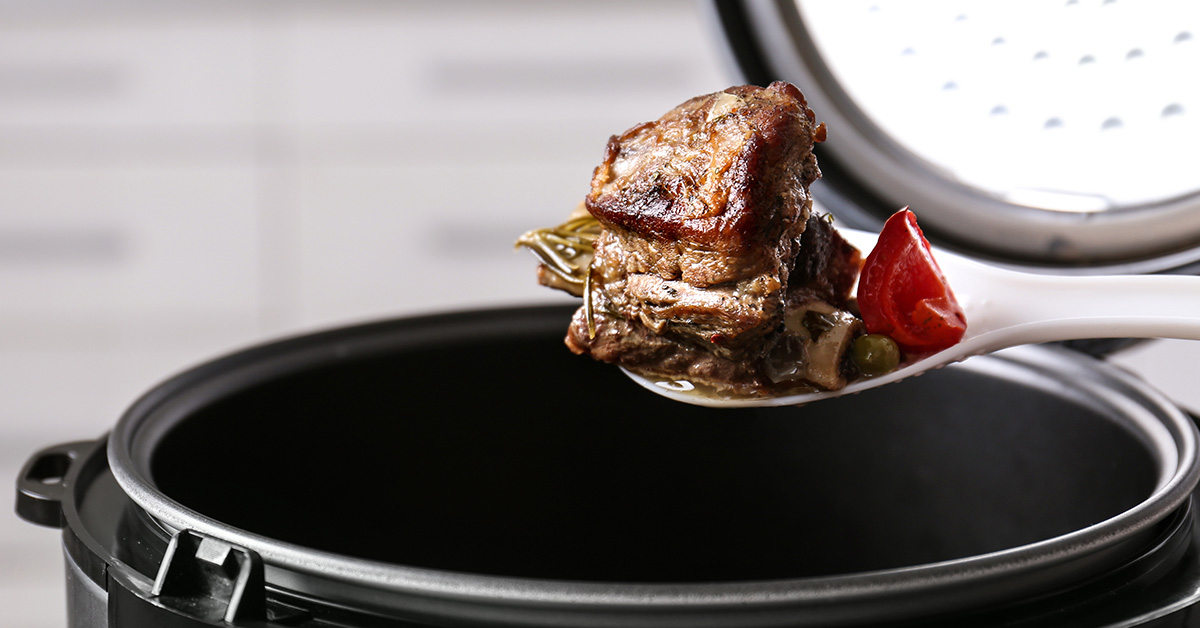
The choice of liquid can dramatically influence the final flavor. Beef or chicken stock adds savory depth, red wine pairs well with beef, and white wine complements pork or poultry. Beer brings a hint of malty sweetness, while tomato juice or canned tomatoes can add a tangy richness. Many recipes combine liquids, such as stock and wine, for a more complex flavor profile.
Bring the liquid to a gentle simmer, then cover the pot tightly and transfer it to a preheated 325°F oven. This temperature is perfect for breaking down collagen without drying out the meat. Some cooks prefer a slightly lower or higher temperature, but 325°F strikes a good balance for most cuts.
The cooking time will vary depending on the cut and size of the meat. For example:
- Chuck roast: 2.5-3 hours
- Short ribs: 2-2.5 hours
- Beef shank: 3-4 hours
You’ll know the meat is done when it shreds easily with a fork and its internal temperature reaches about 200-205°F. Check the pot every hour or so, and if the liquid level gets too low, add more to keep things moist. The braising liquid should maintain a gentle bubble – if it’s boiling too vigorously, reduce the oven temperature by 25°F.
Finish and Serve Your Braised Meat
Once the meat is tender and shreddable, remove the pot from the oven and let it rest for 10-15 minutes. This resting period helps the juices redistribute throughout the meat, ensuring every bite is juicy and flavorful.
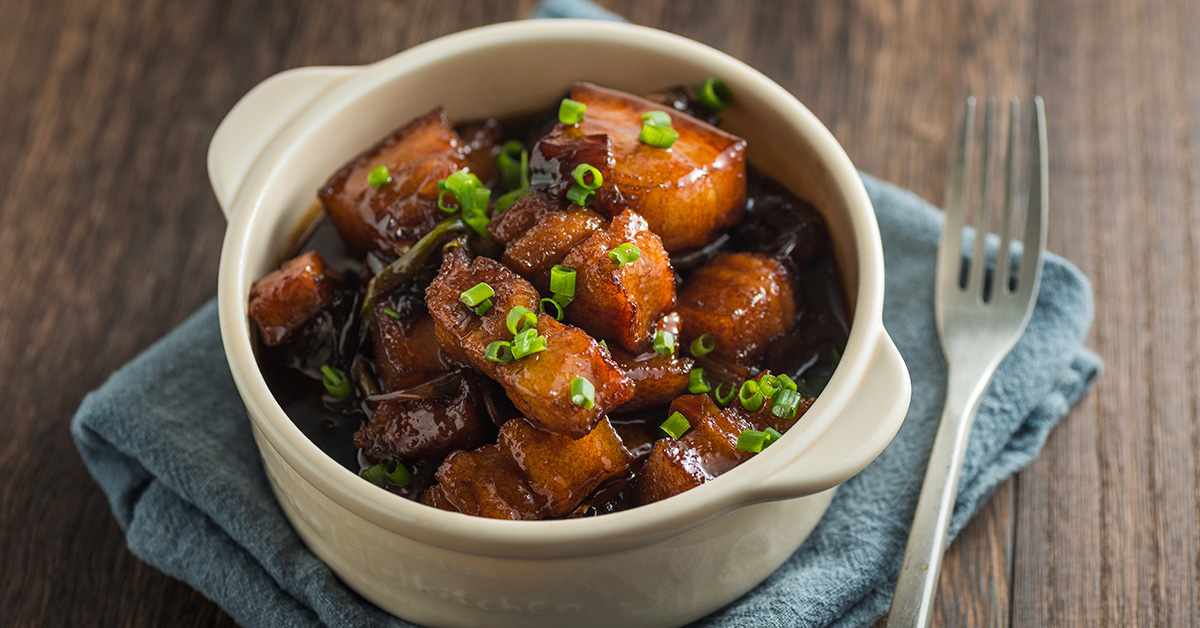
Transfer the meat to a cutting board. Strain the braising liquid through a fine-mesh sieve to remove the cooked vegetables and herbs, which have already imparted their flavor. What remains is a rich, savory sauce.
If the sauce is too thin, simmer it on the stovetop until it thickens to your liking. For an extra-luxurious finish, whisk in a tablespoon of cold butter just before serving. Alternatively, you can thicken the sauce by stirring in a mixture of equal parts flour and softened butter (a beurre manié).
For cuts like brisket, slice against the grain to ensure tenderness. If the meat is falling apart, simply shred it. Serve immediately, spooning the reduced sauce over the top. Braised meats pair beautifully with creamy mashed potatoes, buttered noodles, or crusty bread to soak up all that delicious sauce.
Slow Cooking: Easy Method for Tender Meat
Slow cooking is a simple, hands-off way to turn tough cuts of meat into tender, flavorful dishes. By using low, steady heat, this method gradually breaks down the collagen in connective tissues, transforming it into gelatin. The result? Meat so tender it practically melts in your mouth. The best part? Once you’ve added your ingredients and set the temperature, the slow cooker does all the hard work while you go about your day.
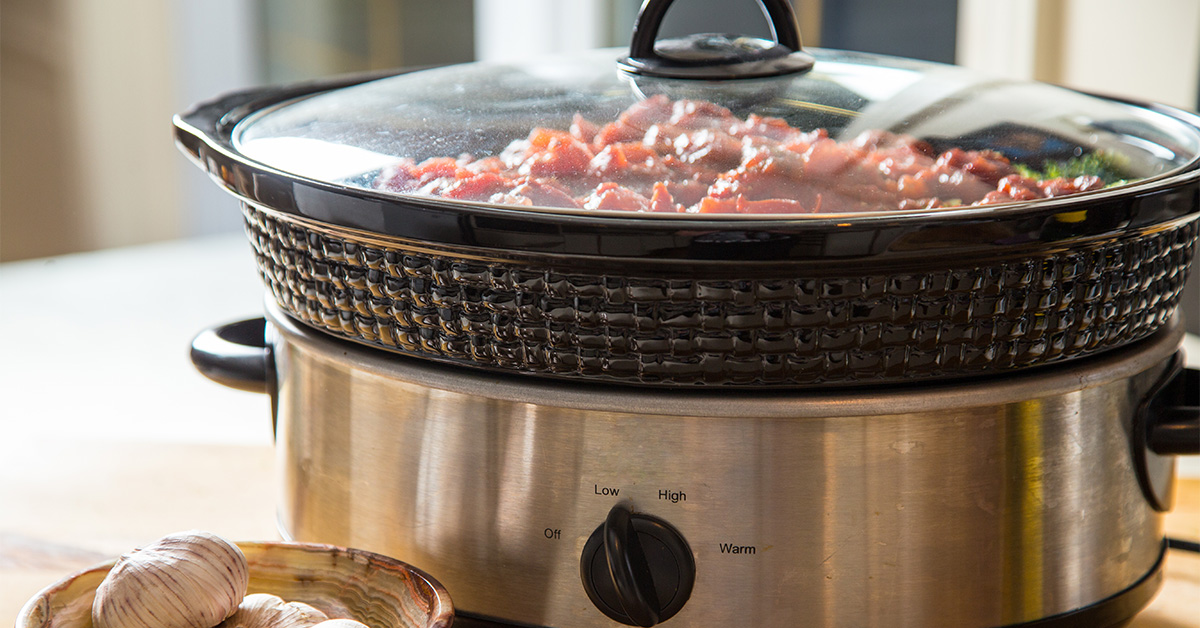
The sealed environment of a slow cooker helps retain moisture and ensures even cooking, making it perfect for turning collagen into gelatin. While this process takes time, the reward is worth it. Cuts with more fat shine in this method as the fat keeps the meat moist and enhances its flavor. Now, let’s dive into the best way to layer your ingredients for optimal cooking.
How to Layer Ingredients in Your Slow Cooker
Layering ingredients the right way is crucial for even cooking and rich flavors. Start by placing uniformly cut root vegetables, like carrots, potatoes, and onions, at the bottom. Since these take longer to cook, they benefit from direct contact with the heat source.
Next, place the seasoned meat on top. This allows the juices from the meat to drip down and flavor the vegetables, while also preventing the meat from becoming overly soft by sitting in liquid. Be sure to pat the meat dry before seasoning, and let it rest at room temperature for 20–30 minutes before cooking to ensure even results.
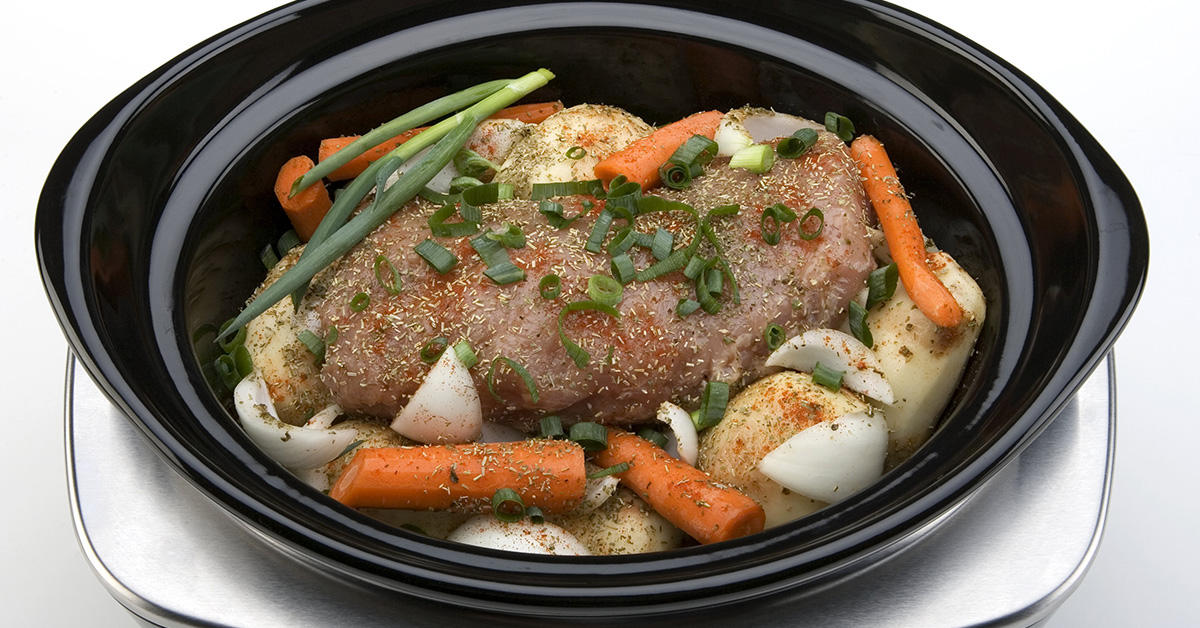
When adding liquid, less is more. Slow cookers trap moisture, so you won’t need as much liquid as you would for stovetop cooking. Pour the liquid around the sides of the slow cooker, not directly over the meat, to help preserve its texture while ensuring there’s enough moisture for the cooking process.
Don’t forget the aromatics! Distribute garlic, herbs, and spices evenly. Use dried herbs and spices at the start of cooking, while fresh herbs like thyme, rosemary, or bay leaves are best added in the last hour for maximum flavor.
Cooking Times and Temperatures
With your ingredients properly arranged, the next step is to set the right temperature and cooking time. Most slow cookers have two main settings: low (200°F) and high (300°F). For tougher cuts, low and slow is almost always the better choice, as it allows the collagen to break down gradually without toughening the meat.
Here’s a quick guide for common cuts of meat:
- Chuck roast: 6–8 hours on low or 3–4 hours on high
- Short ribs: 7–8 hours on low
- Beef shank: 8–10 hours on low due to its dense connective tissue
- Pork shoulder: Similar to chuck roast, ready in 6–7 hours on low

Resist the urge to lift the lid while cooking. Every time you do, heat escapes, and cooking time increases. The meat is ready when it reaches an internal temperature of 200–205°F and shreds easily with a fork. At this point, the collagen has fully converted to gelatin, giving you that signature fall-apart texture.
If you’re in a hurry, you can use the high setting, but keep in mind that while the meat will still be tender, it may have a firmer texture compared to the melt-in-your-mouth results from slow cooking on low.
Keep Your Meat Moist and Tender
To maintain the perfect texture, stop cooking as soon as the meat reaches 200–205°F and shreds easily. Overcooking, even in a moist environment, can break down the fibers too much, leaving the meat dry and stringy.
Choose cuts with plenty of fat and connective tissue, like chuck roast, short ribs, brisket, or pork shoulder. Avoid lean cuts like eye of round or top round, as they lack the fat and collagen needed for slow cooking and can turn out tough and dry.
When it comes to dairy, wait until the last 30 minutes of cooking to add ingredients like cream, milk, or cheese to prevent curdling. Similarly, delicate vegetables like peas, corn, or spinach should be added toward the end to preserve their texture and color.
If your dish ends up too watery, you can remove the lid and cook on high for 30–60 minutes to let some of the excess liquid evaporate. Alternatively, mix 2 tablespoons of cornstarch with 2 tablespoons of cold water, then stir this slurry into the slow cooker during the last 15 minutes to thicken the sauce.
sbb-itb-5ae85c5
Marinades: Tenderize and Add Flavor
Marinades are another fantastic way to tenderize tougher cuts of meat, standing alongside methods like braising and slow cooking. They rely on a combination of chemistry and patience to work their magic. By breaking down proteins and infusing the meat with flavor, marinades can transform cuts like flank steak, skirt steak, or even tougher roasts into something truly special – perfect for grilling or roasting at higher temperatures.
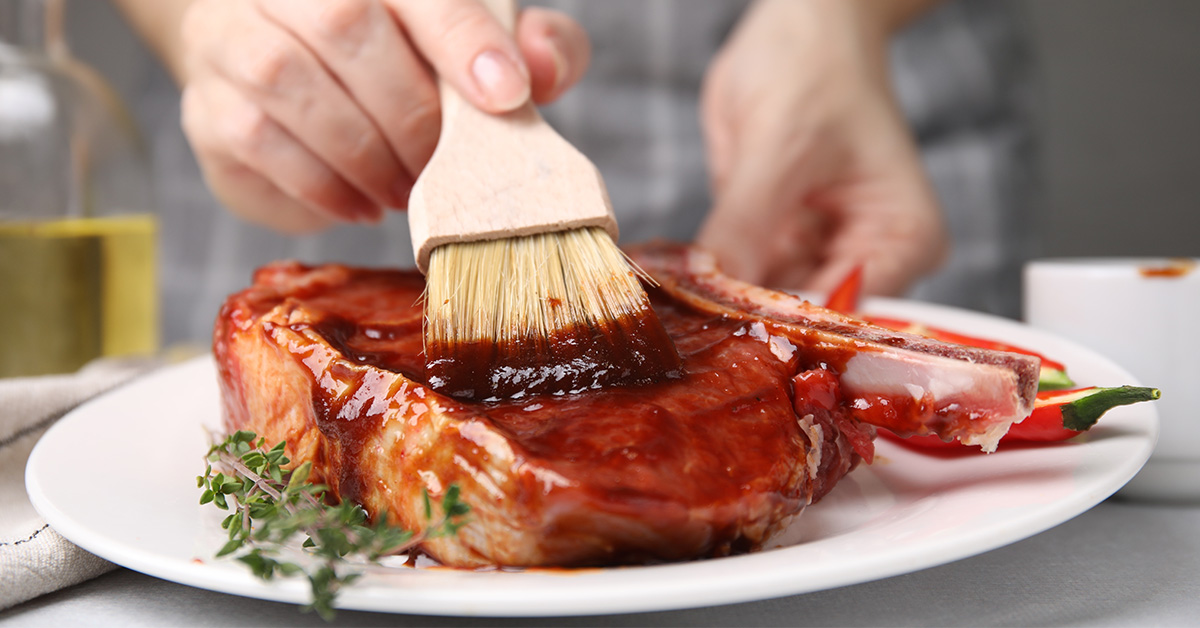
What’s great about marinades is their flexibility. They allow you to take a more affordable cut and elevate it with your own flavor combinations, creating a dish that feels extravagant. To get the best results, it’s important to understand the key components of a marinade and how they work together.
What Makes a Good Marinade
A marinade typically consists of three main components: acid, fat, and aromatics. Each part plays a unique role in tenderizing and flavoring the meat.
- Acids: These are the tenderizers, breaking down the meat’s protein structures. Ingredients like vinegar, citrus juice, wine, or yogurt are common choices. Lemon and lime juice are especially effective, while red wine vinegar adds complexity to beef marinades. Apple cider vinegar pairs beautifully with pork, and balsamic vinegar lends a touch of sweetness to lamb.
- Fats: Usually oils, such as olive oil, these help carry flavors and lock in moisture. Alternatives like avocado or sesame oil can be used for specific recipes. Fats also help fat-soluble flavor compounds penetrate the meat.
- Aromatics: These deliver the bold flavors that make a dish stand out. Think fresh garlic, herbs like rosemary and thyme, spices such as cumin or paprika, and umami-rich ingredients like soy sauce or Worcestershire sauce. For maximum flavor, bruise or chop fresh herbs to release their oils, and toast dried spices briefly in a dry pan.
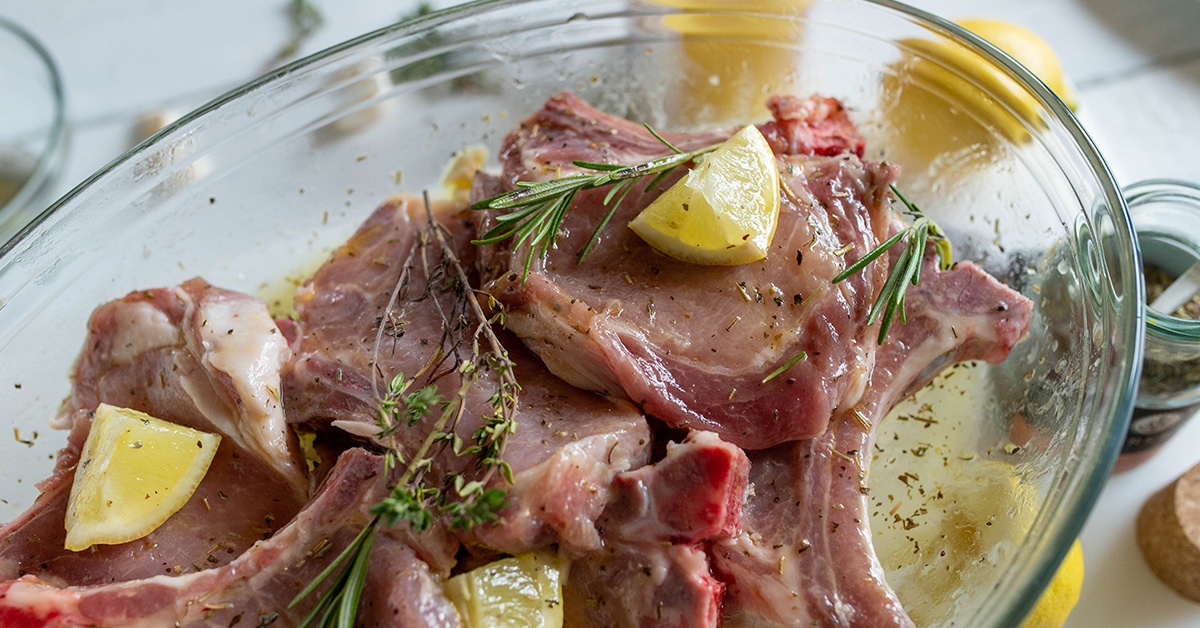
The ratio of these components matters. A good starting point is 3 parts oil to 1 part acid, with aromatics added to taste. Too much acid can over-tenderize the meat, leaving it mushy, while too little won’t do enough to break down the proteins.
How Long to Marinate and Safety Tips
Timing is everything when it comes to marinating. Thin cuts like flank or skirt steak need just 2–4 hours, while thicker cuts, such as chuck roast, can benefit from 8–24 hours. Here’s a quick guide:
- Beef: Steaks up to 1 inch thick need 30 minutes to 2 hours. Thicker roasts can marinate overnight but should not exceed 24 hours to avoid a mushy texture.
- Pork: Thin chops require 1–4 hours, while larger cuts like pork shoulder can handle up to 12 hours.
- Lamb: More delicate than beef or pork, lamb typically needs 2–8 hours, depending on the cut’s thickness.
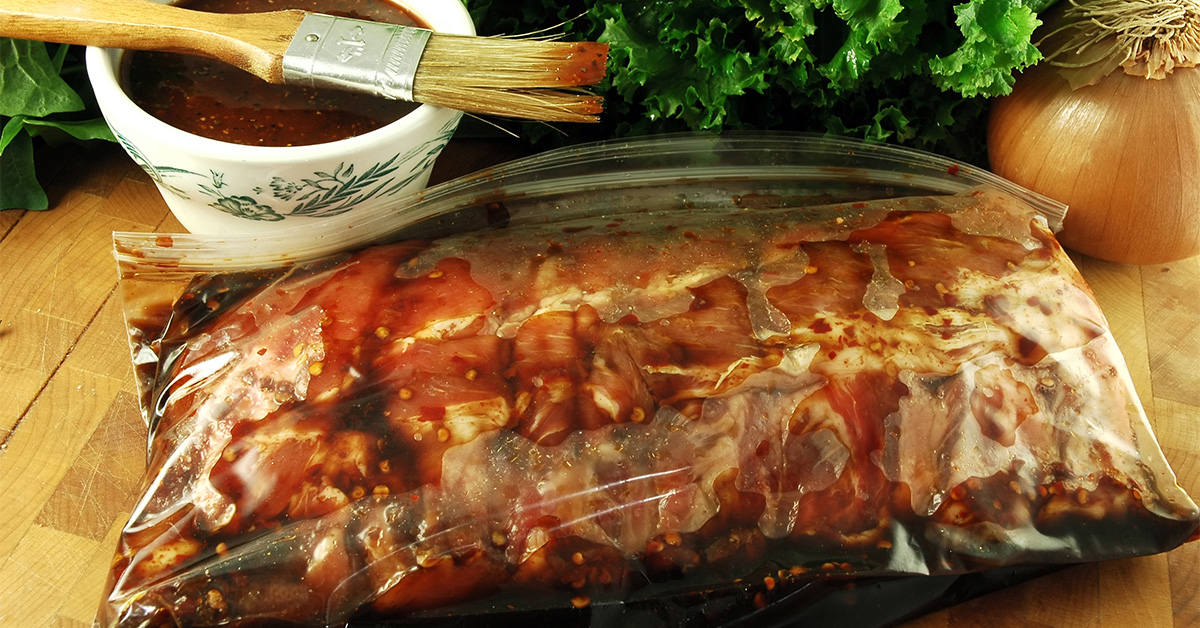
Always marinate in the refrigerator to prevent bacterial growth. Use non-reactive containers like glass, ceramic, or food-grade plastic – avoid aluminum or other metals, which can react with acidic ingredients and cause off-flavors.
If you plan to use the marinade as a sauce, set some aside before adding the raw meat. Otherwise, you’ll need to boil the used marinade for at least 5 minutes to kill any bacteria. For even coverage, turn the meat halfway through the marinating process. Vacuum-sealed bags are especially effective, as they keep the marinade in constant contact with the meat while saving space in the fridge.
3 Easy Marinade Recipes
Here are three simple marinade recipes that make tough cuts tender and flavorful. Each is designed for 2–3 pounds of meat.
- Classic Red Wine Marinade for Beef
Combine 1/2 cup red wine, 1/4 cup olive oil, 3 tablespoons red wine vinegar, 4 minced garlic cloves, 2 teaspoons dried rosemary, 1 teaspoon black pepper, and 1 teaspoon salt. This marinade is perfect for cuts like chuck roast, short ribs, or flank steak. The wine adds richness, while the vinegar tenderizes. Marinate for 4–12 hours, depending on the thickness of the meat. - Asian-Inspired Soy Ginger Marinade
Mix 1/3 cup soy sauce, 1/4 cup rice vinegar, 2 tablespoons sesame oil, 2 tablespoons brown sugar, 2 tablespoons fresh grated ginger, 3 minced garlic cloves, and 1 teaspoon red pepper flakes. This marinade works wonders on skirt steak or pork shoulder, with ginger enzymes adding extra tenderizing power alongside the vinegar. - Mediterranean Herb Marinade
Whisk together 1/2 cup olive oil, 1/4 cup lemon juice, 2 tablespoons fresh oregano (or 1 tablespoon dried), 2 tablespoons fresh thyme, 4 minced garlic cloves, 1 teaspoon salt, and 1/2 teaspoon black pepper. Its bright, herbaceous flavors are ideal for lamb shoulder, beef chuck, or pork chops. The lemon juice gently tenderizes while the herbs add a Mediterranean flair.
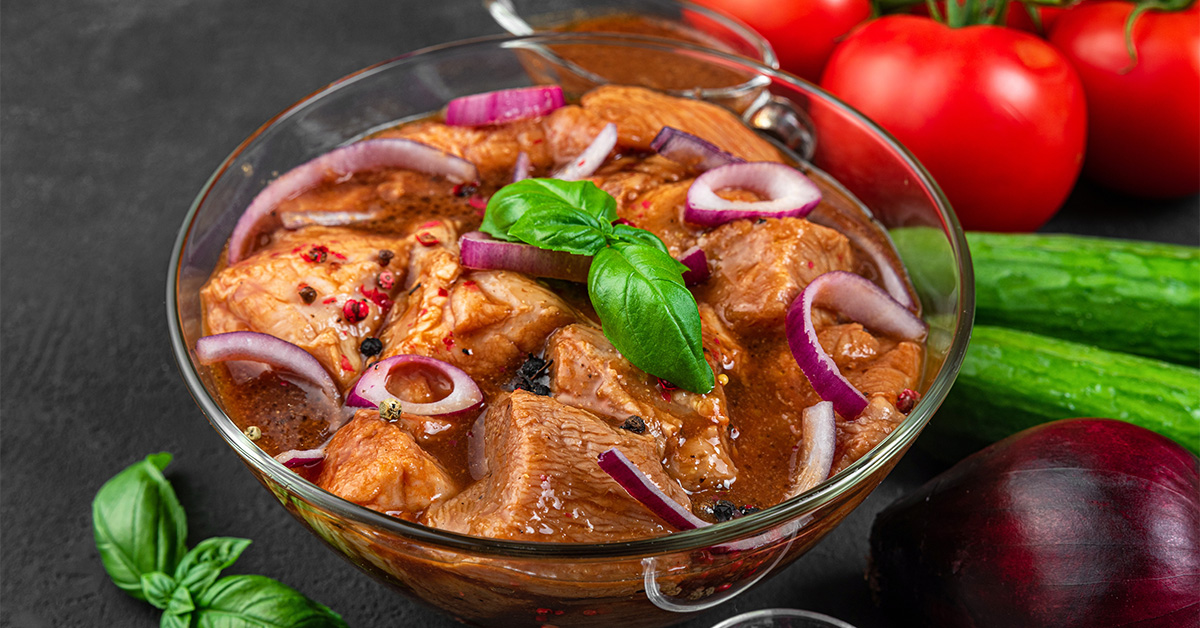
For all three marinades, whisk the ingredients together until fully combined before adding the meat. These recipes can easily be doubled for larger cuts or multiple pieces of meat.
Save Money and Buy Local
Choosing tougher cuts of meat isn’t just a culinary decision – it’s also a smart way to stretch your budget. These cuts are often more affordable than premium steaks or roasts, and they pack a punch when it comes to flavor. Pair this with sourcing your meat locally, and you’ve got a recipe for both savings and quality.
Buy in Bulk and Use Meat Bundles
Buying meat in bulk is a practical way to save money. It’s often more cost-effective than purchasing smaller portions, and it helps you stock up on a variety of cuts. For instance, a quarter beef package might include everything from roasts to steaks to ground beef, giving you a well-rounded selection for your freezer.
Before diving into bulk buying, make sure you’ve got enough freezer space. If not, consider investing in a chest freezer – it’s a small upfront cost that pays off in the long run. Another great idea is to split bulk purchases with friends, family, or neighbors. This way, you share the costs and storage needs while still enjoying a variety of cuts and the opportunity to try new recipes. Plus, sourcing from local suppliers makes this strategy even more rewarding.
Why Choose Wild Country Meats
When it comes to maximizing your savings and ensuring quality, picking the right local supplier is key. That’s where Wild Country Meats comes in. Since 1998, this family-owned business has been delivering USDA-inspected, custom-cut meat with a focus on transparency, quality, and convenience.
What sets Wild Country Meats apart is their attention to detail. Every animal they process is tagged, photographed, and inventoried, so you know exactly what you’re getting. This level of traceability not only builds trust but also ensures you’re getting top-notch products.
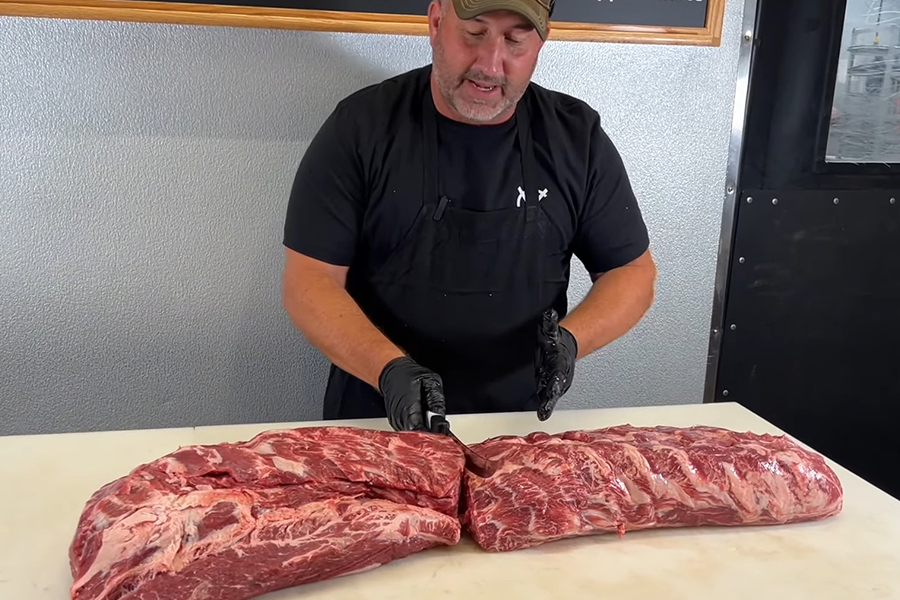
Their custom processing options let you tailor your order to fit your needs. Whether it’s portion sizes or specialty items like jerky and snack sticks in flavors such as honey sriracha or dill pickle, they’ve got you covered. For added convenience, they offer local delivery within a 50-mile radius, serving areas like Tulsa, Broken Arrow, and Stillwater. If you’d rather pick up your order, their locations in Hominy and Cleveland make it easy – Cleveland even has a drive-thru!
By choosing Wild Country Meats, you’re not just buying meat – you’re supporting a local business that values its customers. Their knowledgeable staff can guide you on the best cuts, portion sizes, and even cooking tips. Plus, their "Made in Oklahoma" certification highlights their dedication to local sourcing and quality, benefiting both your family and the local economy.
With Wild Country Meats, you’re investing in more than just food – you’re investing in quality, community, and a business that puts relationships first.
Conclusion: Making the Most of Tough Cuts
Tough cuts of meat can turn into something truly special when prepared with techniques like braising, slow cooking, or marinating. These methods work to break down the tougher fibers, resulting in tender textures and rich, hearty flavors – all without breaking the bank.
Braising wraps the meat in a luscious, flavorful sauce, slow cooking delivers melt-in-your-mouth tenderness with minimal effort, and marinades not only soften the meat but also infuse bold, exciting flavors. These approaches don’t just make the meat tender – they can transform everyday dishes into something unforgettable.
What’s more, tough cuts bring both flavor and value to the table. For example, a chuck roast costs significantly less than a ribeye and can stretch to feed a family for several meals. With a little patience, these cuts reward you with deep, satisfying flavors that rival more expensive options.
To get the best results, it’s important to start with high-quality meat. Sourcing well-raised, carefully processed cuts from a trusted local supplier ensures not only better flavor but also the peace of mind that comes with knowing where your food comes from.
Don’t be afraid to experiment. Braise a chuck roast with red wine for a rich, comforting dish, or slow-cook a pork shoulder with a mix of spices for a flavorful, fall-apart meal. Each method opens the door to creating meals that are as memorable as they are delicious.
FAQs
What are the best tough cuts of meat for braising or slow cooking, and how do I choose the right one?
For braising or slow cooking, tough cuts of meat like chuck (think chuck roast or stew meat), brisket, shanks, short ribs, oxtail, and pork shoulder are fantastic options. These cuts are packed with connective tissue that breaks down during slow cooking, resulting in tender, melt-in-your-mouth dishes loaded with flavor.
The choice of cut often depends on your recipe and cooking method. For hearty stews or pot roasts, chuck and brisket are top picks thanks to their marbling and rich taste. On the other hand, shanks and oxtail are perfect for soups or braised meals, delivering incredible depth and richness. If you’re making pulled pork or carnitas, pork shoulder is the go-to cut, as its texture and flavor truly shine when cooked low and slow.
Not only do these cuts taste amazing when prepared with care, but they’re also easy on the wallet, making them ideal for creating delicious, cost-effective meals at home.
What are the most common mistakes to avoid when marinating meat to keep it tender and flavorful?
To keep your meat tender and packed with flavor, steer clear of these common marinating missteps:
- Overloading on acid: While ingredients like vinegar or citrus juice add tang, too much can break down the meat excessively, turning it mushy. Balance acidic elements with oil or other ingredients to maintain texture.
- Marinating too long: Letting meat soak for too long can mess with its texture and overpower its natural flavor. Stick to the recommended times – usually a few hours or overnight, depending on the cut.
- Using metal containers: Acidic marinades and metal don’t mix well – they can react and change the flavor of your food. Opt for glass, ceramic, or food-safe plastic containers instead.
Avoid these pitfalls, and you’ll be well on your way to perfectly marinated, delicious meat!
How can I keep my slow-cooked meals from turning out too watery?
To keep your slow-cooked dishes from turning out too watery, begin by using just the amount of liquid you truly need. Keep in mind that ingredients like vegetables and meats naturally release moisture as they cook. If your dish still feels too thin as it nears the end of cooking, simply take off the lid and switch to high heat for about 1–2 hours to let some of the excess liquid evaporate.
If you’re aiming for a thicker texture, try mixing up a slurry using cornstarch or flour and water, and stir it in during the last 30 minutes of cooking. One more thing – resist the temptation to lift the lid too often while cooking. Doing so can mess with the temperature and moisture levels, which might throw off your dish. Using these tricks, you’ll be serving up slow-cooked meals with just the right consistency and rich flavor!

